Secret Santa – Secrets revealed…I feel like this is one of those reality tv shows where they have the ‘behind the scenes’ show after the season is over, only I promise no cat fights!! (or you might end up on the naughty list!)

Here they are, in all of their glory! Personally, I can’t wait to put these on my mantle (the 1st year after I create a new holiday series, it goes on my mantle & is decorated accordingly!!)
So, hopefully you remember what the Big Secret was…9 Santas but just 8 charts. Collect each chart & receive just a smidge of that 9th & secret Santa. Easy peasy, right…?
Here are a few words to help you as you stitch your way through that Secret Santa:
- charts 1 & 2 of the series were Holly St. Nick & The Santa Key – when I exported the Secret Santa portion, I was so concerned about making sure that the charts were the same size (edge to edge) that I didn’t see how the dark line (every 10th line on most charts is darker than the others) did not match up correctly. This is a default of my program & beyond my control. I made the decision to leave out the dark line in future charts so that you aren’t trying to match those up as you stitch.
- here is my suggestion – start stitching from the bottom of the Secret Santa – this portion comes on Holly St. Nick & is the 8 bottom lines of stitching.
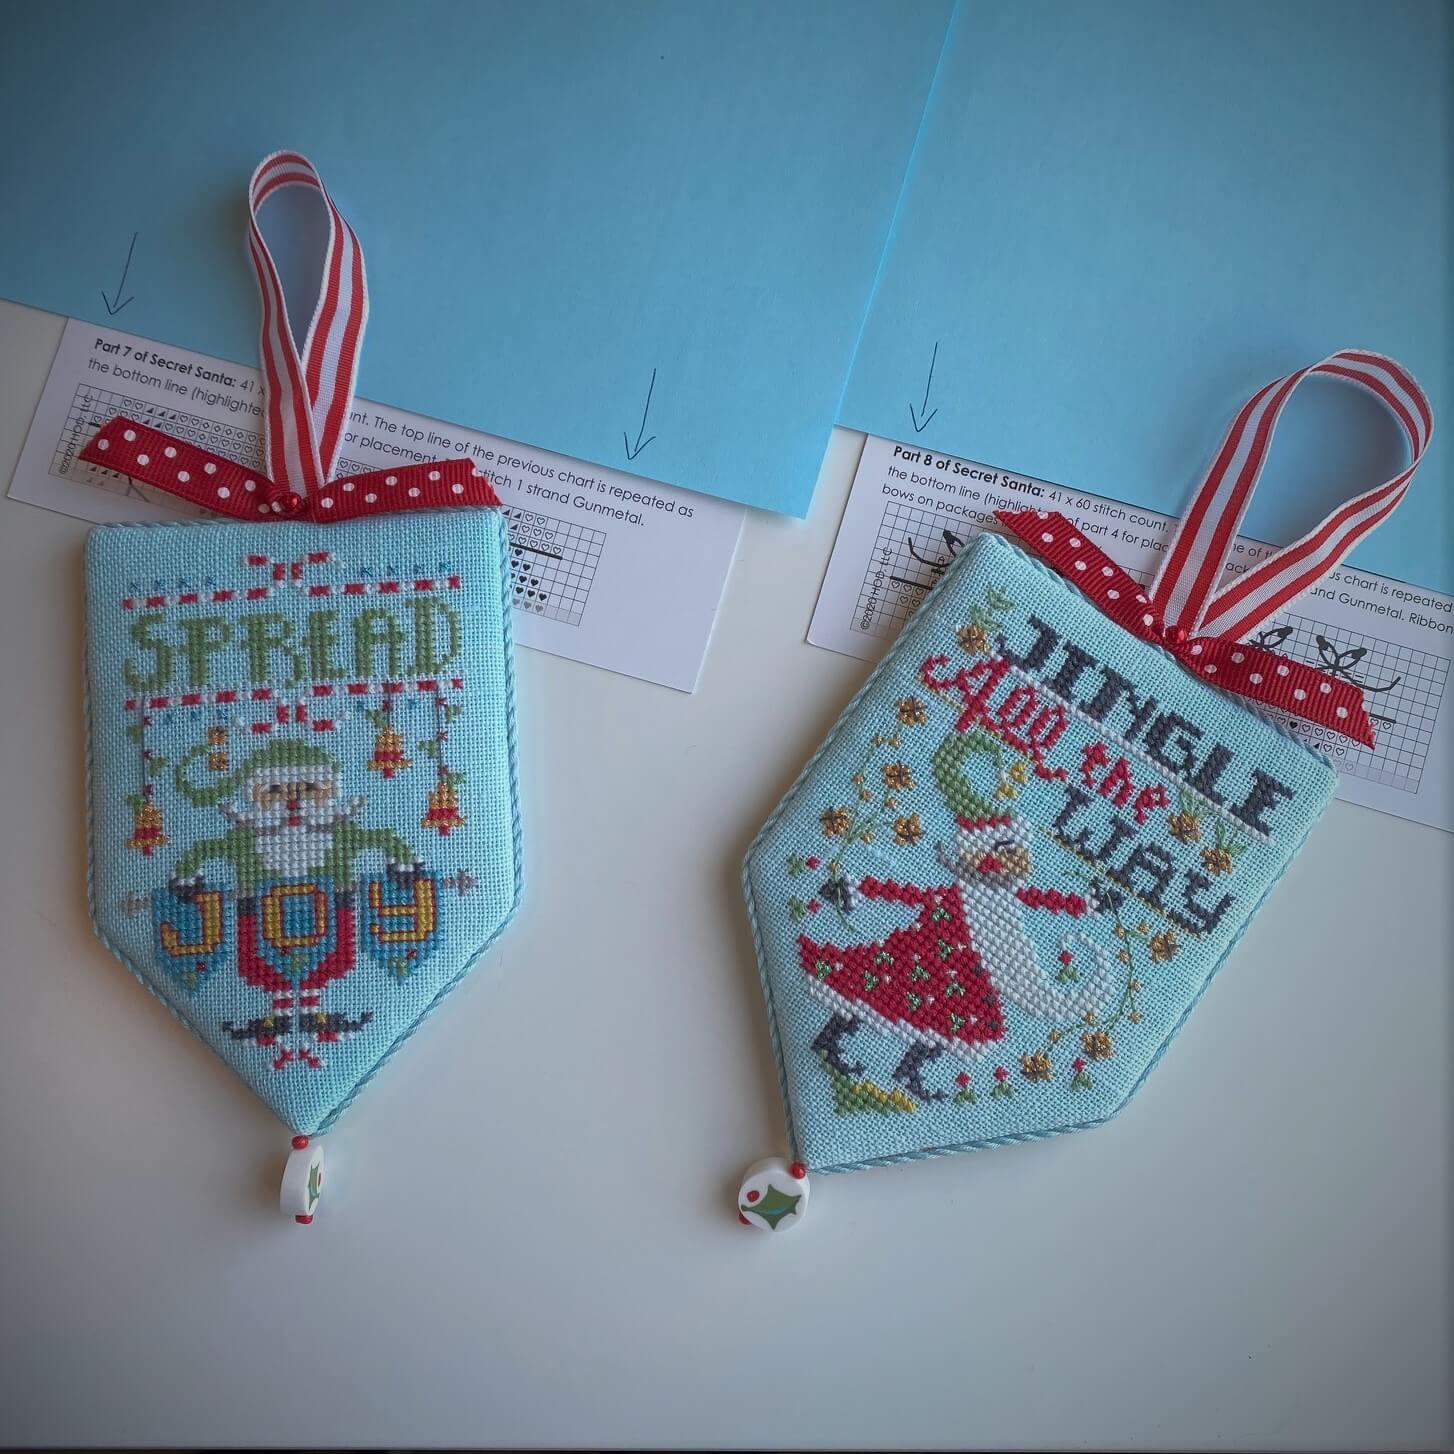
- continue stitching up the Secret Santa with each subsequent chart – the top line of the previous chart is the bottom line of the next section & is highlighted with a grey overlay.

- as I mentioned before, I was so concerned about getting the width of the actual chart sections to be the same, that I accidentally varied in the number of squares per chart…so, you cannot just cut them apart and tape the side by side. The easiest method, as I said above, is to stitch each section individually and use the previous stitching as a guide – it does provide a nice little chunk to stitch each day & have a quick finish.
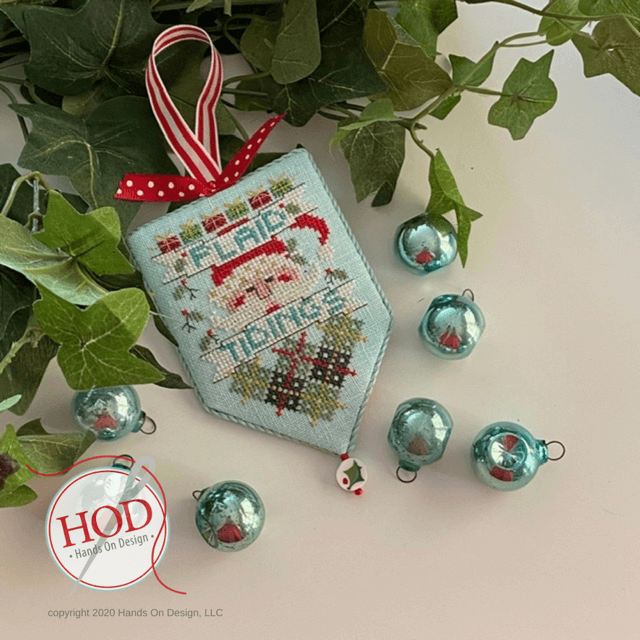
- aah, the lessons I learn each time I try something fun & new for stitchers!! I have seen stitchers post photos of their completed Secret Santa, so I know he is very stitchable – & here he is – Plaid Tidings, the 9th & Secret Santa!
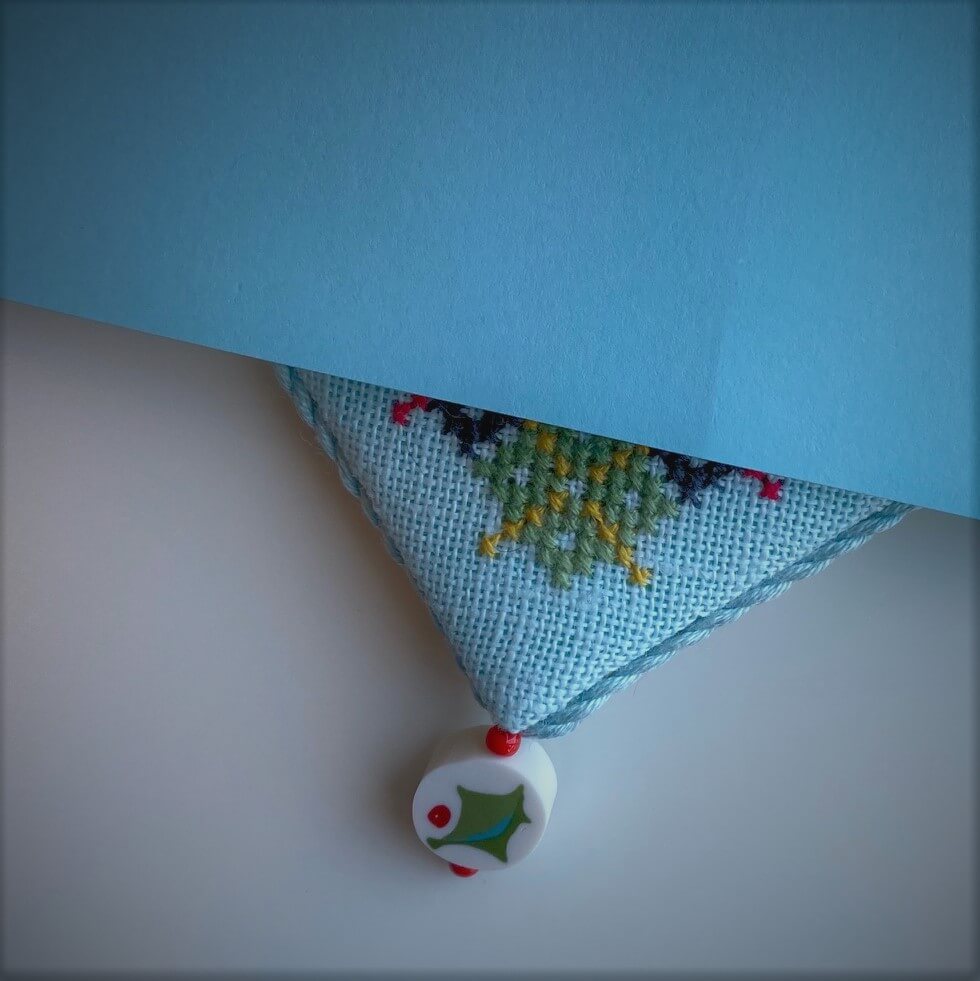
Thank you for joining me in the fun of this Silly & Sparkly holiday series. Be sure to look at the product pages for complete listings of the threads (Weeks Dye Works & Kreinik Braid). There is a template in the Tutorial section as well as a look at how to attach the Just Another Button Co. Holly Bead.
I look forward to seeing your Secret Santa posts & don’t forget to #handsondesign
Cathy, Hands On Design


Leave a Reply