I was asked to design a special piece for a monthly bag program & as I was ‘finishing’ the project, I thought I would snap a few pictures to walk you through my process.
But first…a little background! 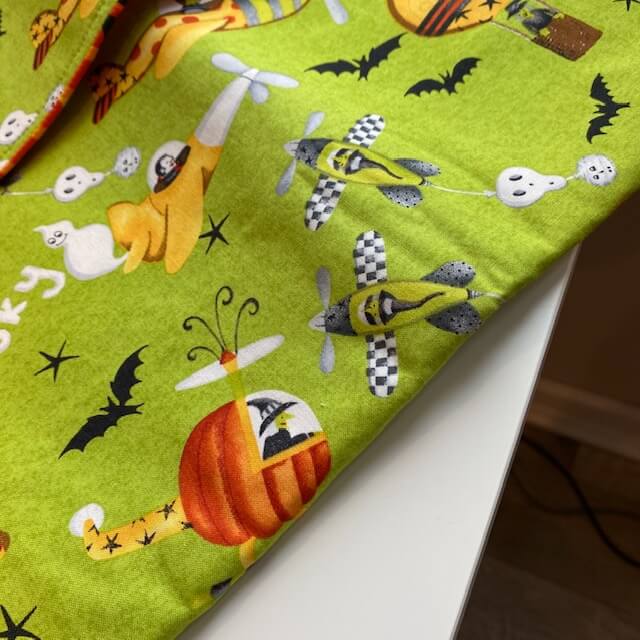
Here is the design ‘inspirational’ fabric! So adorable…there was a special request for a Frankenstein to be in the mix, but seriously…I couldn’t stop focusing on the helicopter pumpkin!!
After some wordsmithing I wrote this:
” If Pumpkins Could Fly Up in the Sky, I’d Ride with you & Shout Out BOO!”™
Pretty snazzy – huh?! Sometimes I just need the right mix of words & the rest falls into place.
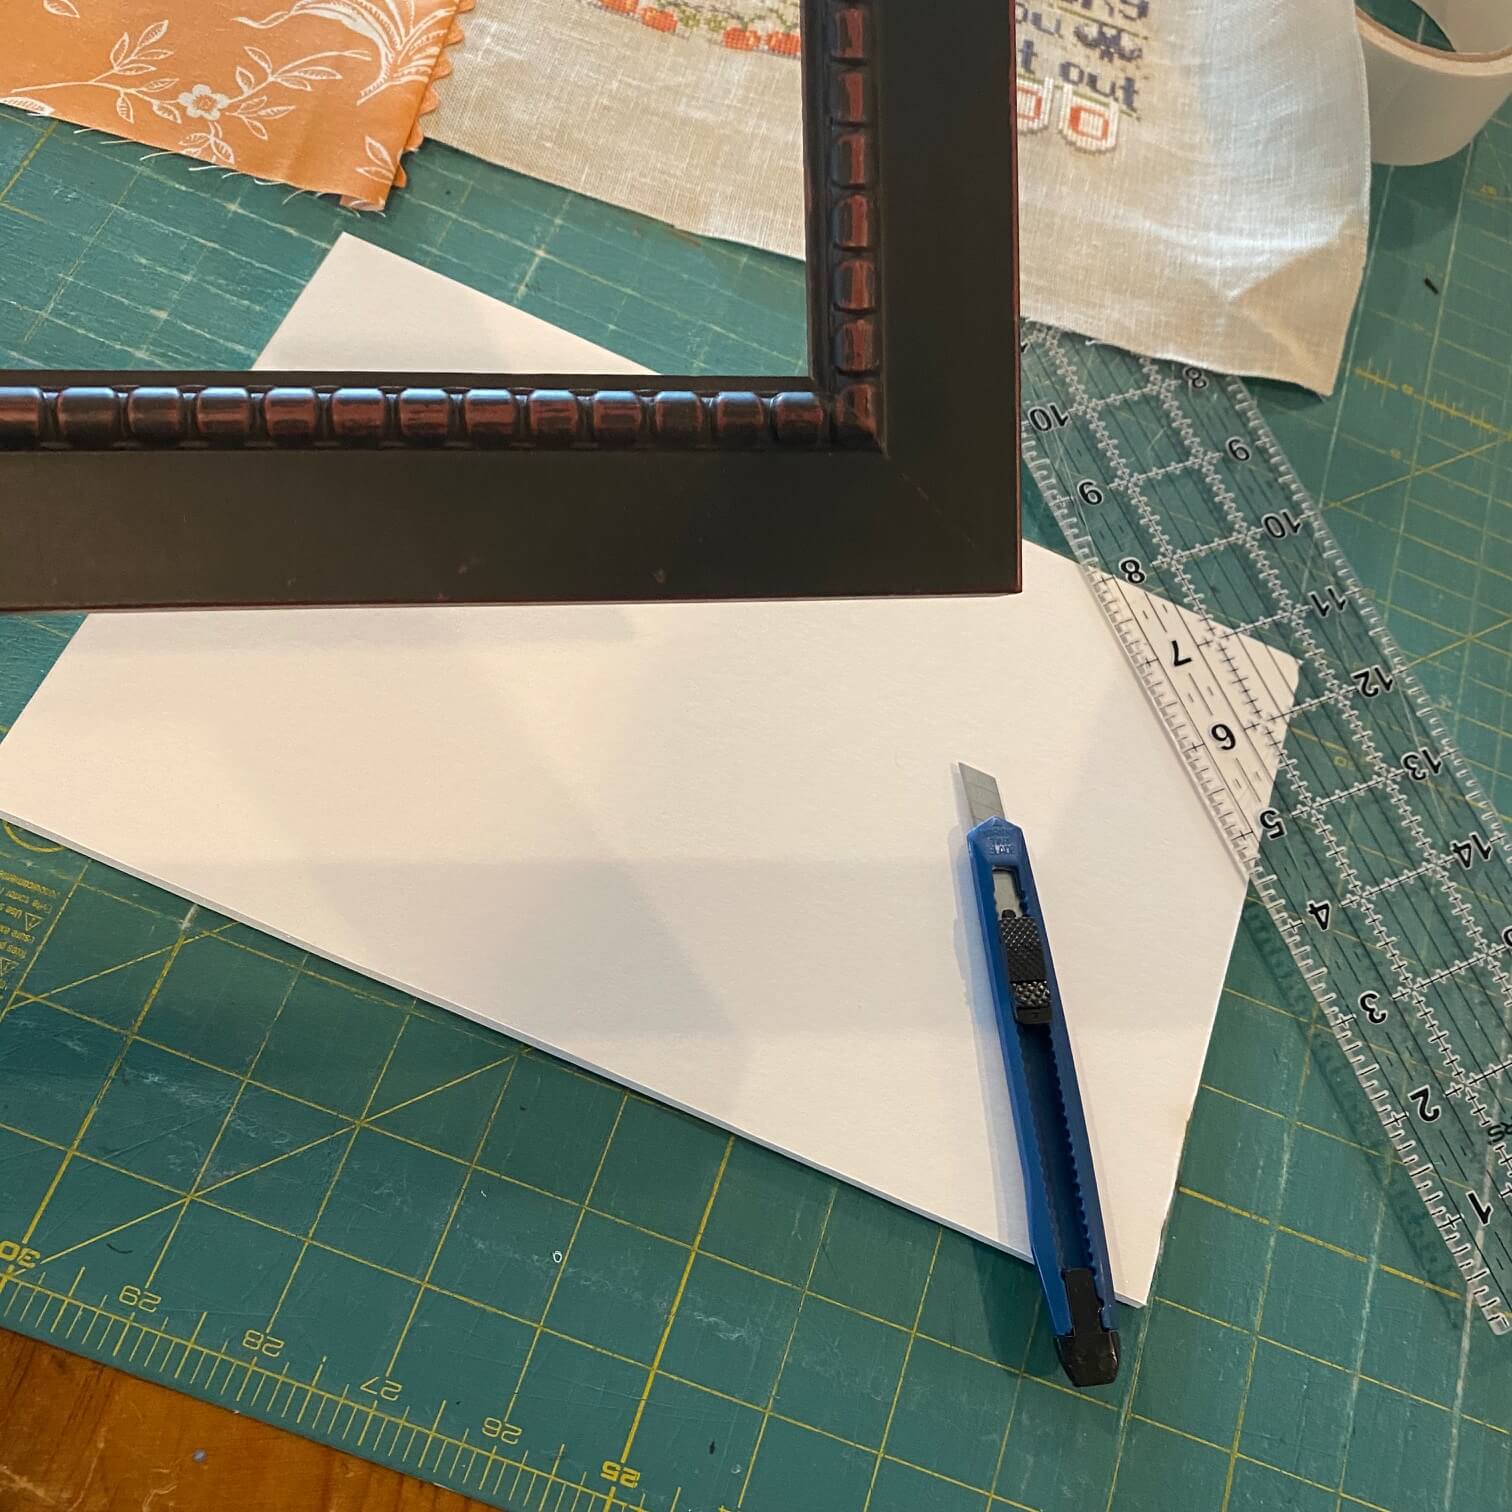
So. when it came to finishing, I knew that I wanted a frame but time did not allow for ordering something a custom size (or even a quick run to the local hobby shop to see what they had).
What I did have was this ‘mistake frame’ – that means I ordered it and it didn’t work or was the wrong size or who knows…I just knew that someday it would come in handy.
The fit was not perfect but years of being practiced at the art of ‘making do’…I had this in the bag.
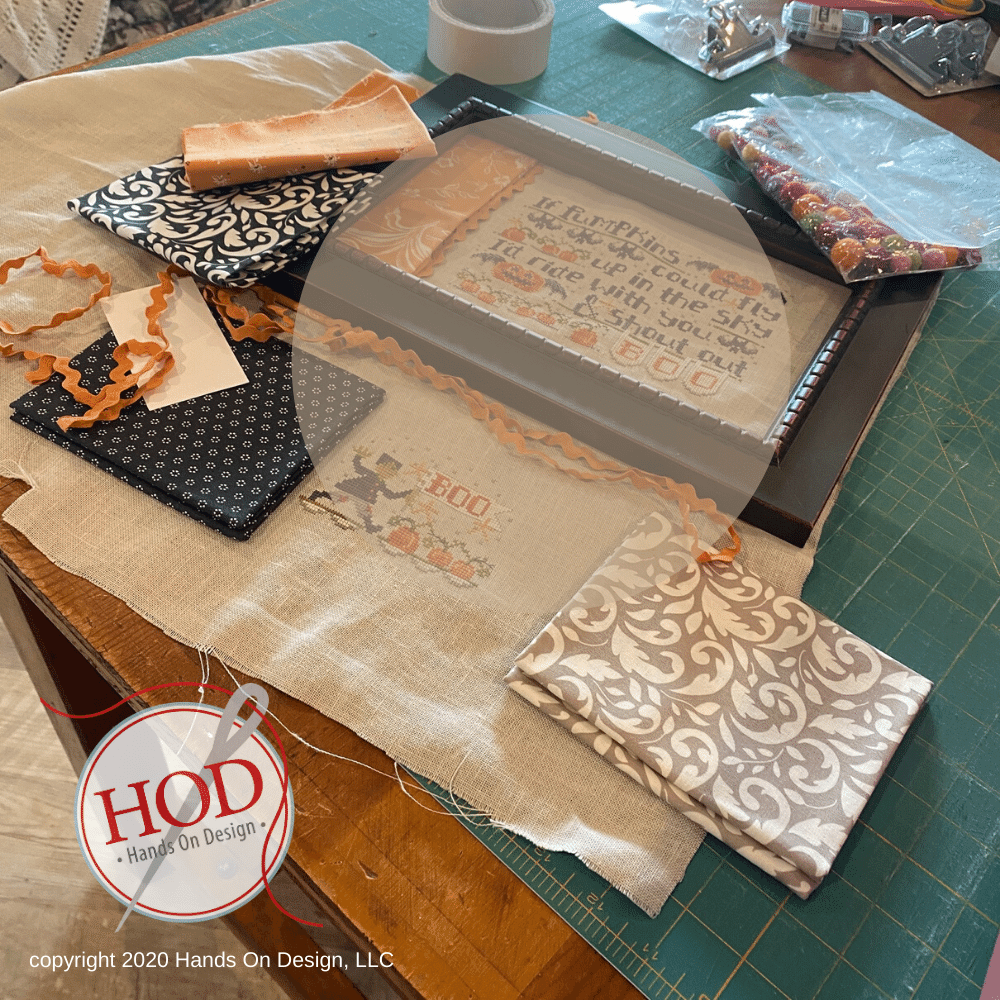
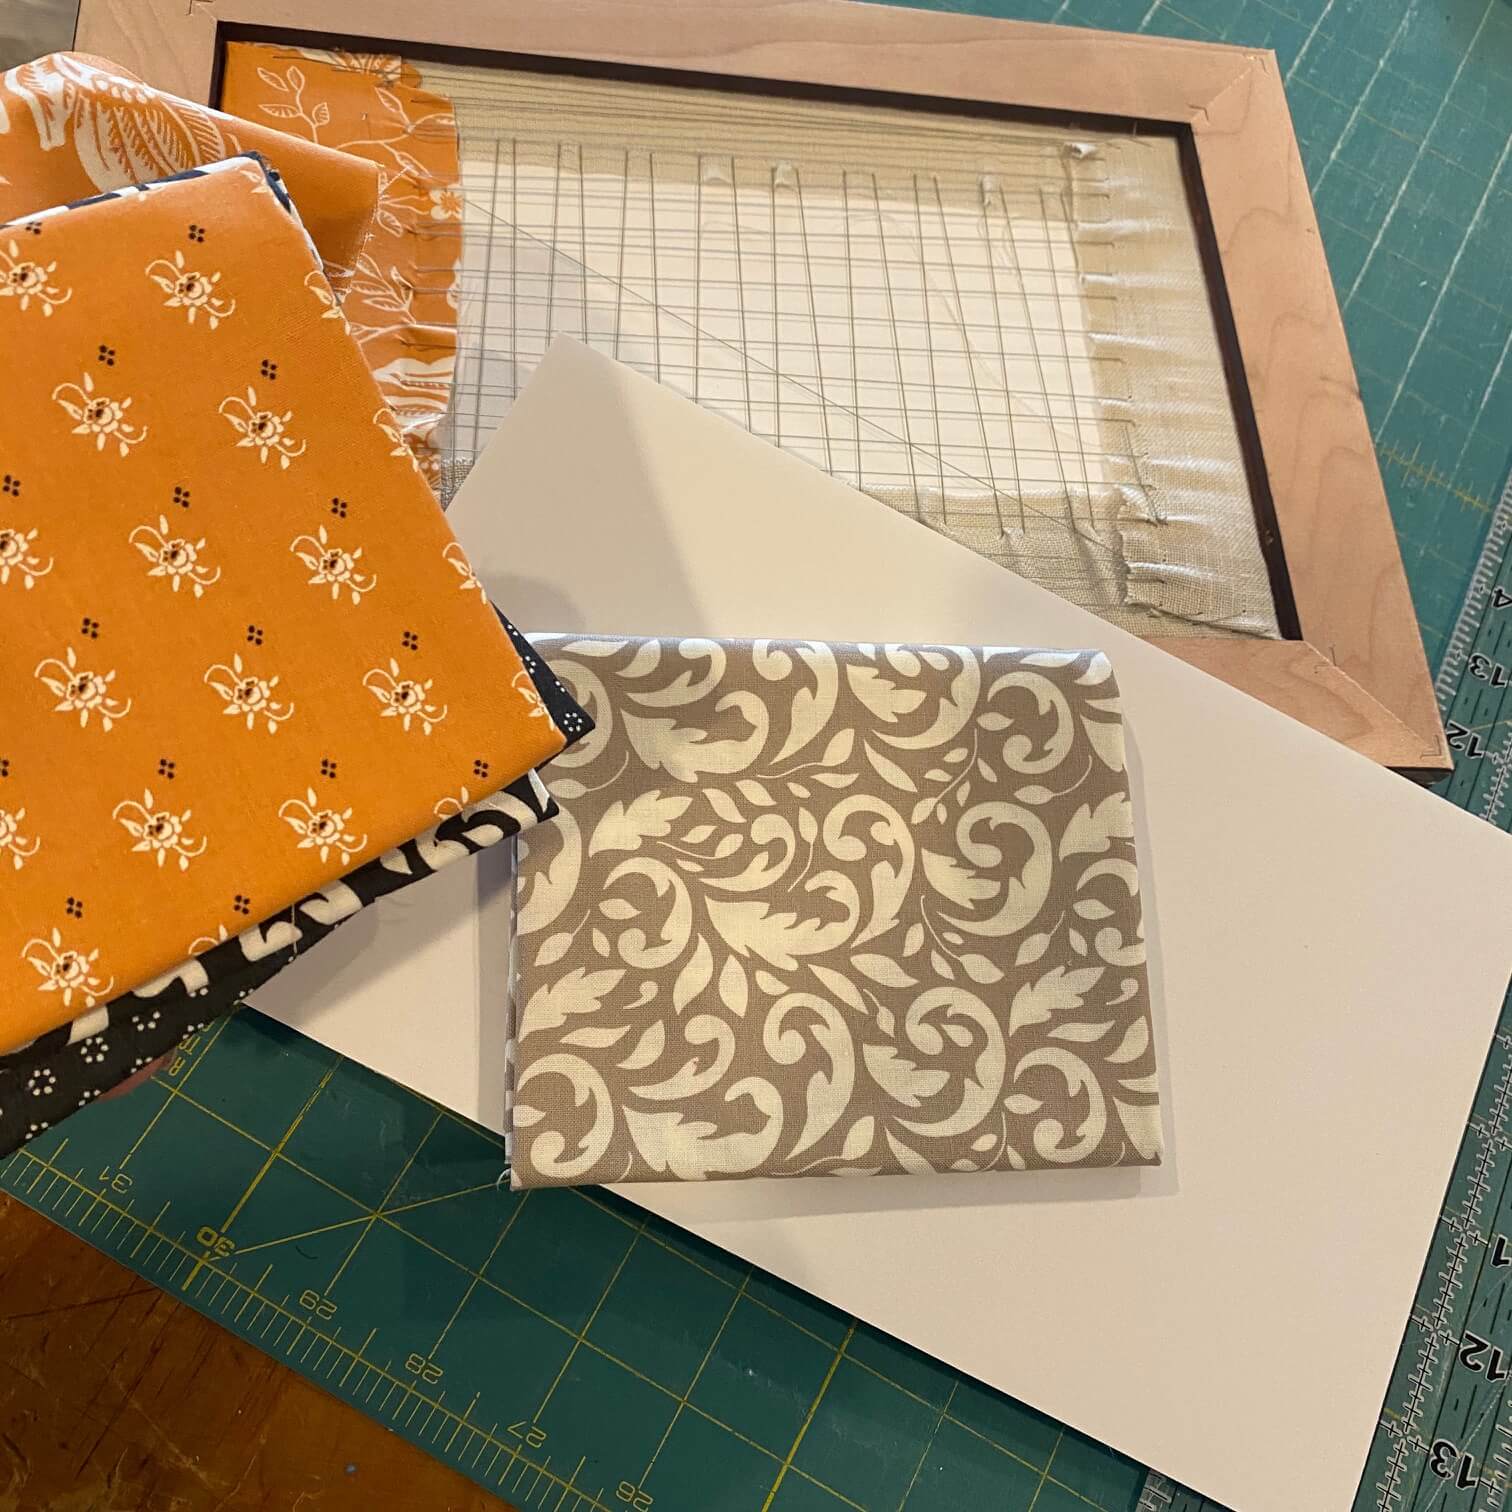
I gathered my supplies: frame, stitched piece, trims, fabrics…all the necessary supplies to make a frame ‘fit’.
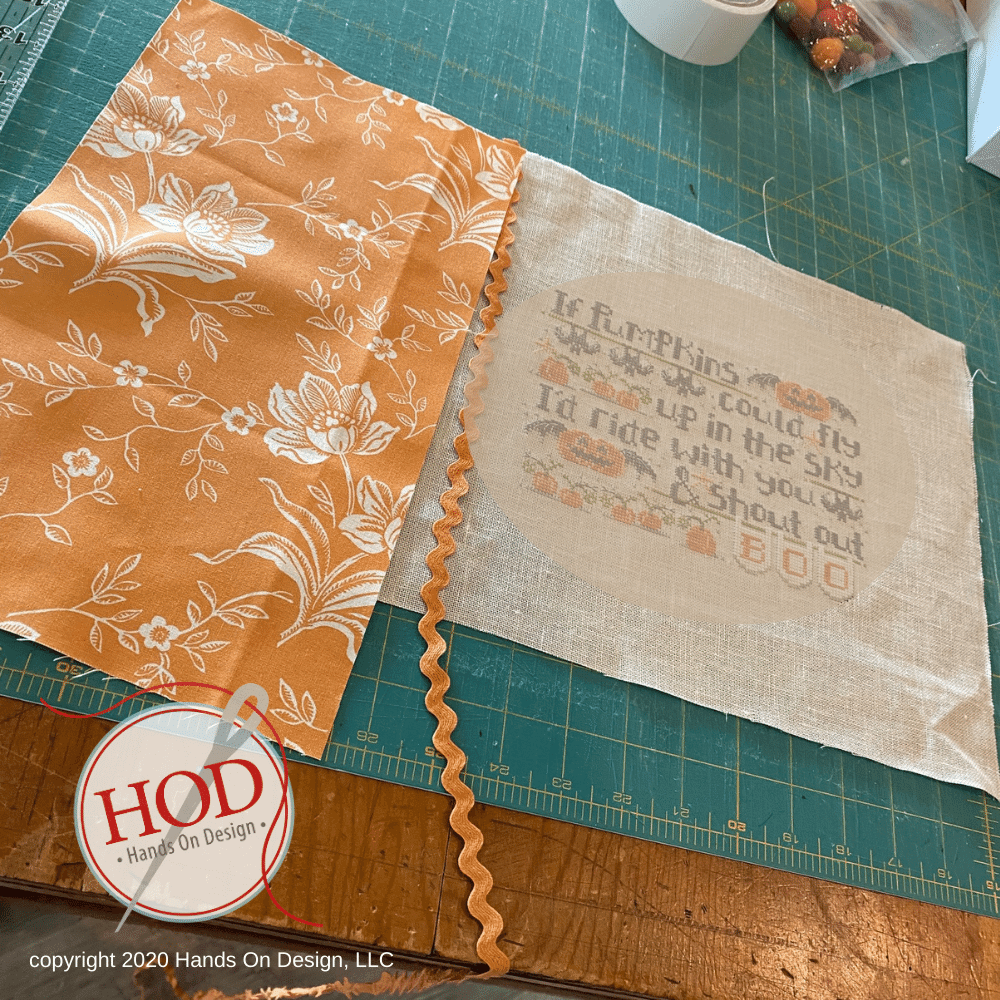
I auditioned several different trims & cotton fabrics and decided what to use. A tip here – don’t always be afraid to use bigger prints. I scooted this one around until I had just the part that I wanted to end up in the frame.
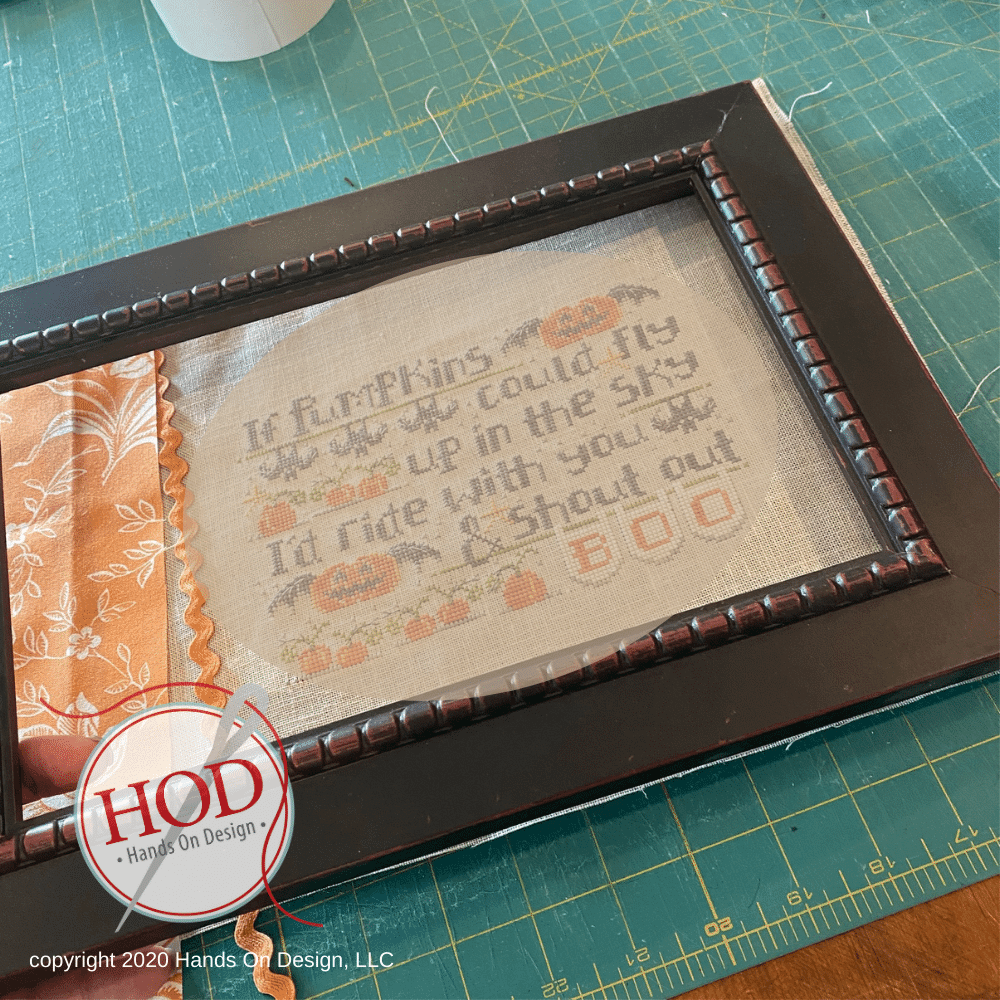
I placed the frame over everything to get a better look at how it would all come together.
Here’s a closer look at the frame. I’ll admit, I got pretty lucky with this one. The frame was black painted over red…but the red is an orangey red…not matchy matchy, but close enough to work!!
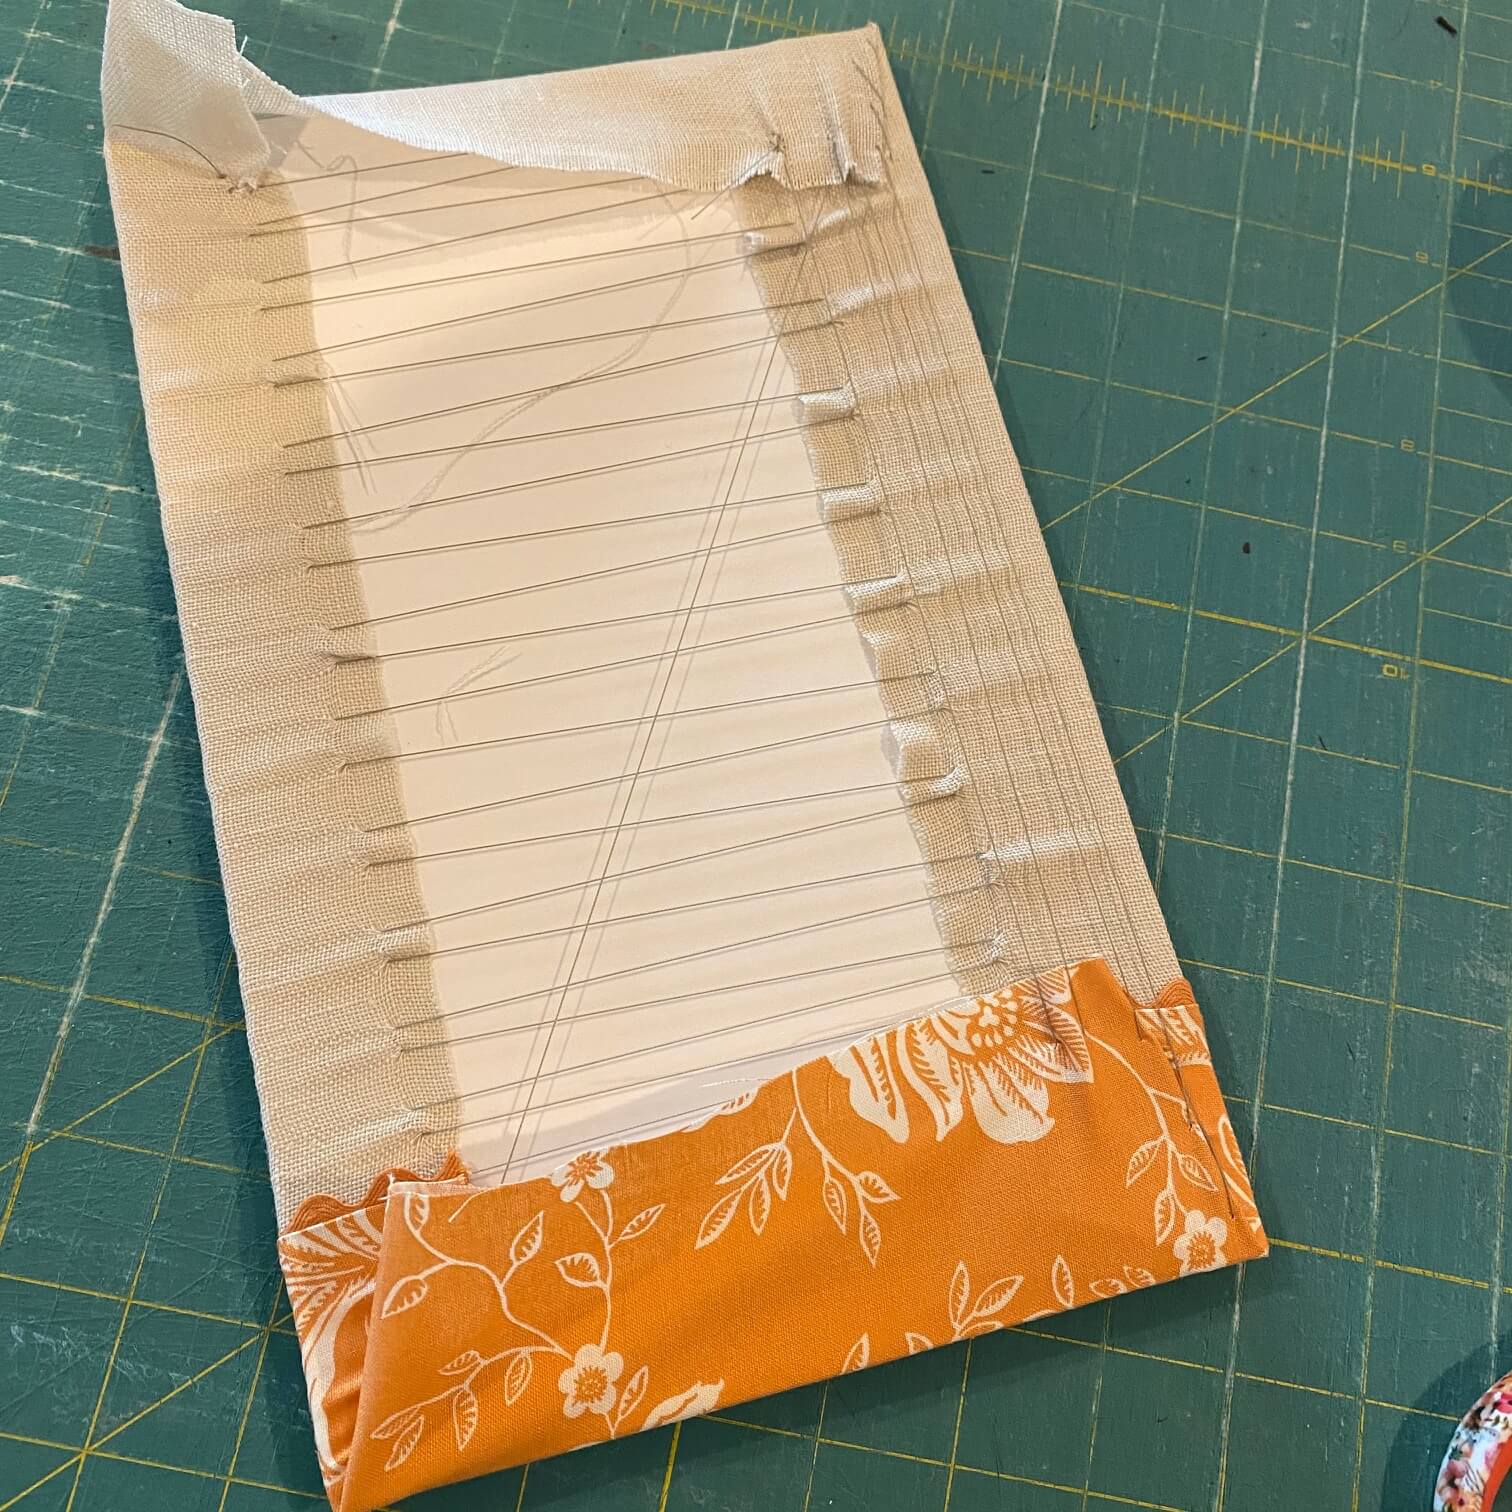
I figured out where I wanted my rick rack to be placed & then attached it to the linen by sewing right down the middle of it. Next I attached the cotton fabric using the sewing line created by attaching the rick rack as a guide. (I actually sewed right on the line.)
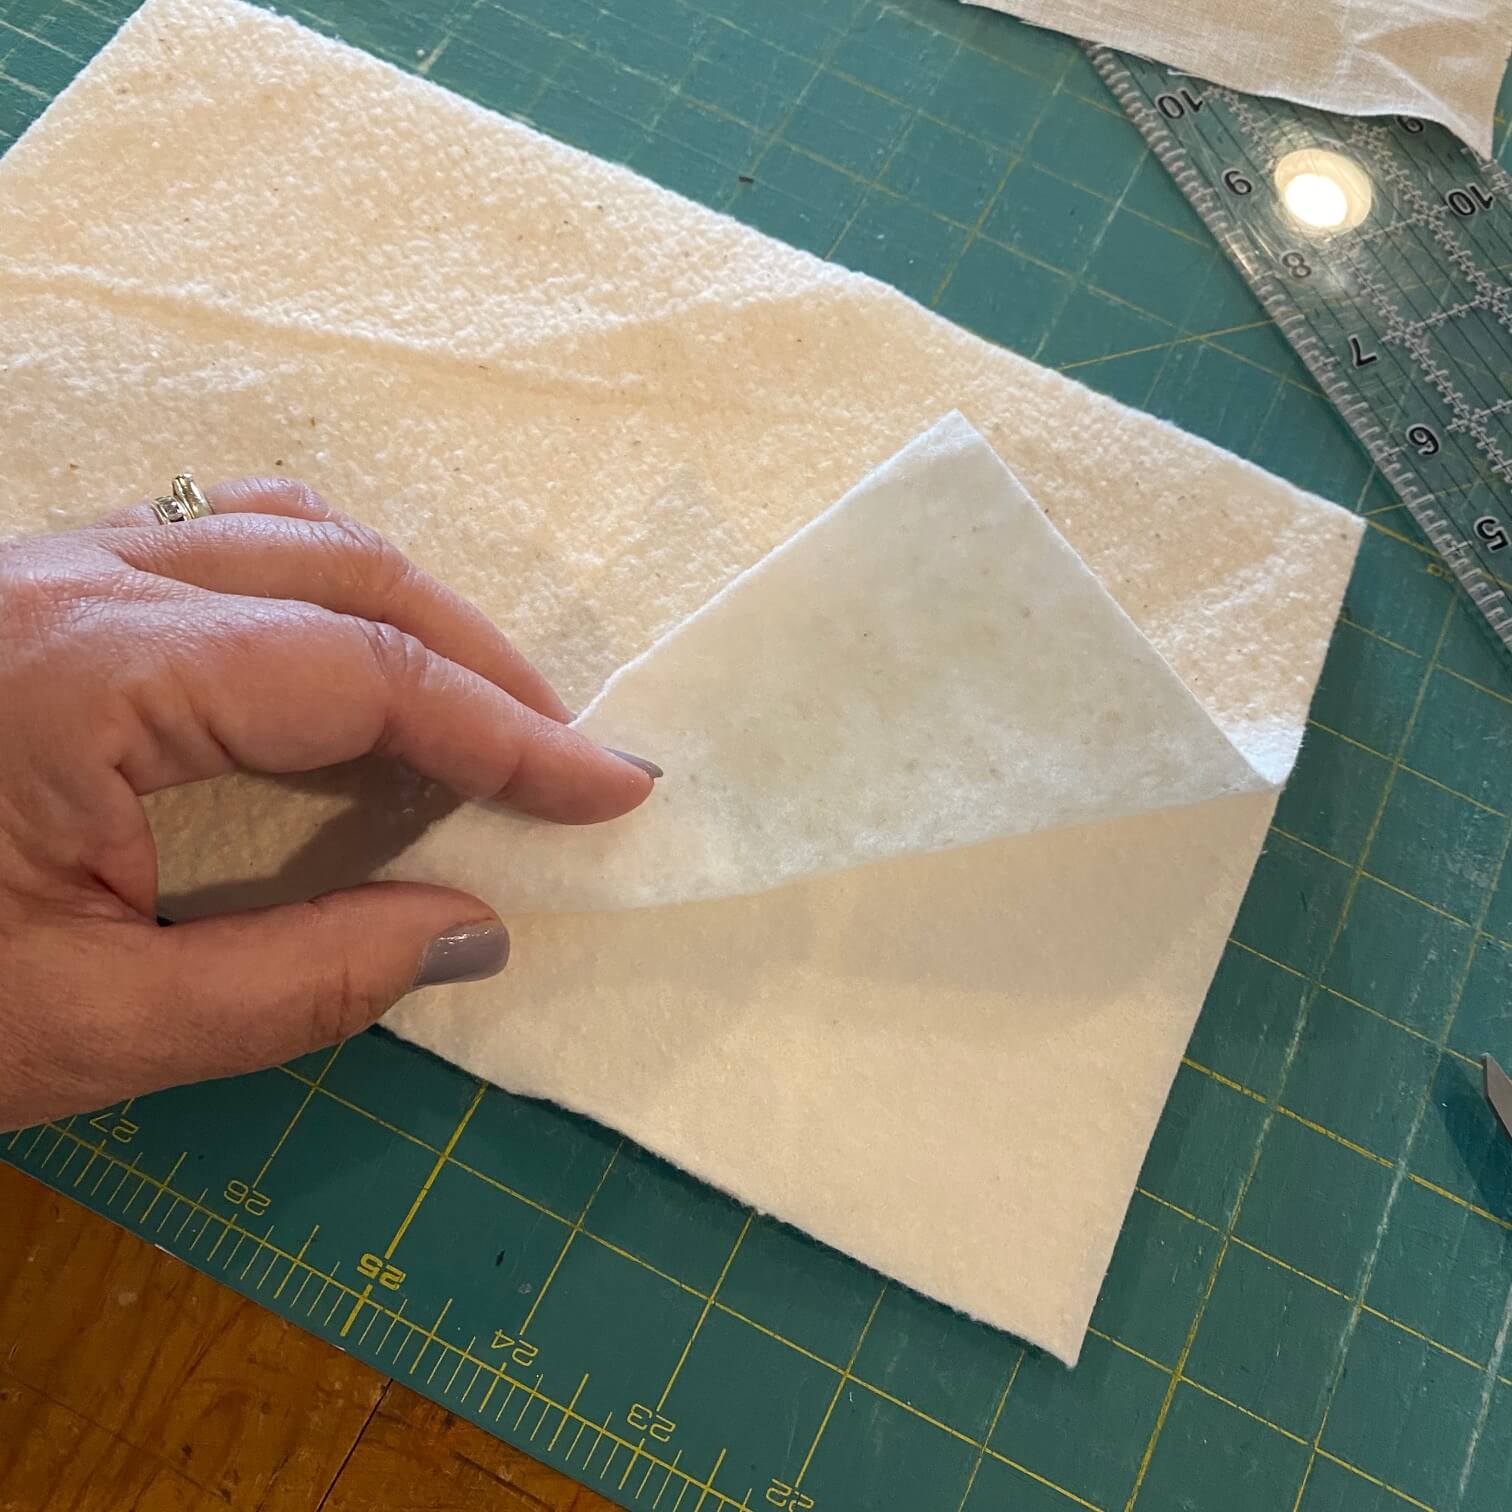
Next was a piece of foam core cut to size & then layered with 2 pieces of warm & natural batting.
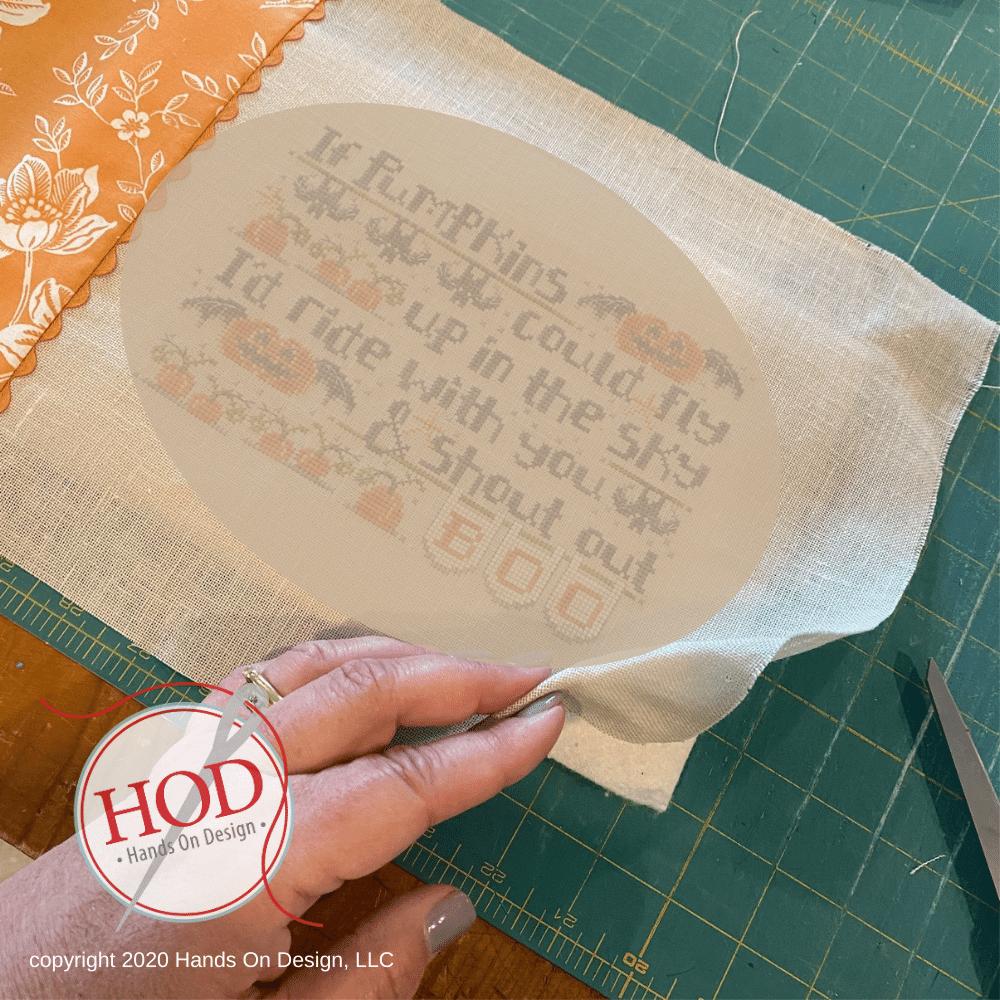
Center my stitching…actually in this case it wasn’t really centered – just placed where I wanted it to end up inside the frame! (This way I didn’t have to be too careful about the centering!!)
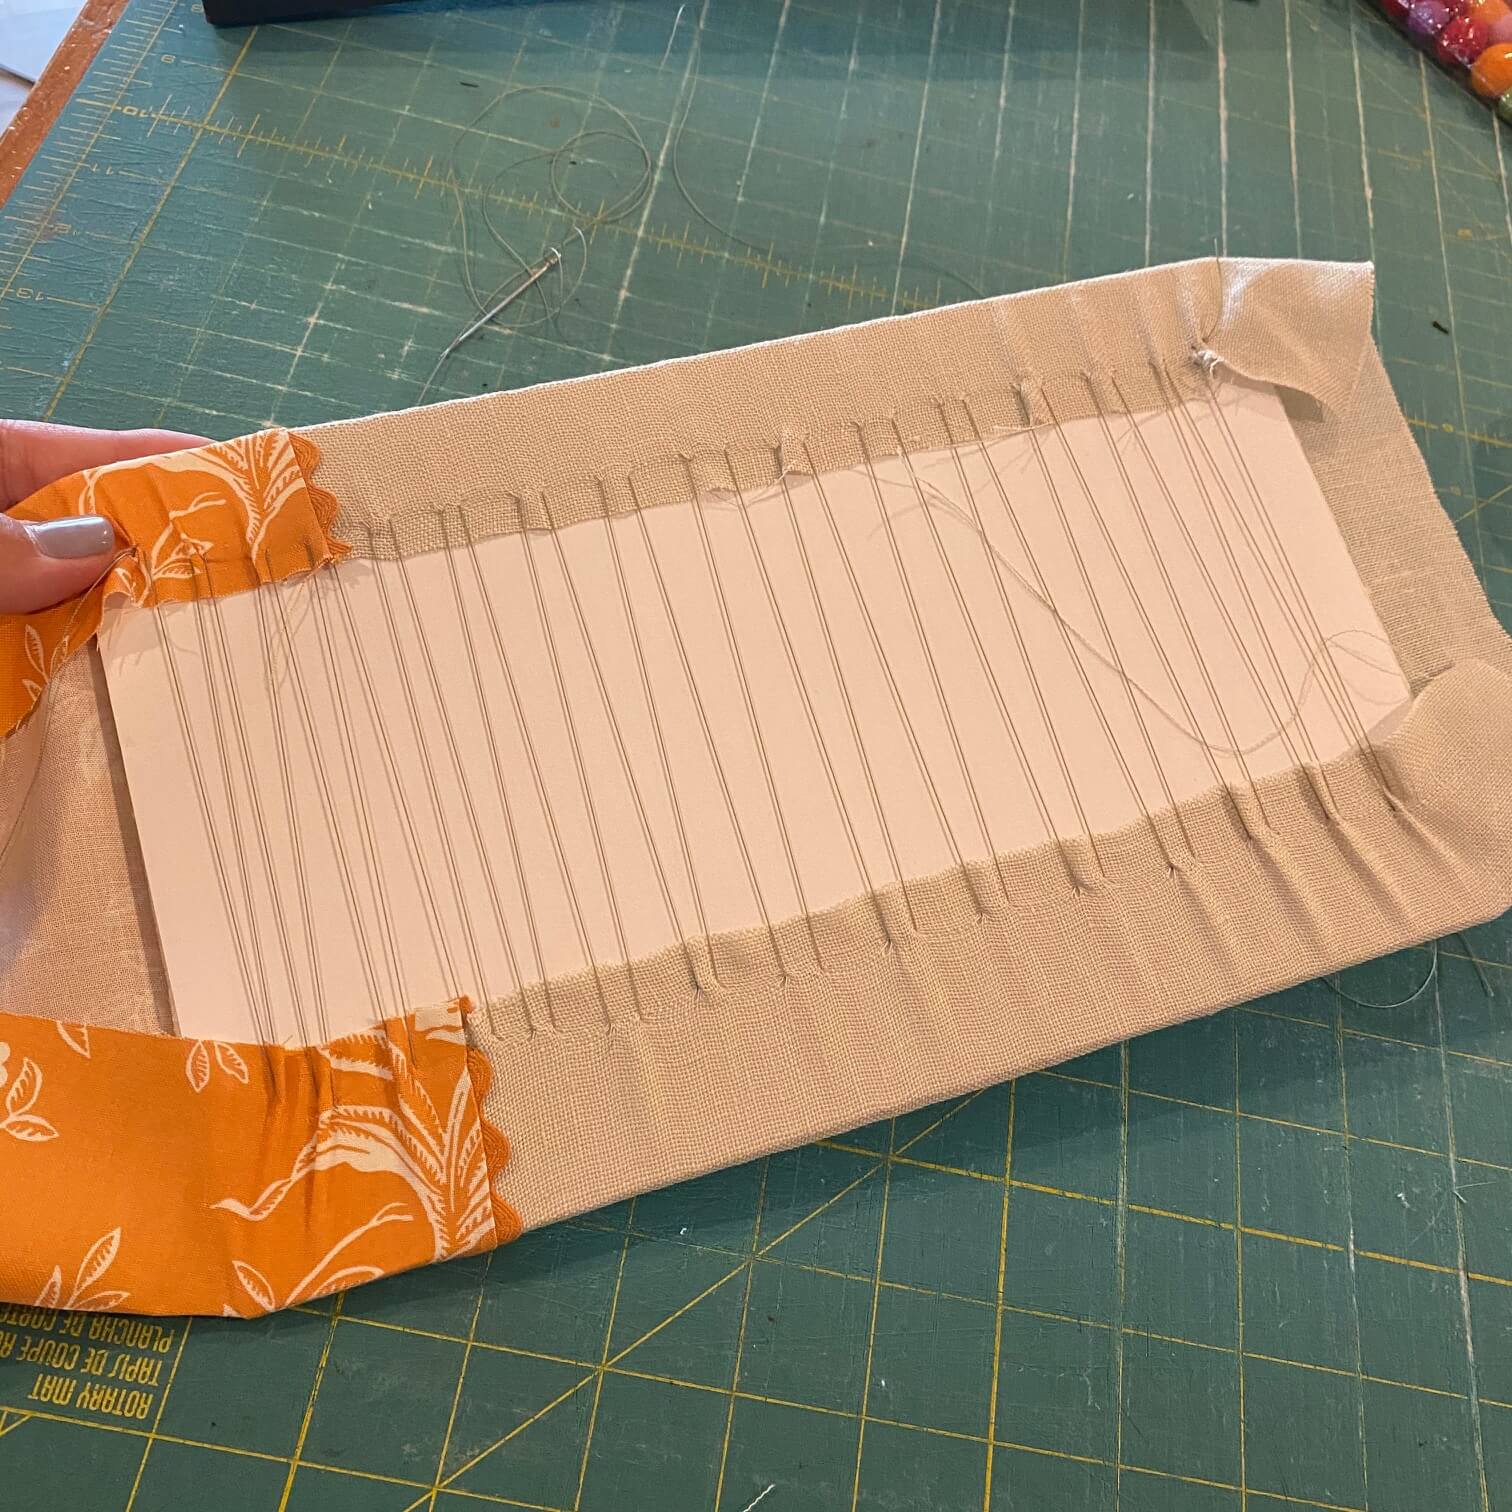
I like to lace across the longest side first…don’t know why, I just do!
Check the front, make any adjustments…
then lace the other side!
Insert the laced piece into the frame & select some fun fabric for your frame back to just dress it up a little (you know everyone looks at the back even though we all say ‘don’t look at the back’ – you know who you are!!!)
Cut a piece of foam core to fit & use double sided stitchery tape to attach the cotton fabric (I showed how to do this in one of my FlossTube videos – episode #23.
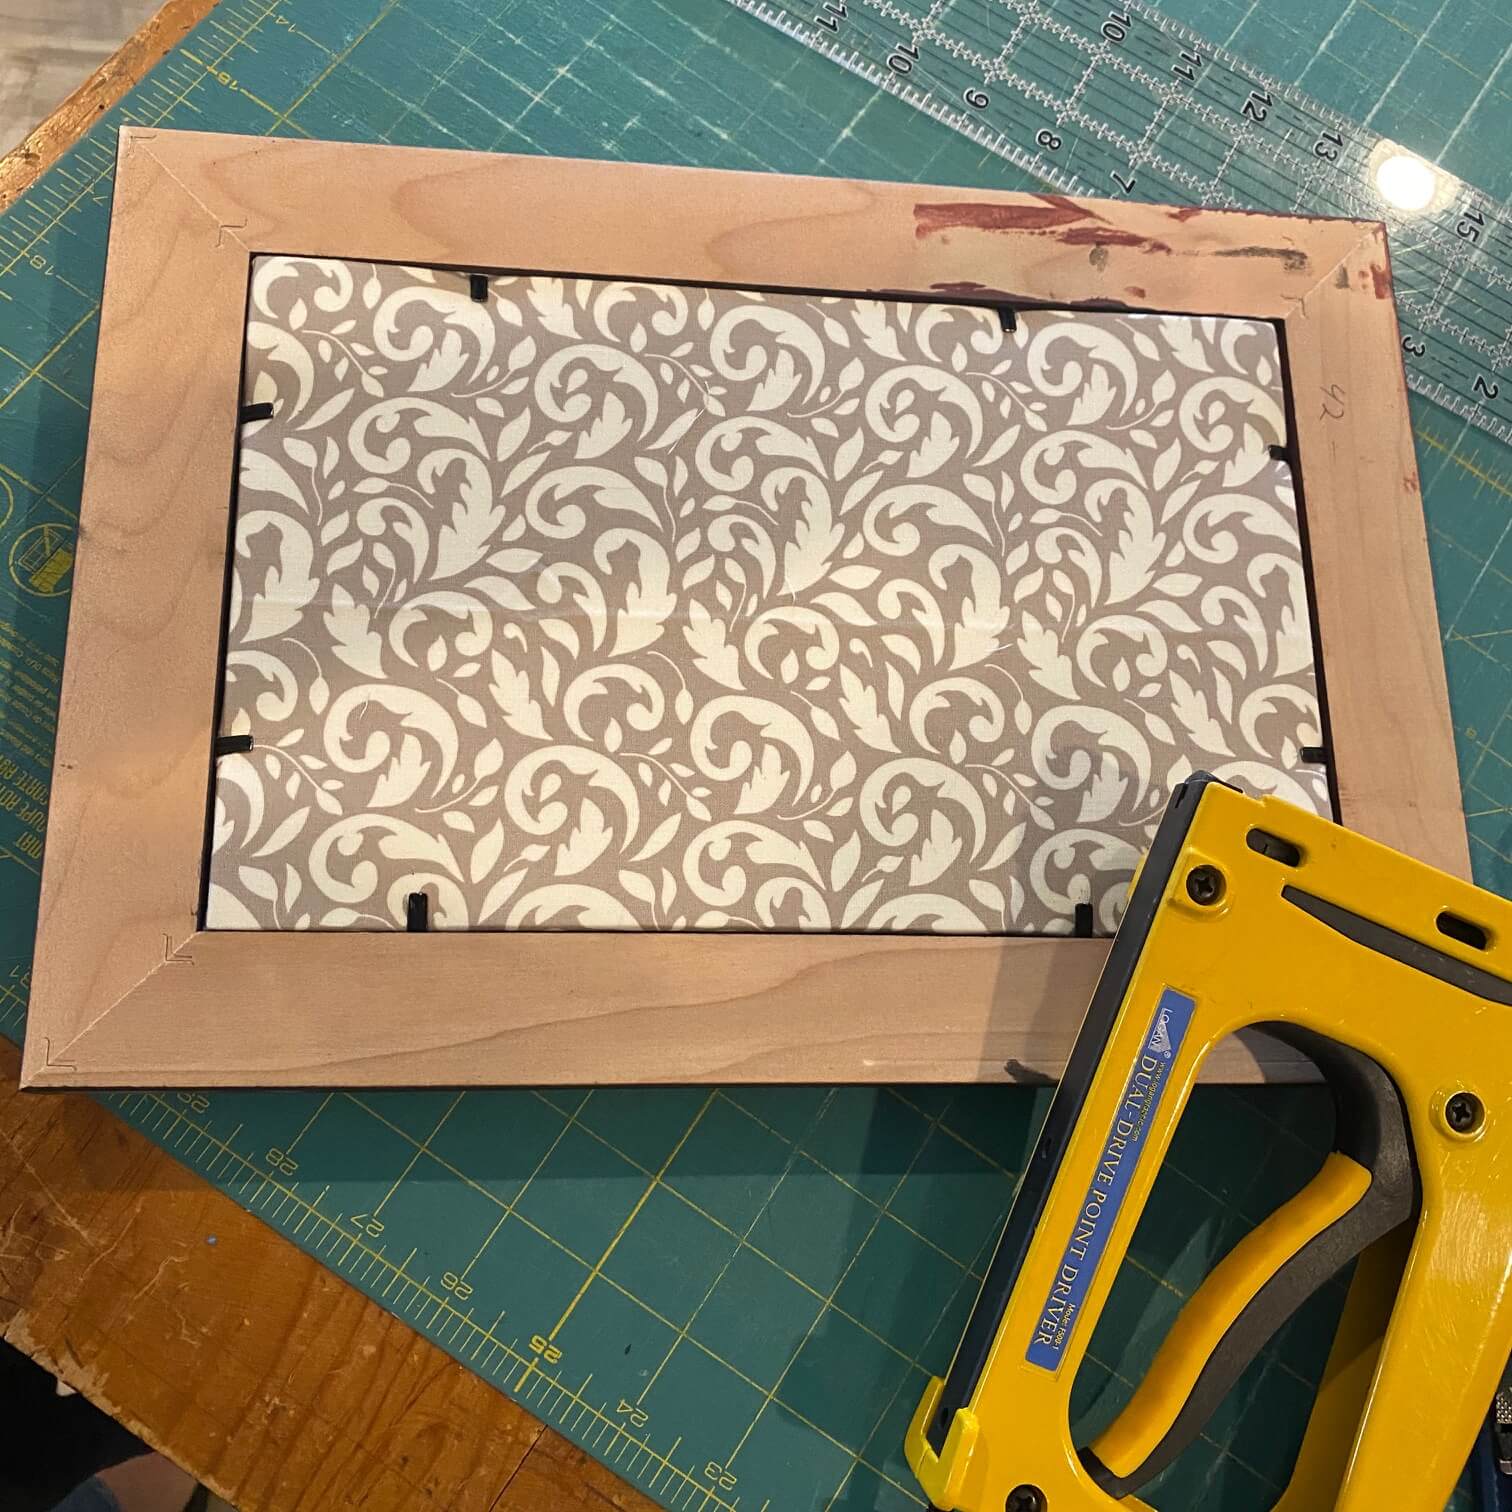
I used my handy dandy point driver to close it all up. A point driver can be purchased at many craft stores – if you do any at-home framing, this is a must have tool!
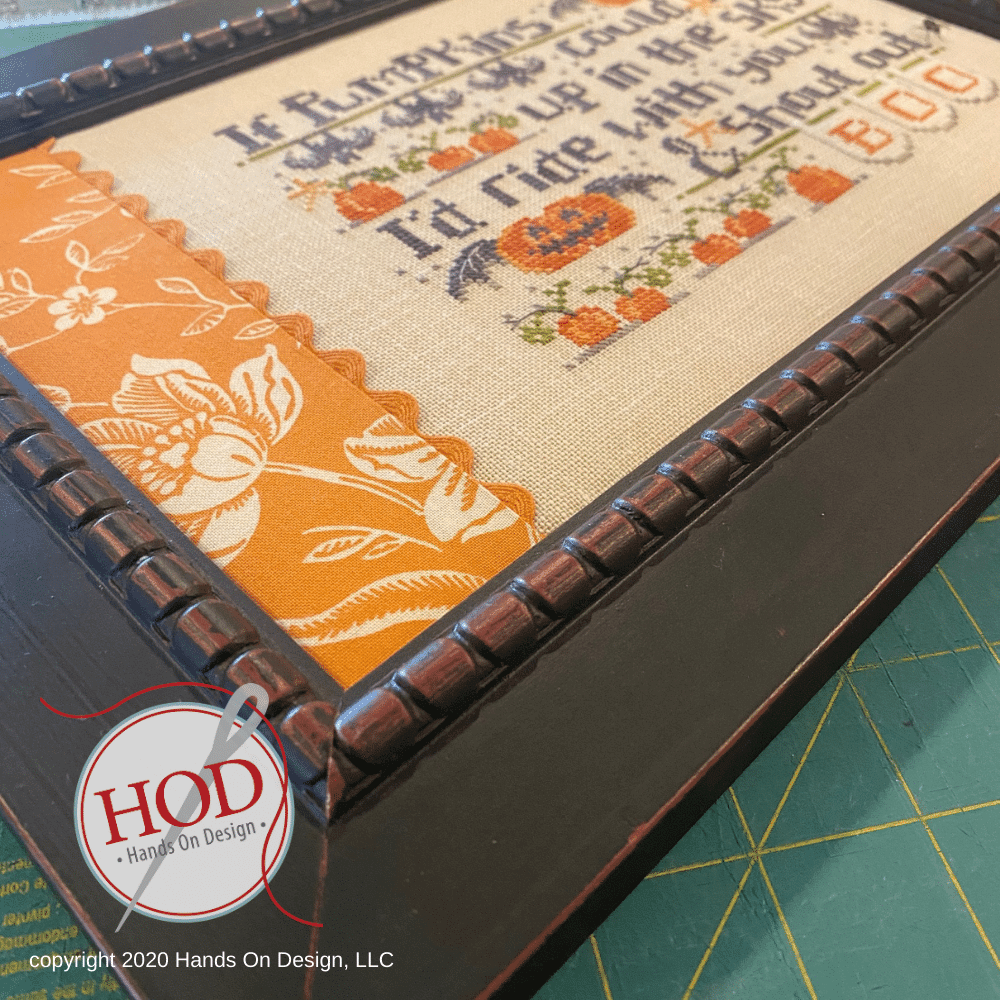
There ya go! A frame that was laying around…put to use for a custom finish!
A word about this design & those ‘beigey’ circles…this piece was an exclusive to the Garon Tottenbags club. I want to thank Gary & Ronny for the opportunity to be part of their club. It will be released next summer as part of the HOD catalog, so I wanted to keep it a ‘little’ under wraps for a bit longer.
Were you wondering what happened to that requested Frankenstein?!? Oh, he happened too – a super adorable Frankie ornament is included with the chart too! You get to see him later!
I have had the good fortune to participate in a number of club programs – be on the lookout for the SewMuch2Luv bag of the month & the Black Needle Society coming soon!
You keep on stitching & I’ll keep on designing…& finishing!!
Enjoy the stitch – Cathy, Hands On Design


Y r awesome. Some much tAlent creativity humor! THanks for sharing it all!!!
I have been waNting to write to you and let you know how I love all your designs. On top of that you are an unbelievable creative finisher and I look forward to your instaGram and bloG entries. I have now learned how to frame on my own from your blog. Thank you and keep up the beautiful work.
VERY clever!!!! I don’t think I would have thought of it!! Cute saying – I wouldn’t have thought of that either!! Love the pumpkin helicopter – cracked me up!! I’ll be looking at my frames in a whole different way now! many thanks!!
Wow another great pumpkin surprise. love your designs!!! your heart and passion shows in every design.
I have just found you on Flosstube and all of the other social media. Love your style, designs and attitude, thank you for being a bright spot of a difficult time. Be. Well. Btw- i am an East coast stitcher who grew up in Iowa
Omgoodness!! I learned so much from this one post!! I love all your instagram posts anD look forward to seeing what your up to in your flosstubes 😊
I just found you and im glad I did. You have wonderful designs. Many are instant gratification pieces that Are inspiring to Stitch something bigger.
Love it….all; the inspir, creativ, finishing and sg 👏💞
Why, oh why does it not print what i typed?
That would be Love it all; the inspiration, creativity and sharing!
WOW, NOT ONLY IS THIS A WONDERFUL DESIGN, BUT I LEARNED A LOT ON YOUR FINISH. WILL THIS PATTERN BE RELEASED AND AVAILABLE FO FHE PUBLIC FOR PURCHASE SOON OR WILL IT REMAIN AN EXCLUSIVE PATTERN FOR the shop it was originally designed for?
If Pumpkins Could Fly will release in a few months as we get closer to late summer!! So glad that you like it! – c