So much of the time, I have a very specific ‘finish’ in my head. Other times, I let the finish talk to me as I work through it.
Yes, you read that correctly. 😉
Here, I walk you through the steps that I followed to finish this year’s anniversary token ‘love you too’ (please read the previous post to download your pattern)
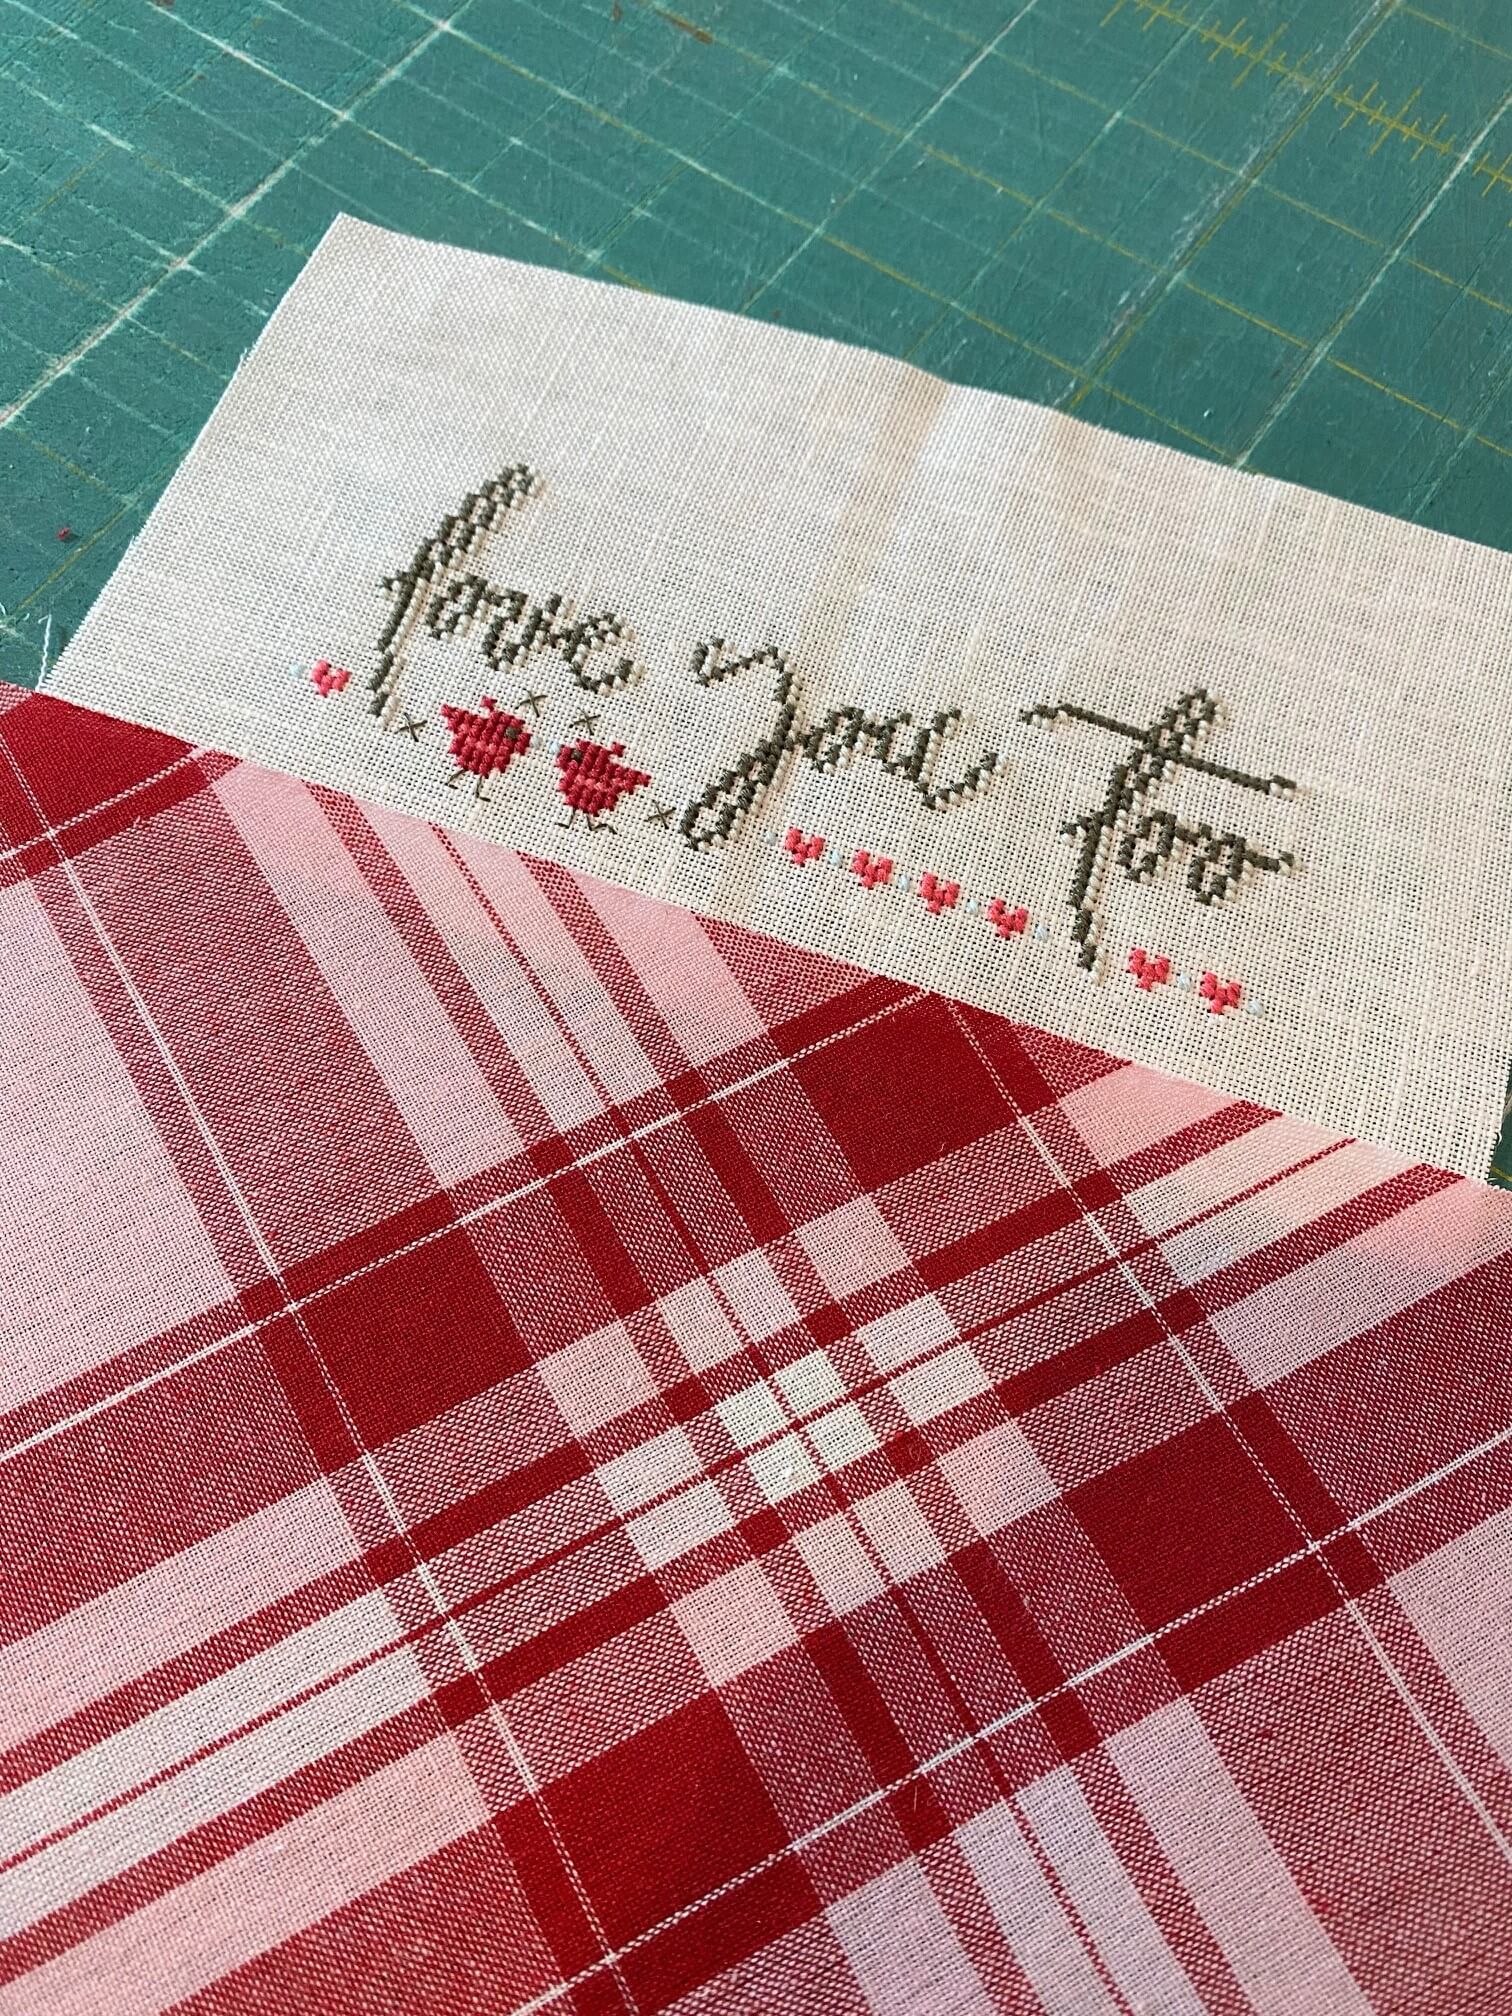
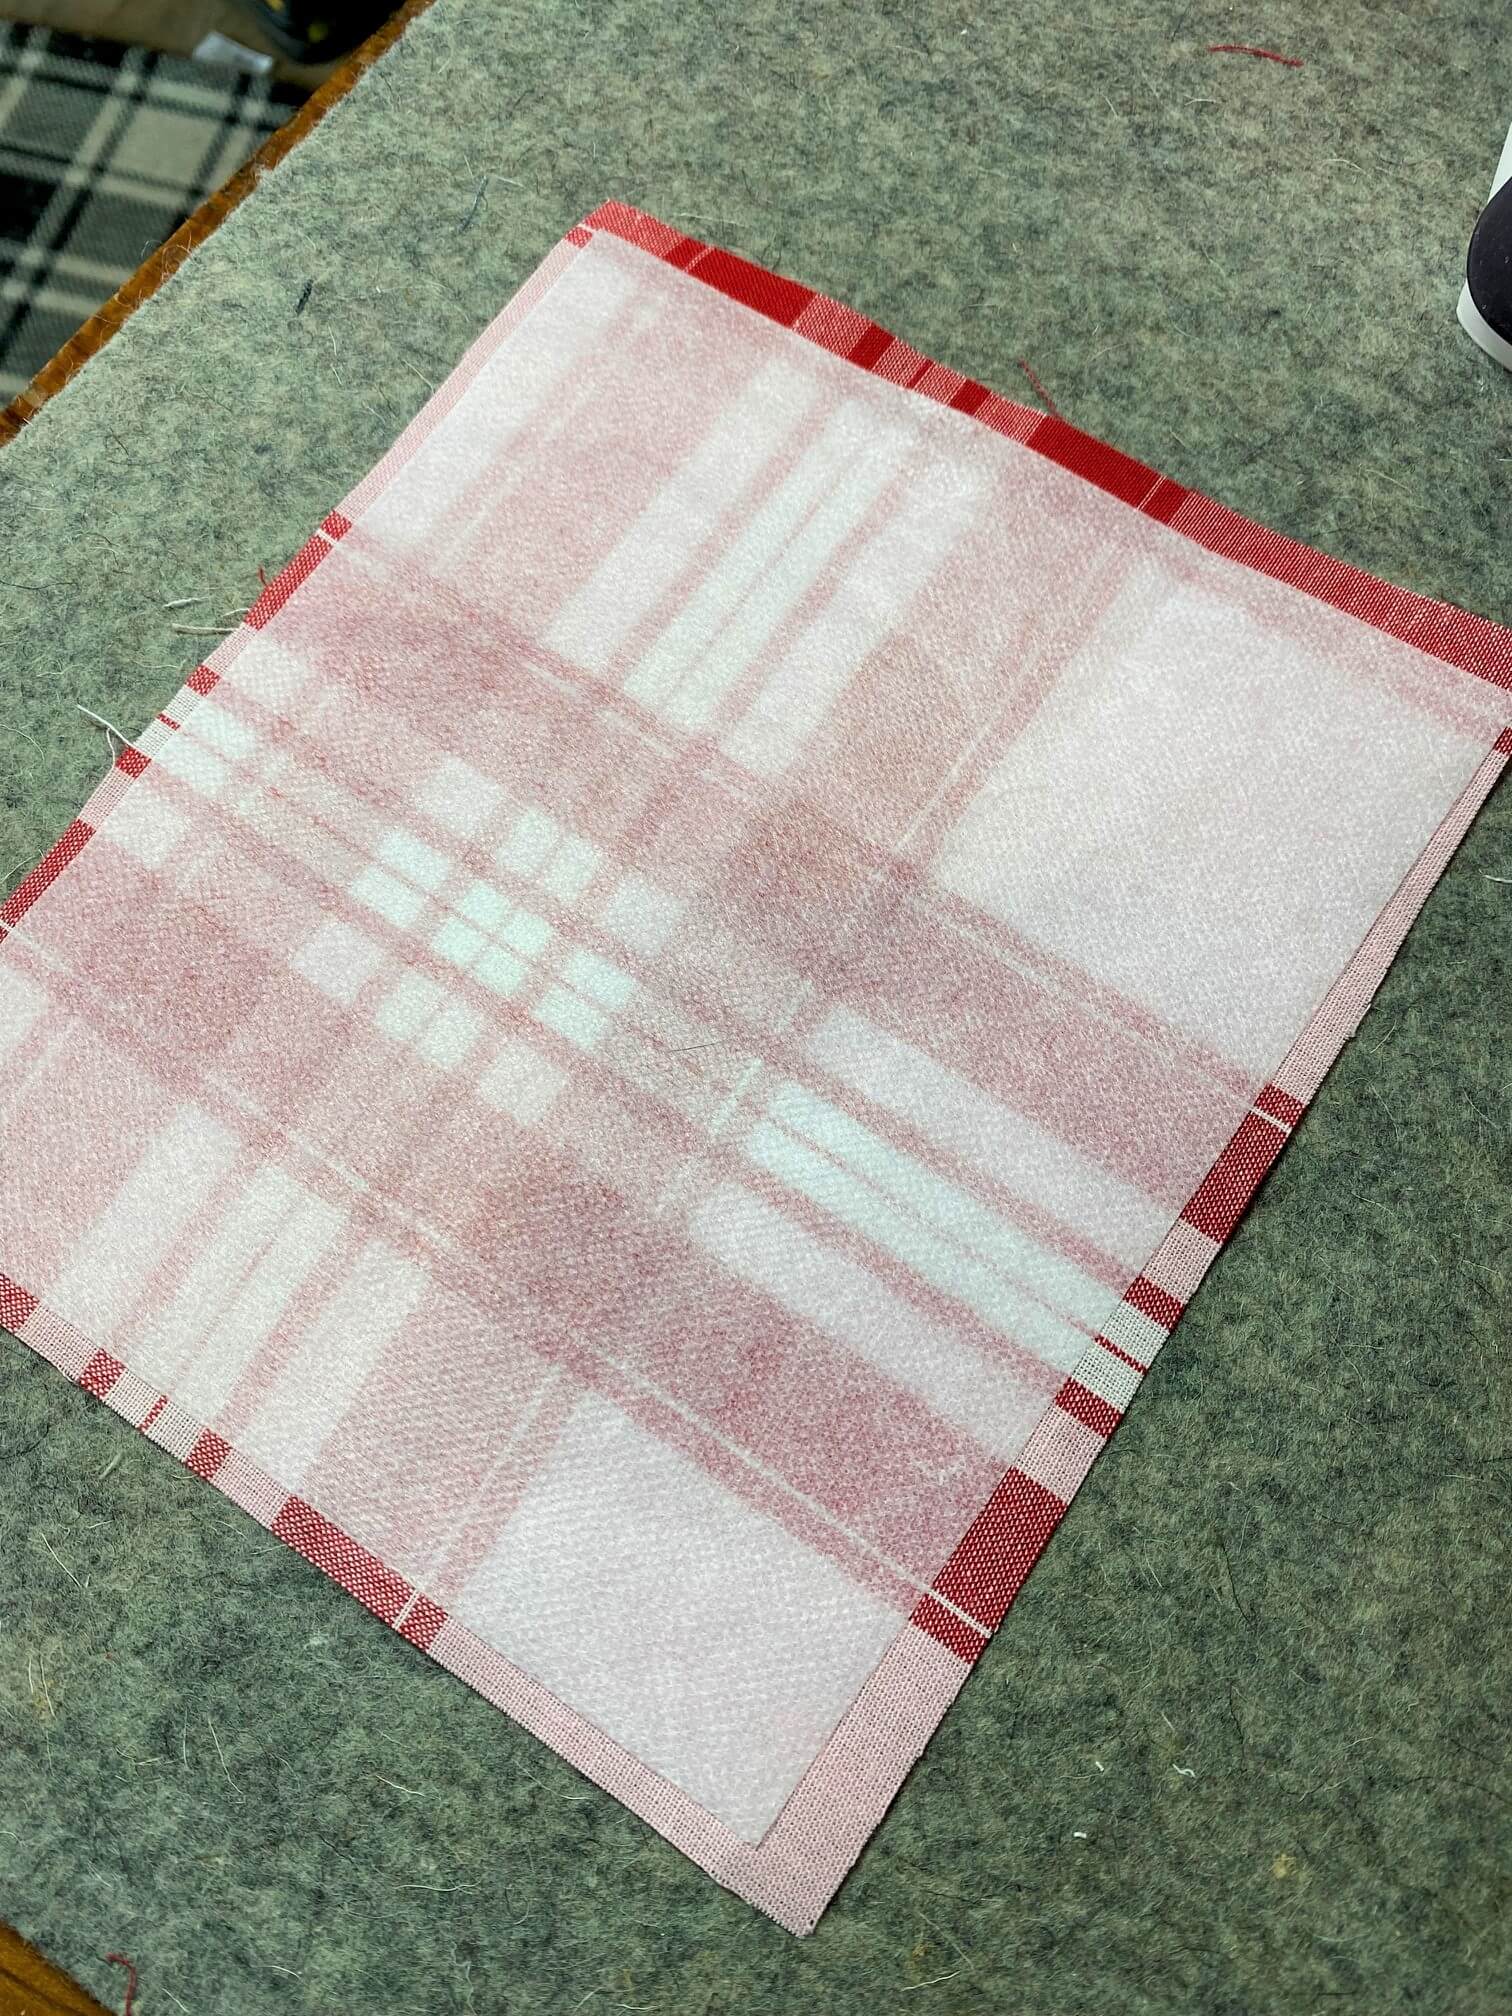
I actually found this fabric before I finished this year’s design. I based my color selection on it. It was with the Valentine fabric at my local Hobby Lobby. It’s a large scale homespun plaid – no title/SKU in the selvage. It’s homespun, so loosely woven. I think it was the scale of the plaid that got me interested.
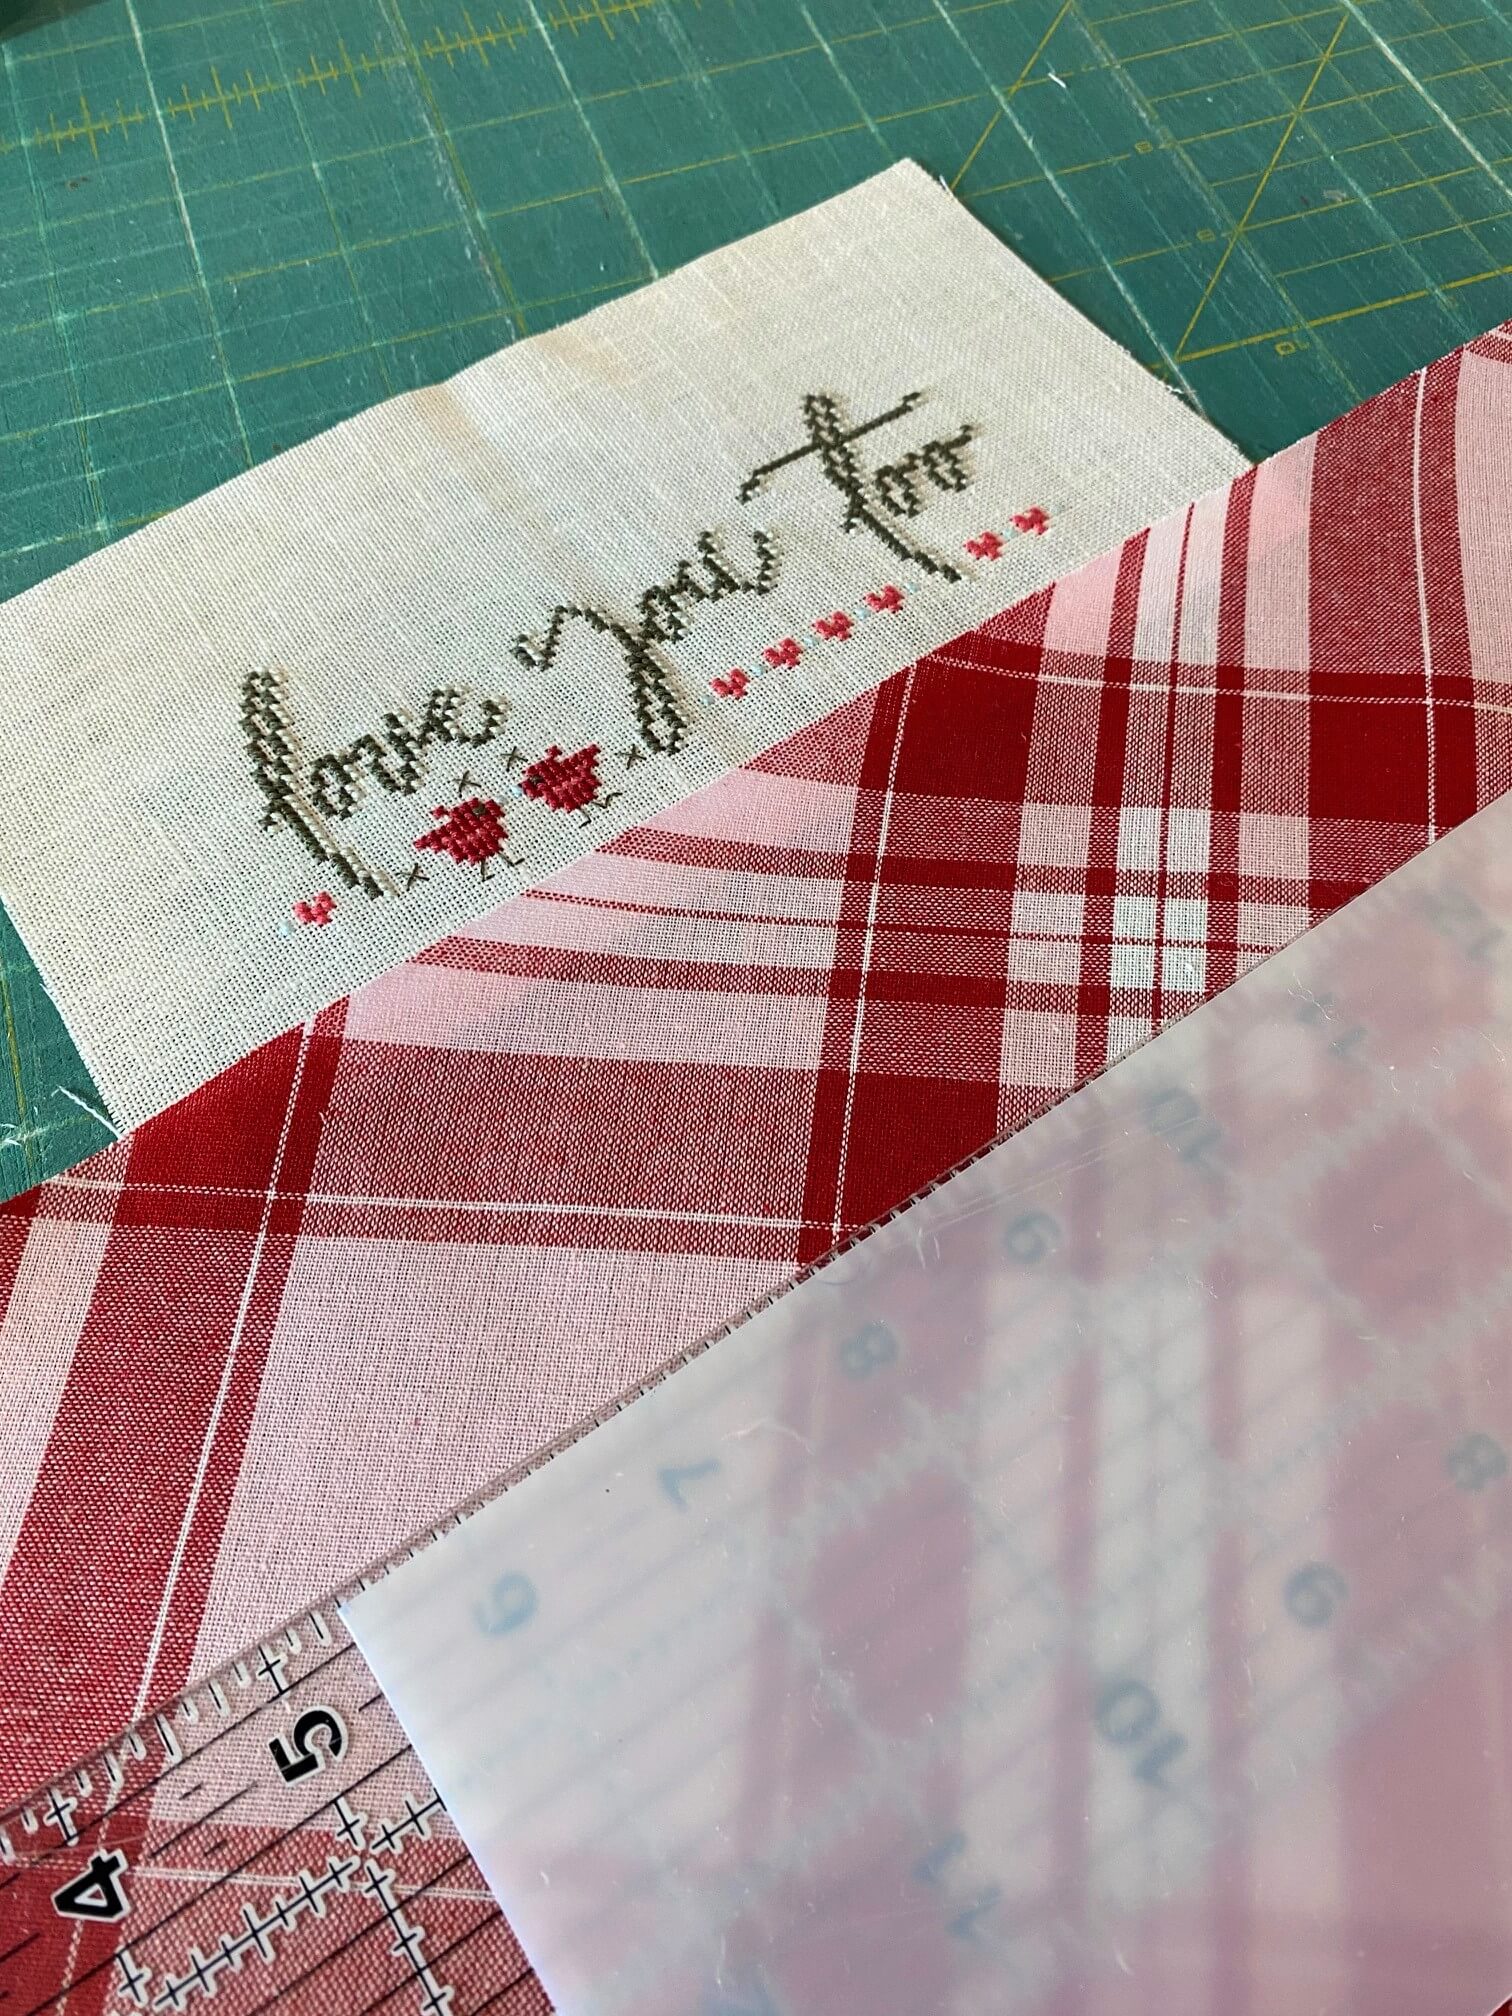
I wanted the plaid to be on point. Here I played with the placement of the bolder colors in the plaid. I didn’t want the heaviest/deepest colors on the left side of the design since that is where some of the unique design detail is (those birdies). I balanced the weight of the plaid to be on the opposite side. I placed a template that I had laying around to help me determine what part of the plaid should show (covering up the surrounding plaid helped me to visualize the overall effect.)
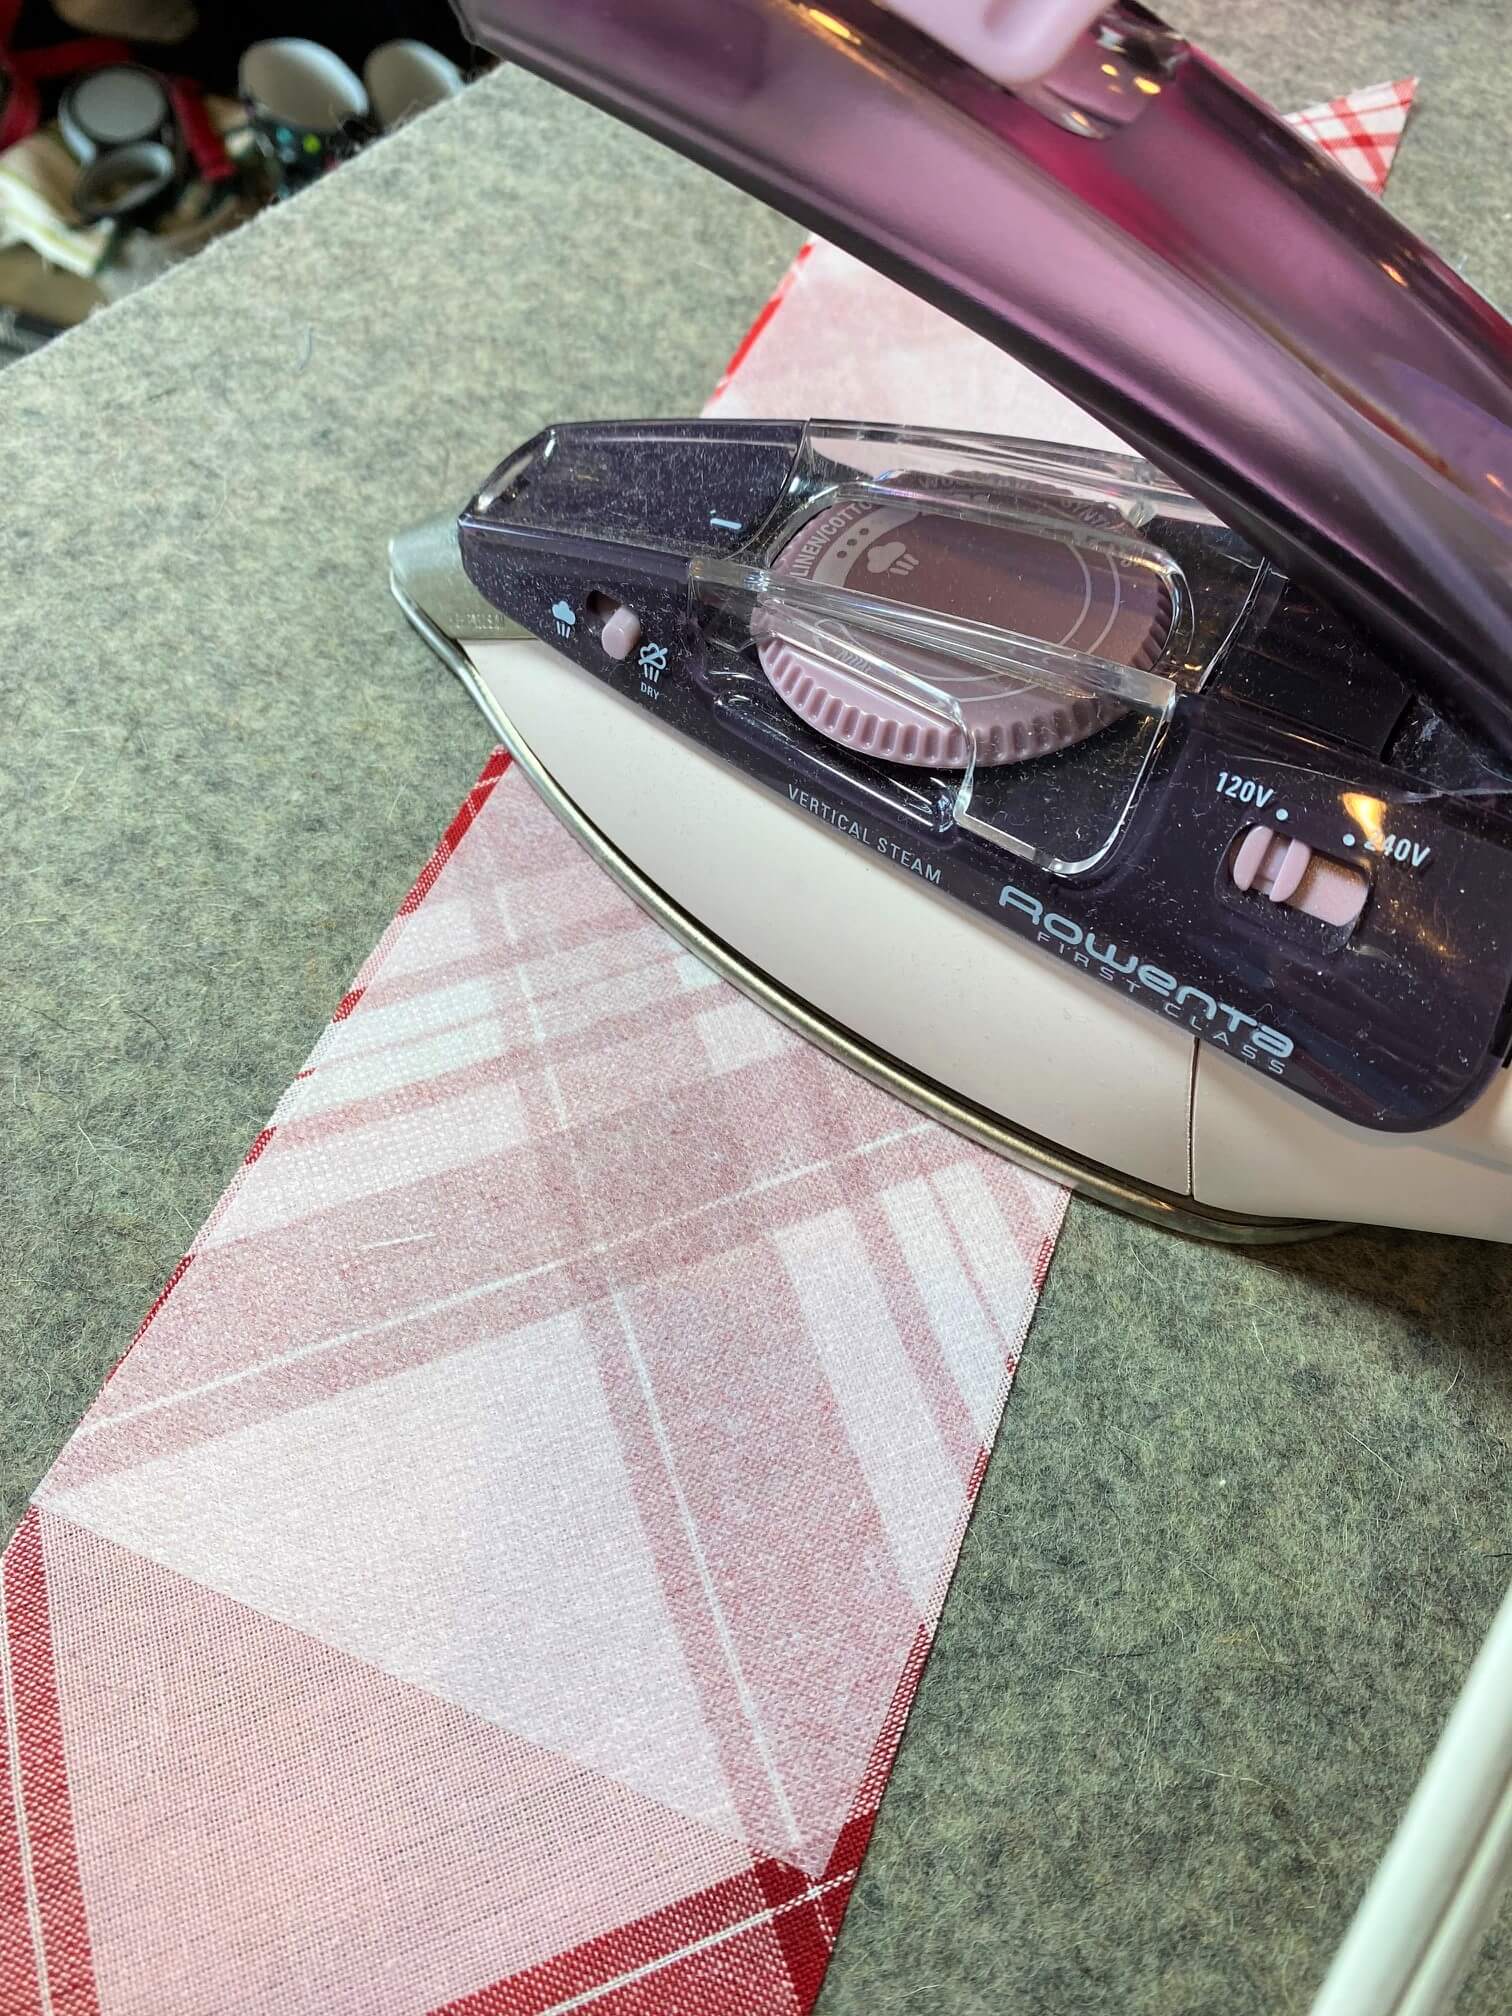
I applied a lightweight fusible interfacing to the back of the homespun…this is essential for a loose weave fabric like homespun.
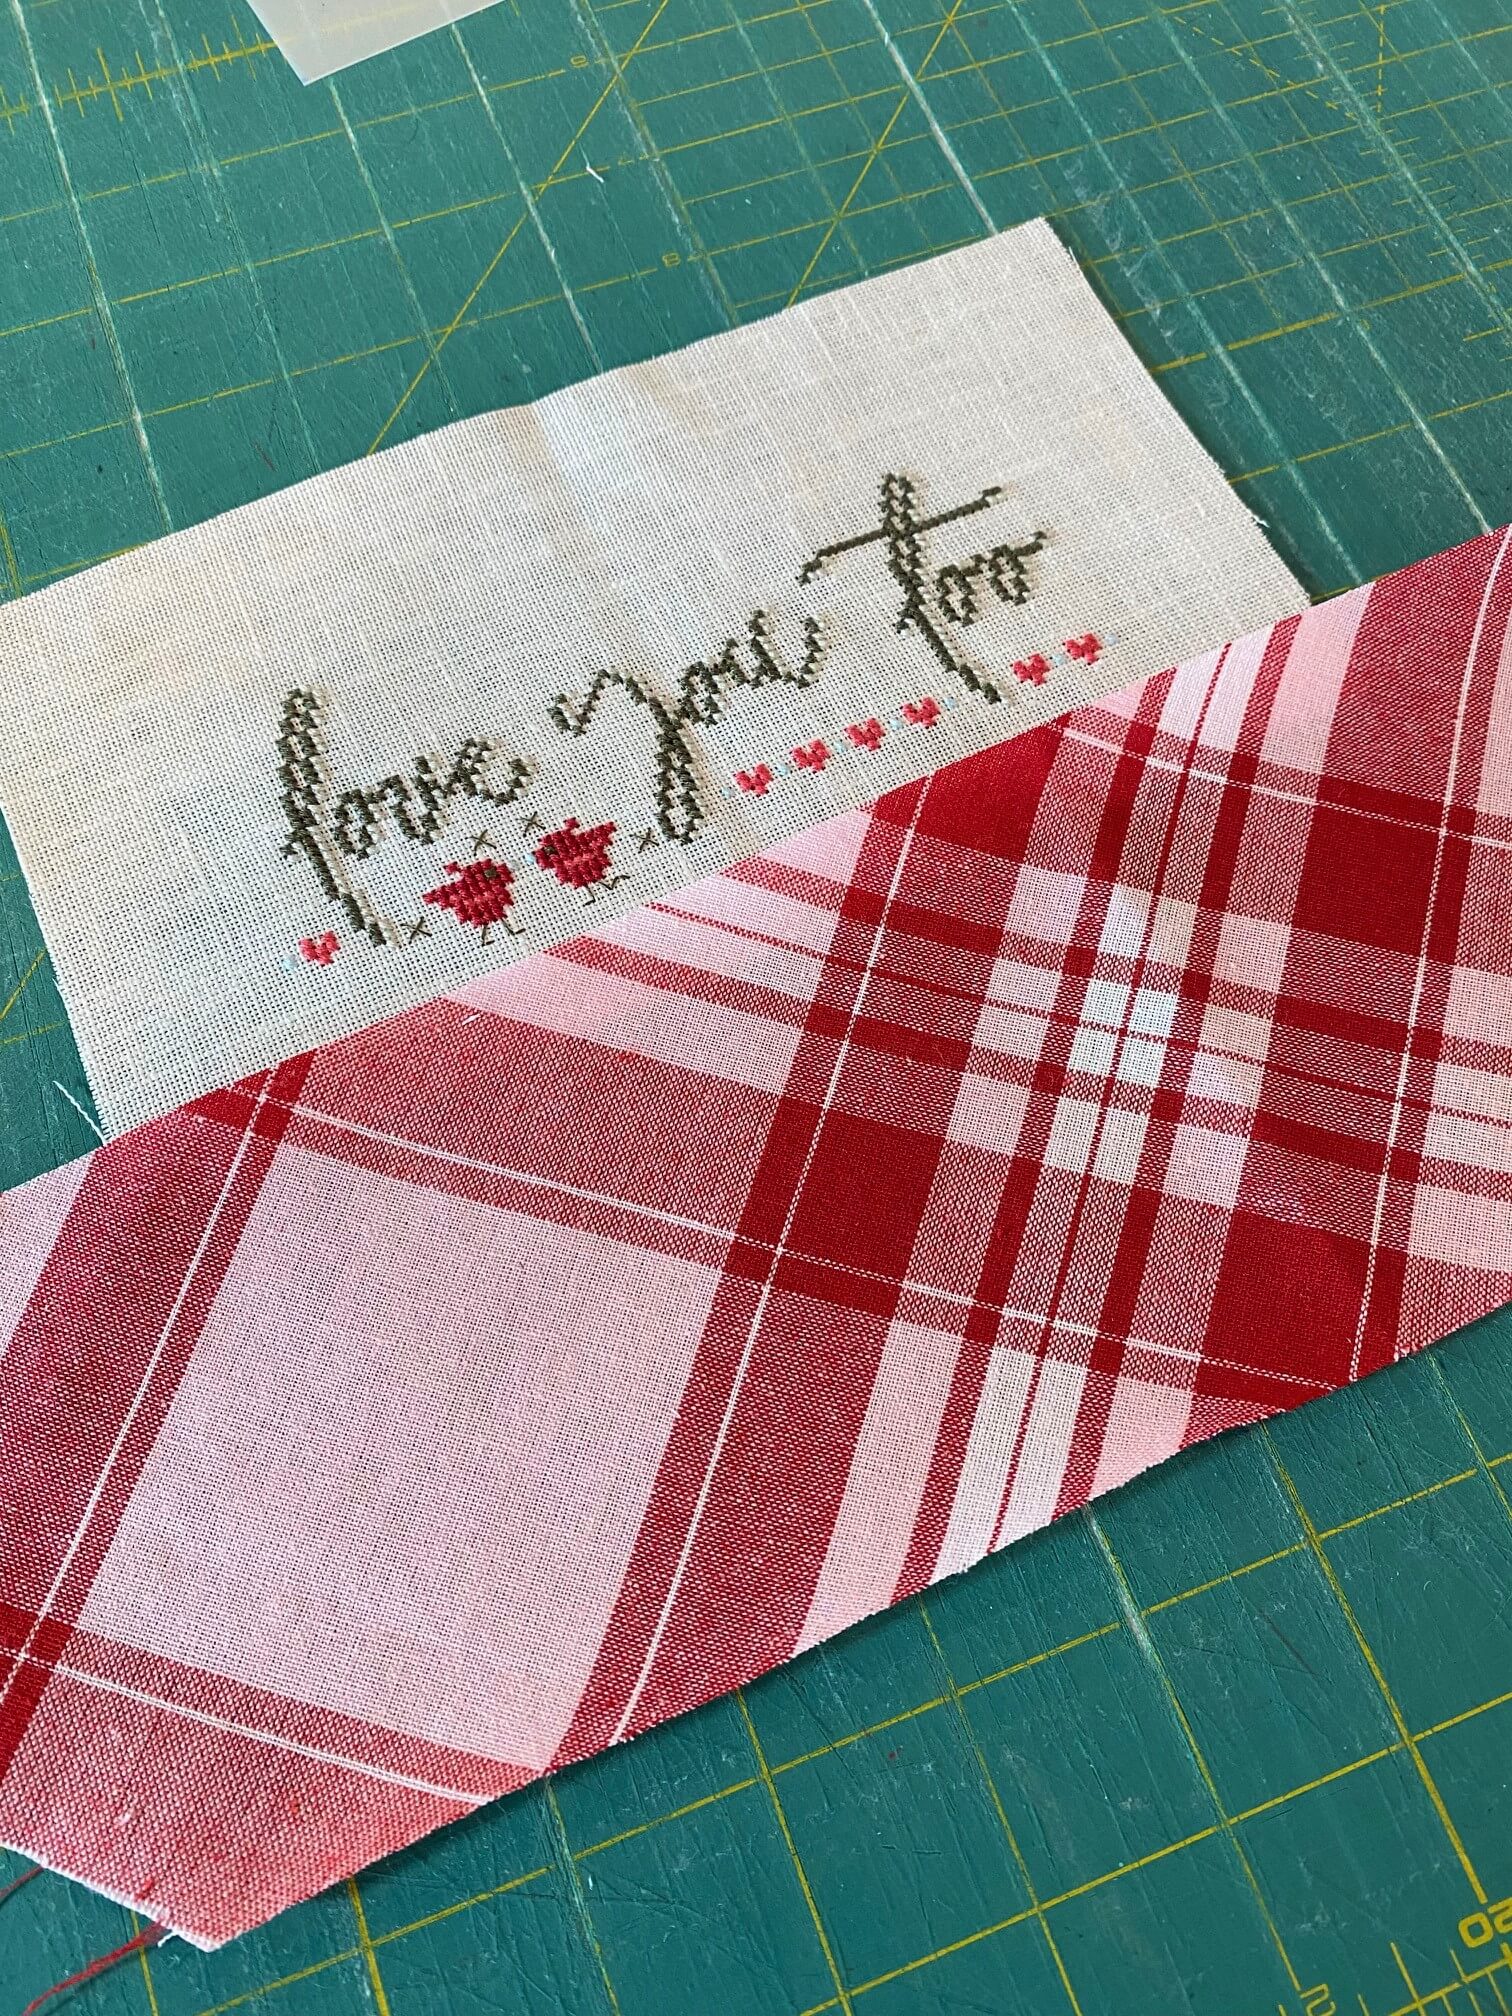
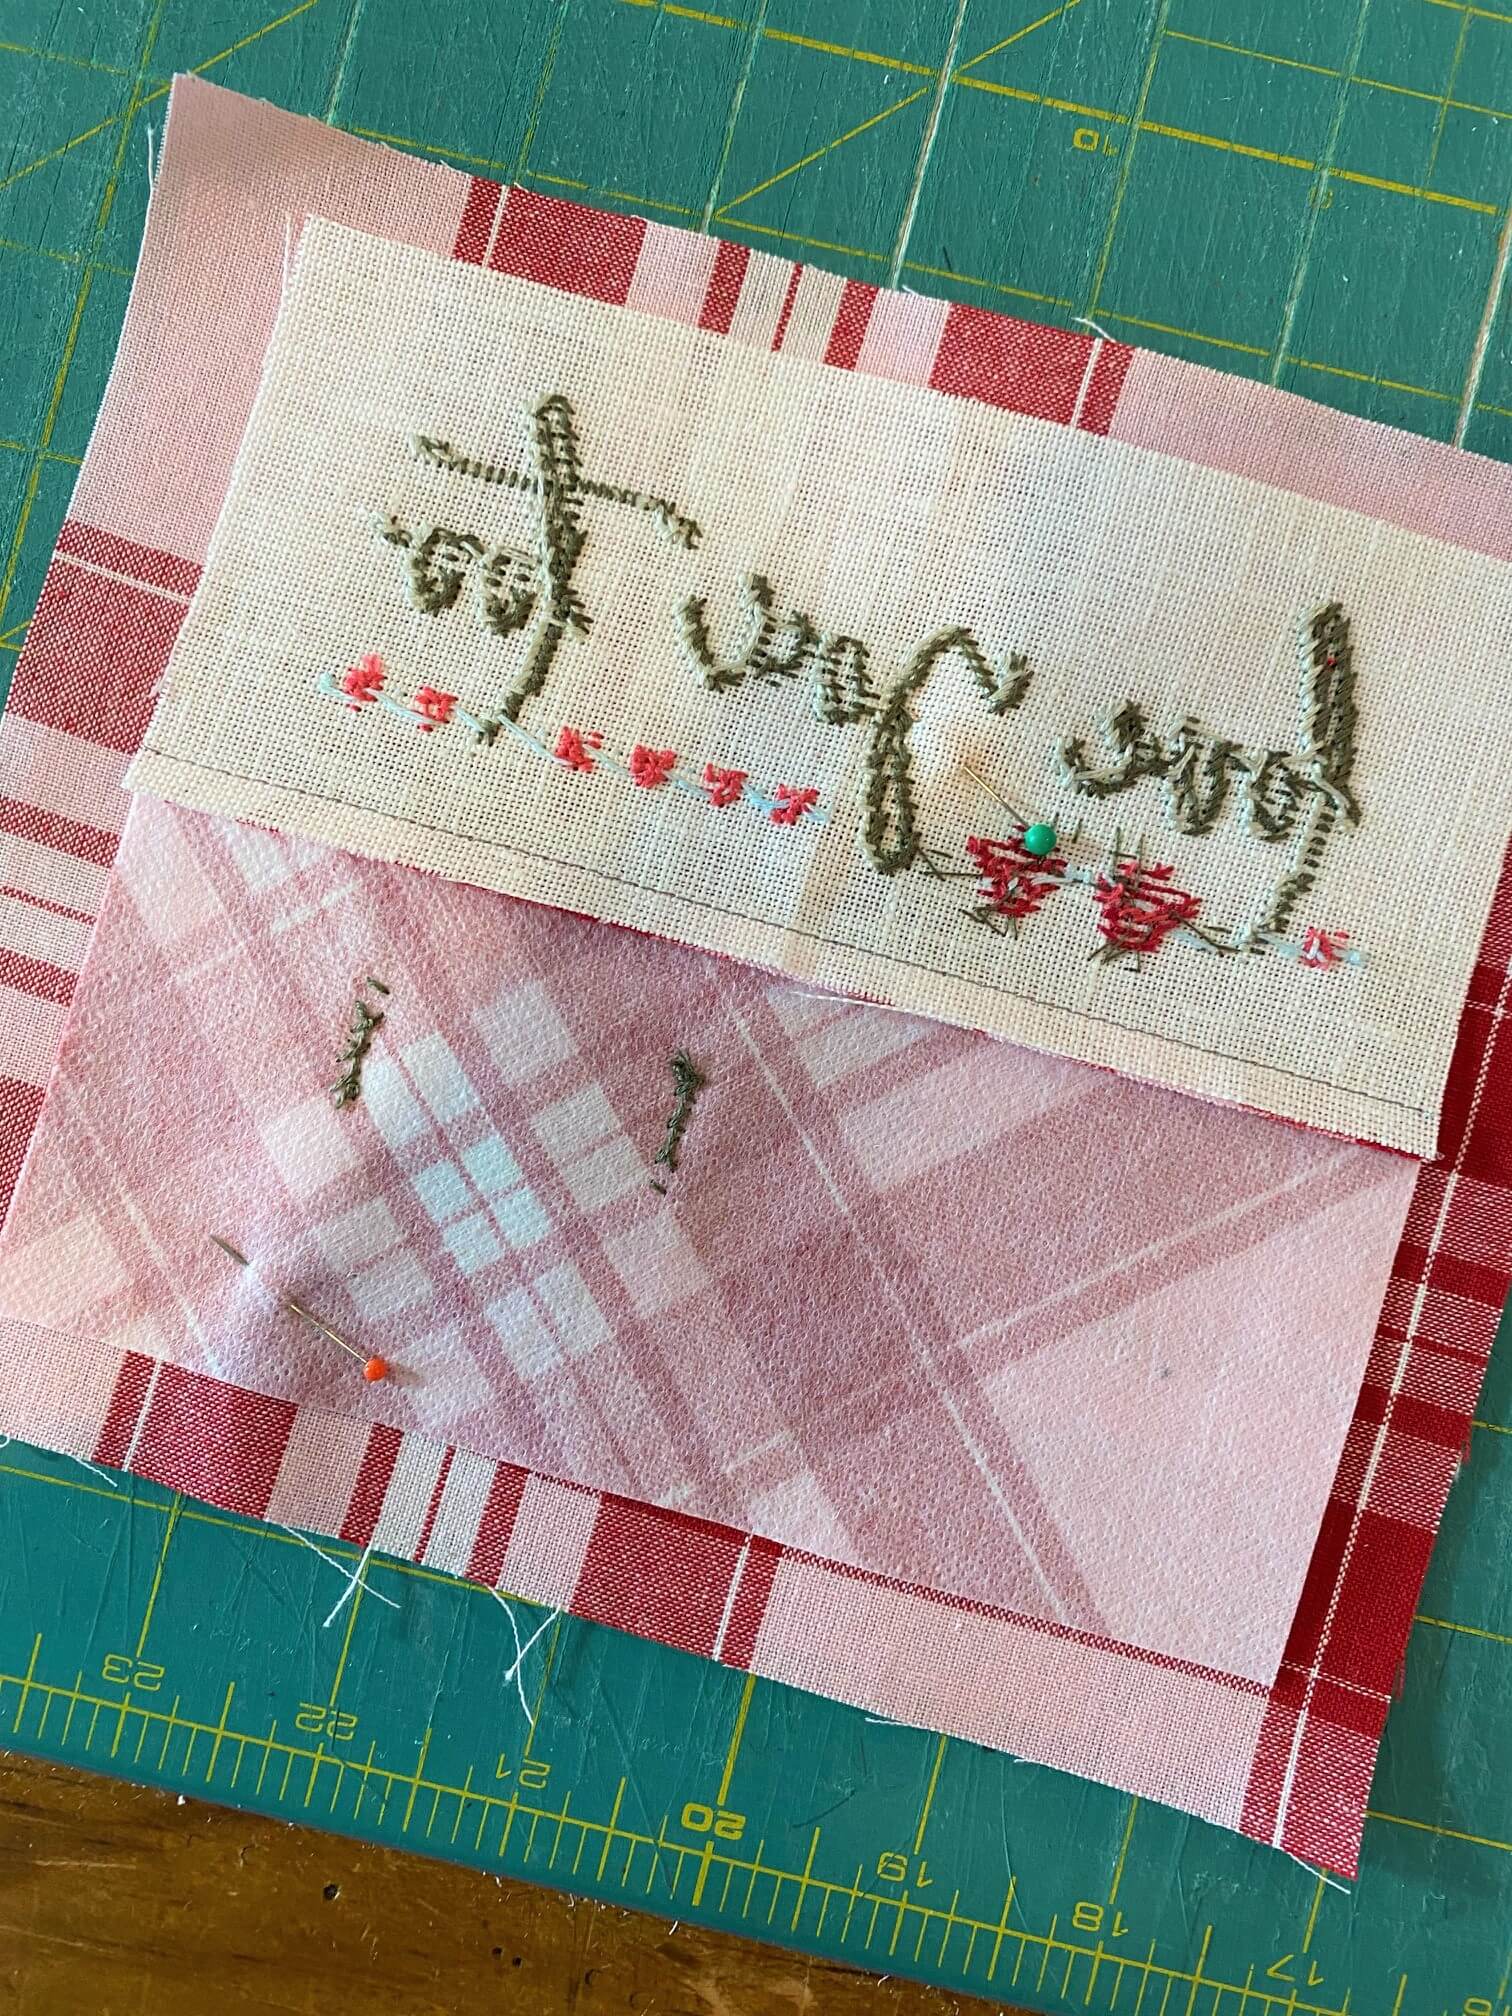
I trimmed my stitching to 1 1/4″ on the top & sides from the stitching & 3/4″ on the bottom edge. The plaid strip is between 4-5″ wide – I will be cutting more everywhere (remember, I’m still letting the finish talk to me).
Sew the cotton to the linen along the bottom edge with 1/4″ seam allowance. Press seam down to the cotton side.
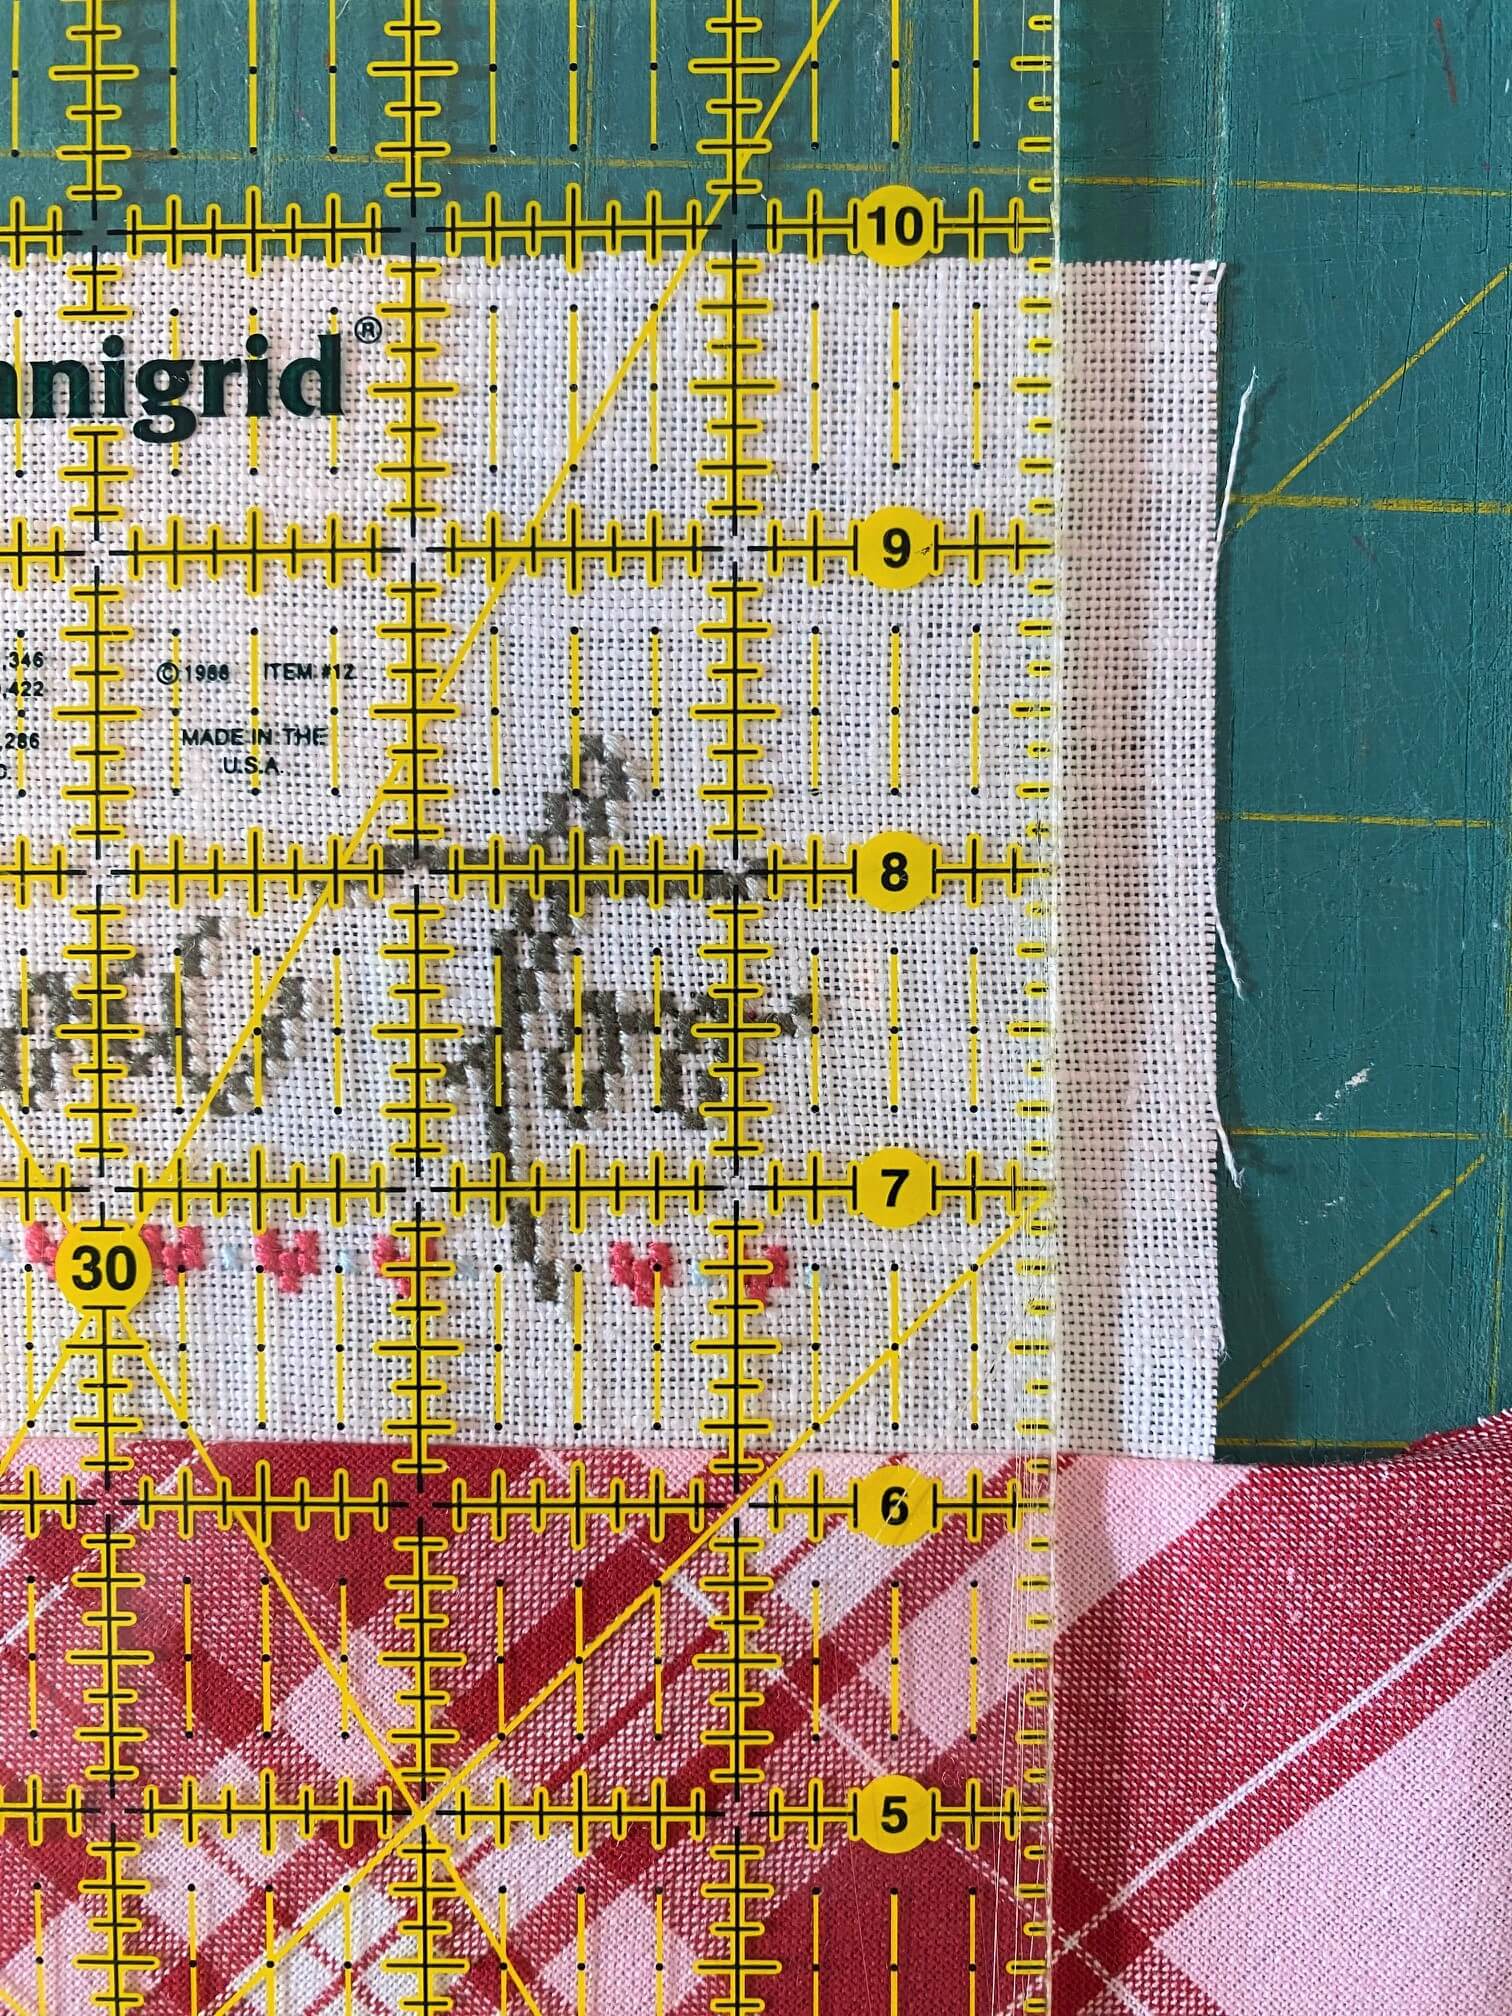
I can really see the finish in my head now, so I am comfortable enough to cut the linen/cotton on the sides & top again – just 3/4″ from the stitching.
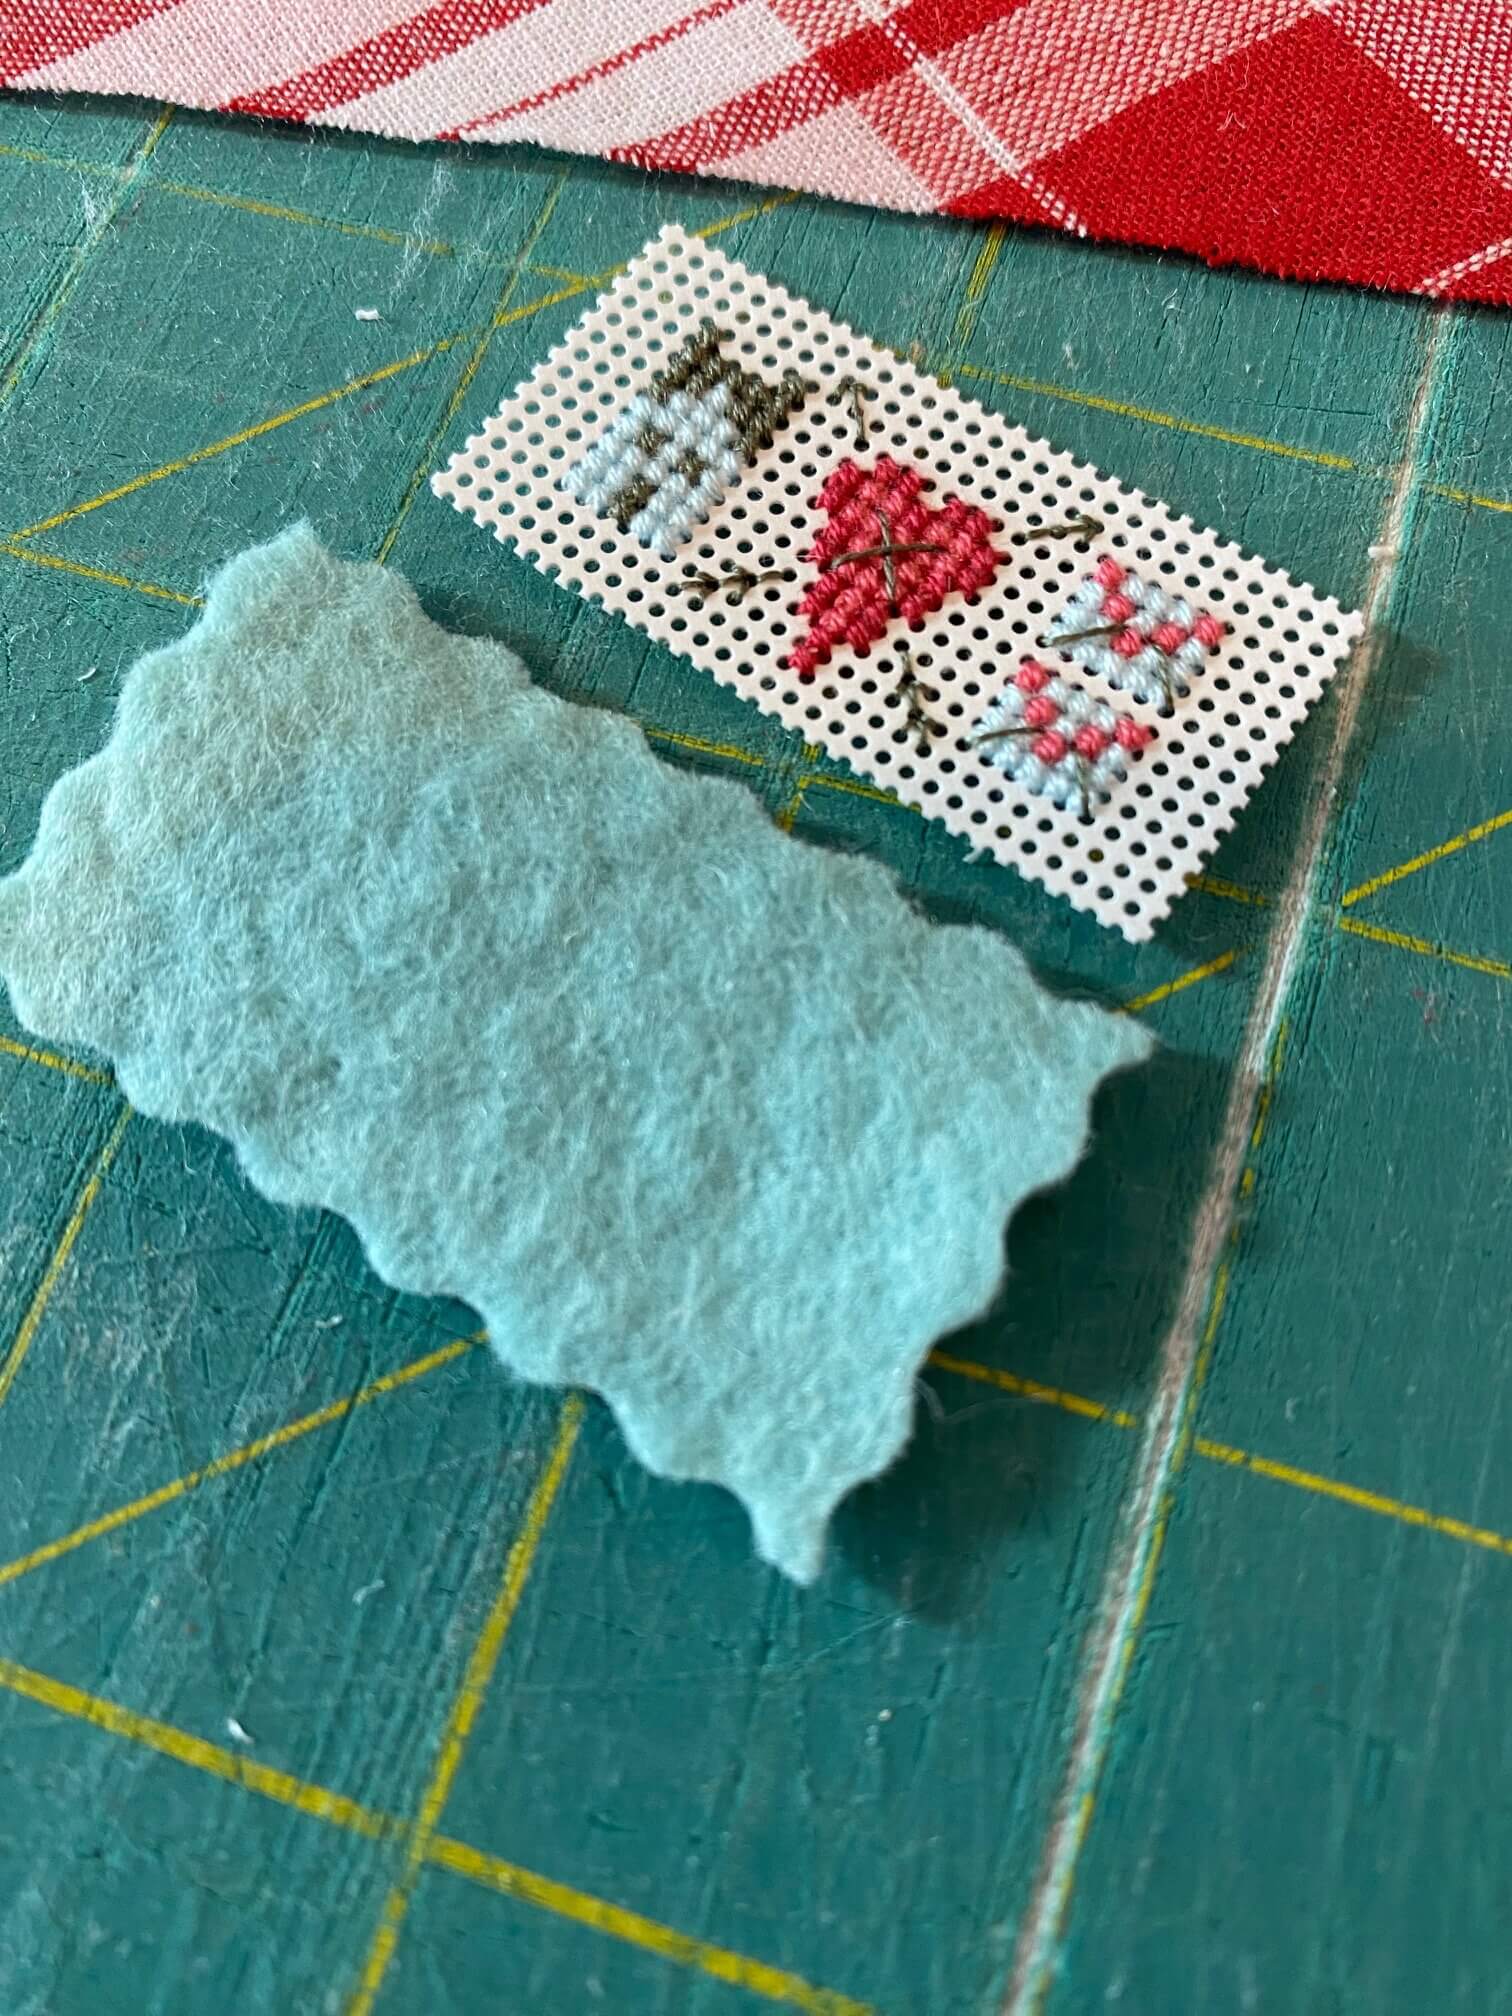
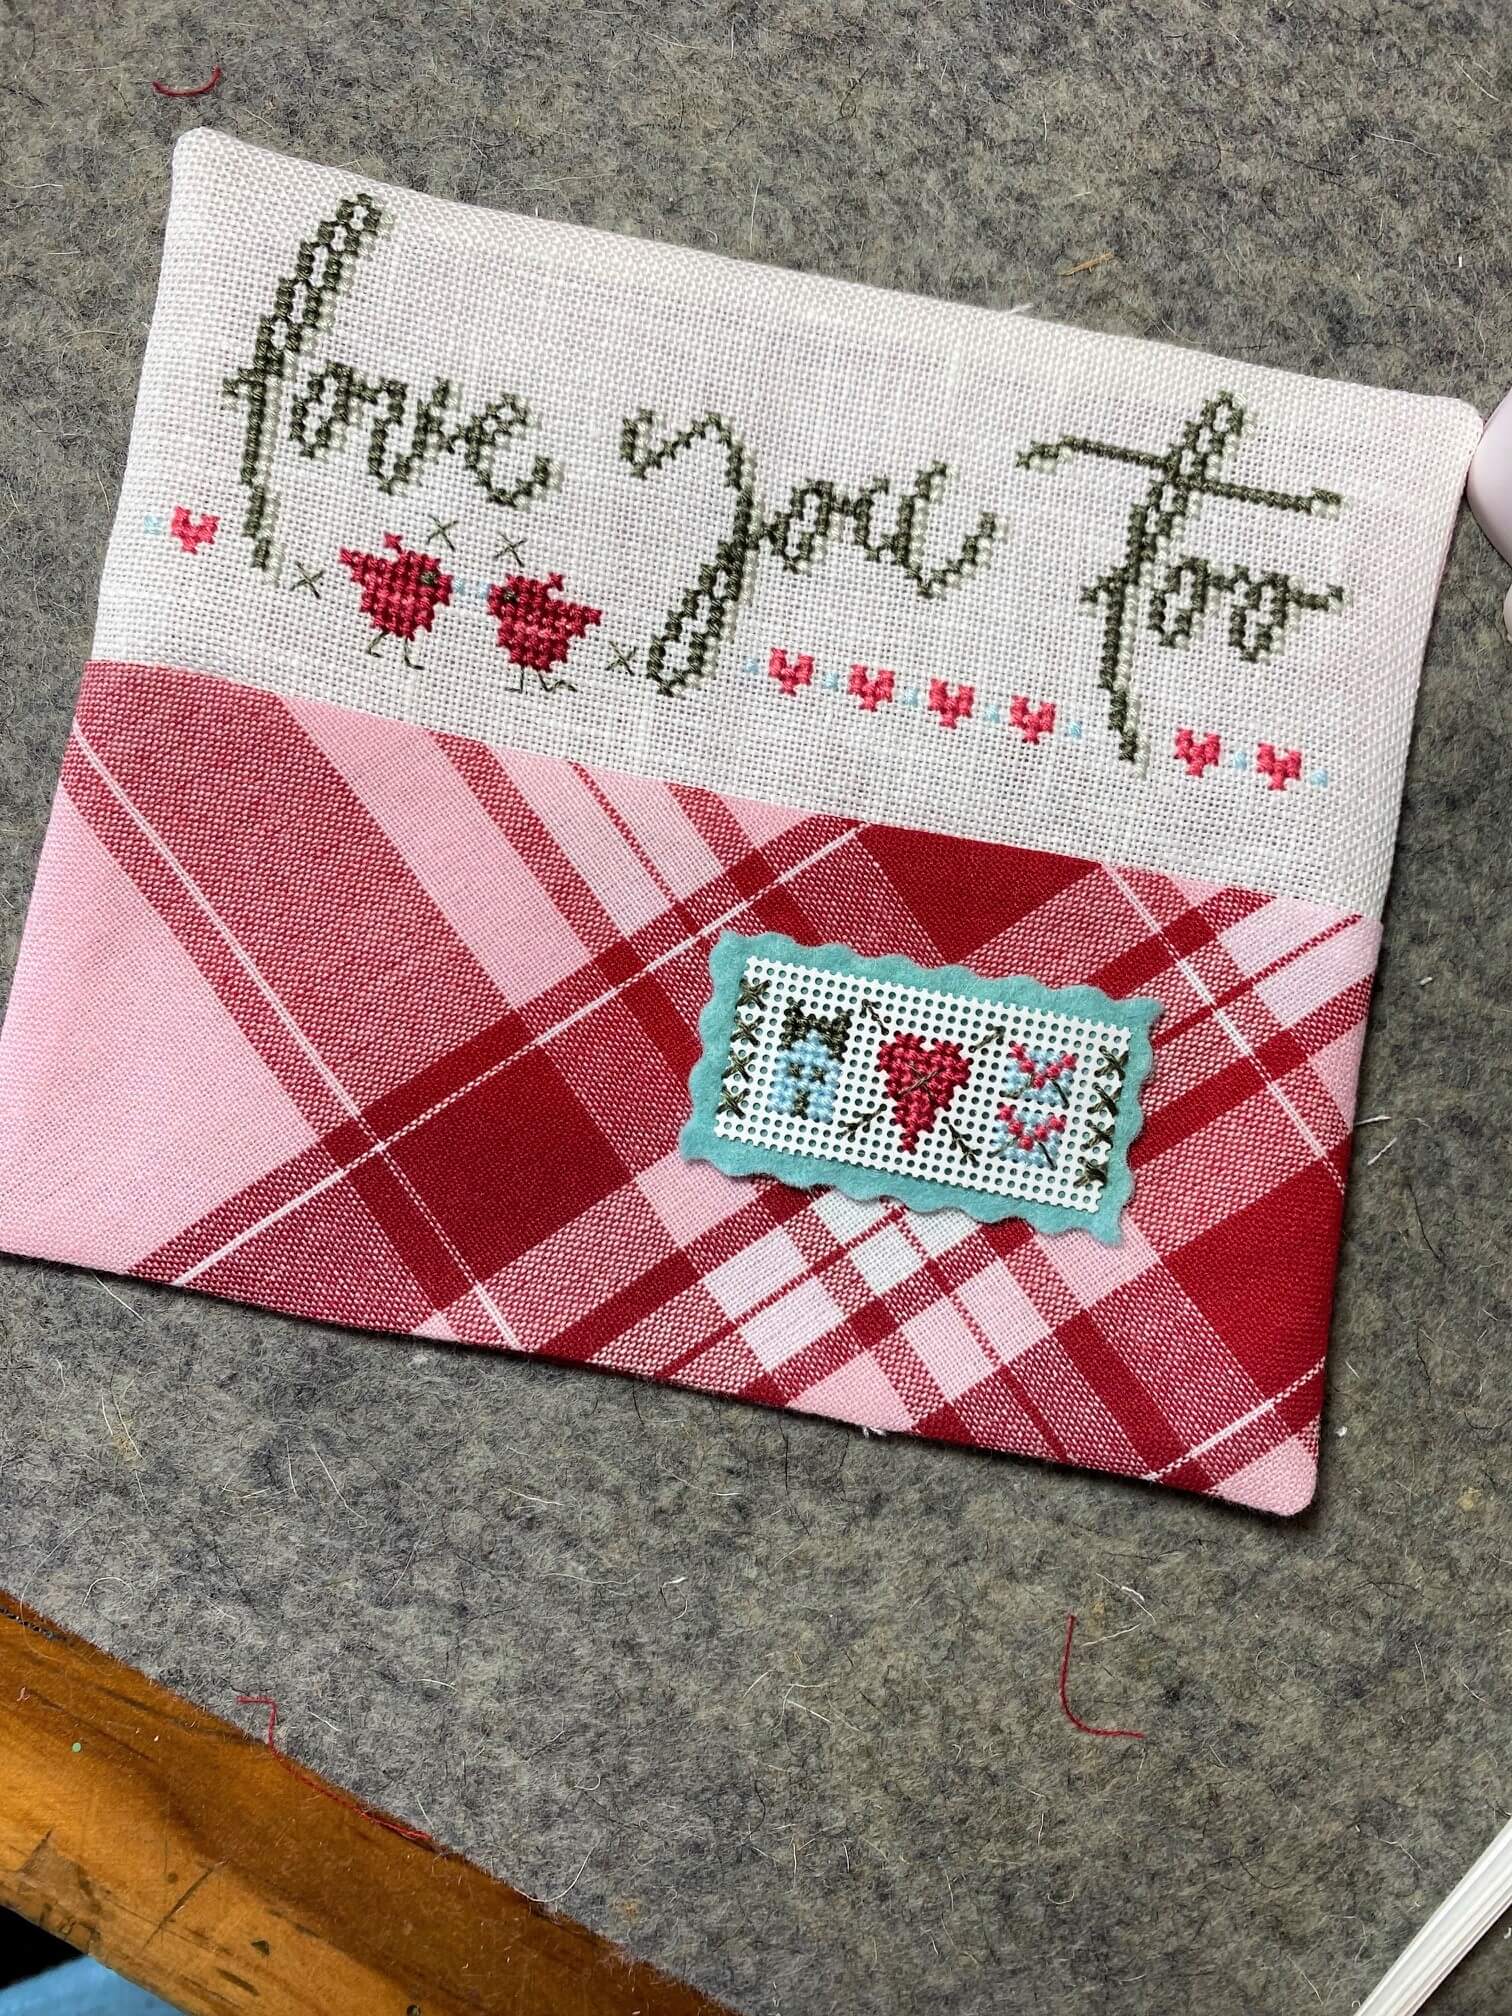
I stitched the Heart & Home Stamp on 18ct perforated paper. The paper was trimmed down leaving a little bit of a margin. Truth time here: I thought I left enough on either end for a little grommet. Nope. So, I grabbed a small piece of woolfelt (this color is Swan & I purchase my woolfelt at BenzieDesign.com). I eyeballed with the ruler & pinked blade until the woolfelt was just a smidge larger than the stamp.
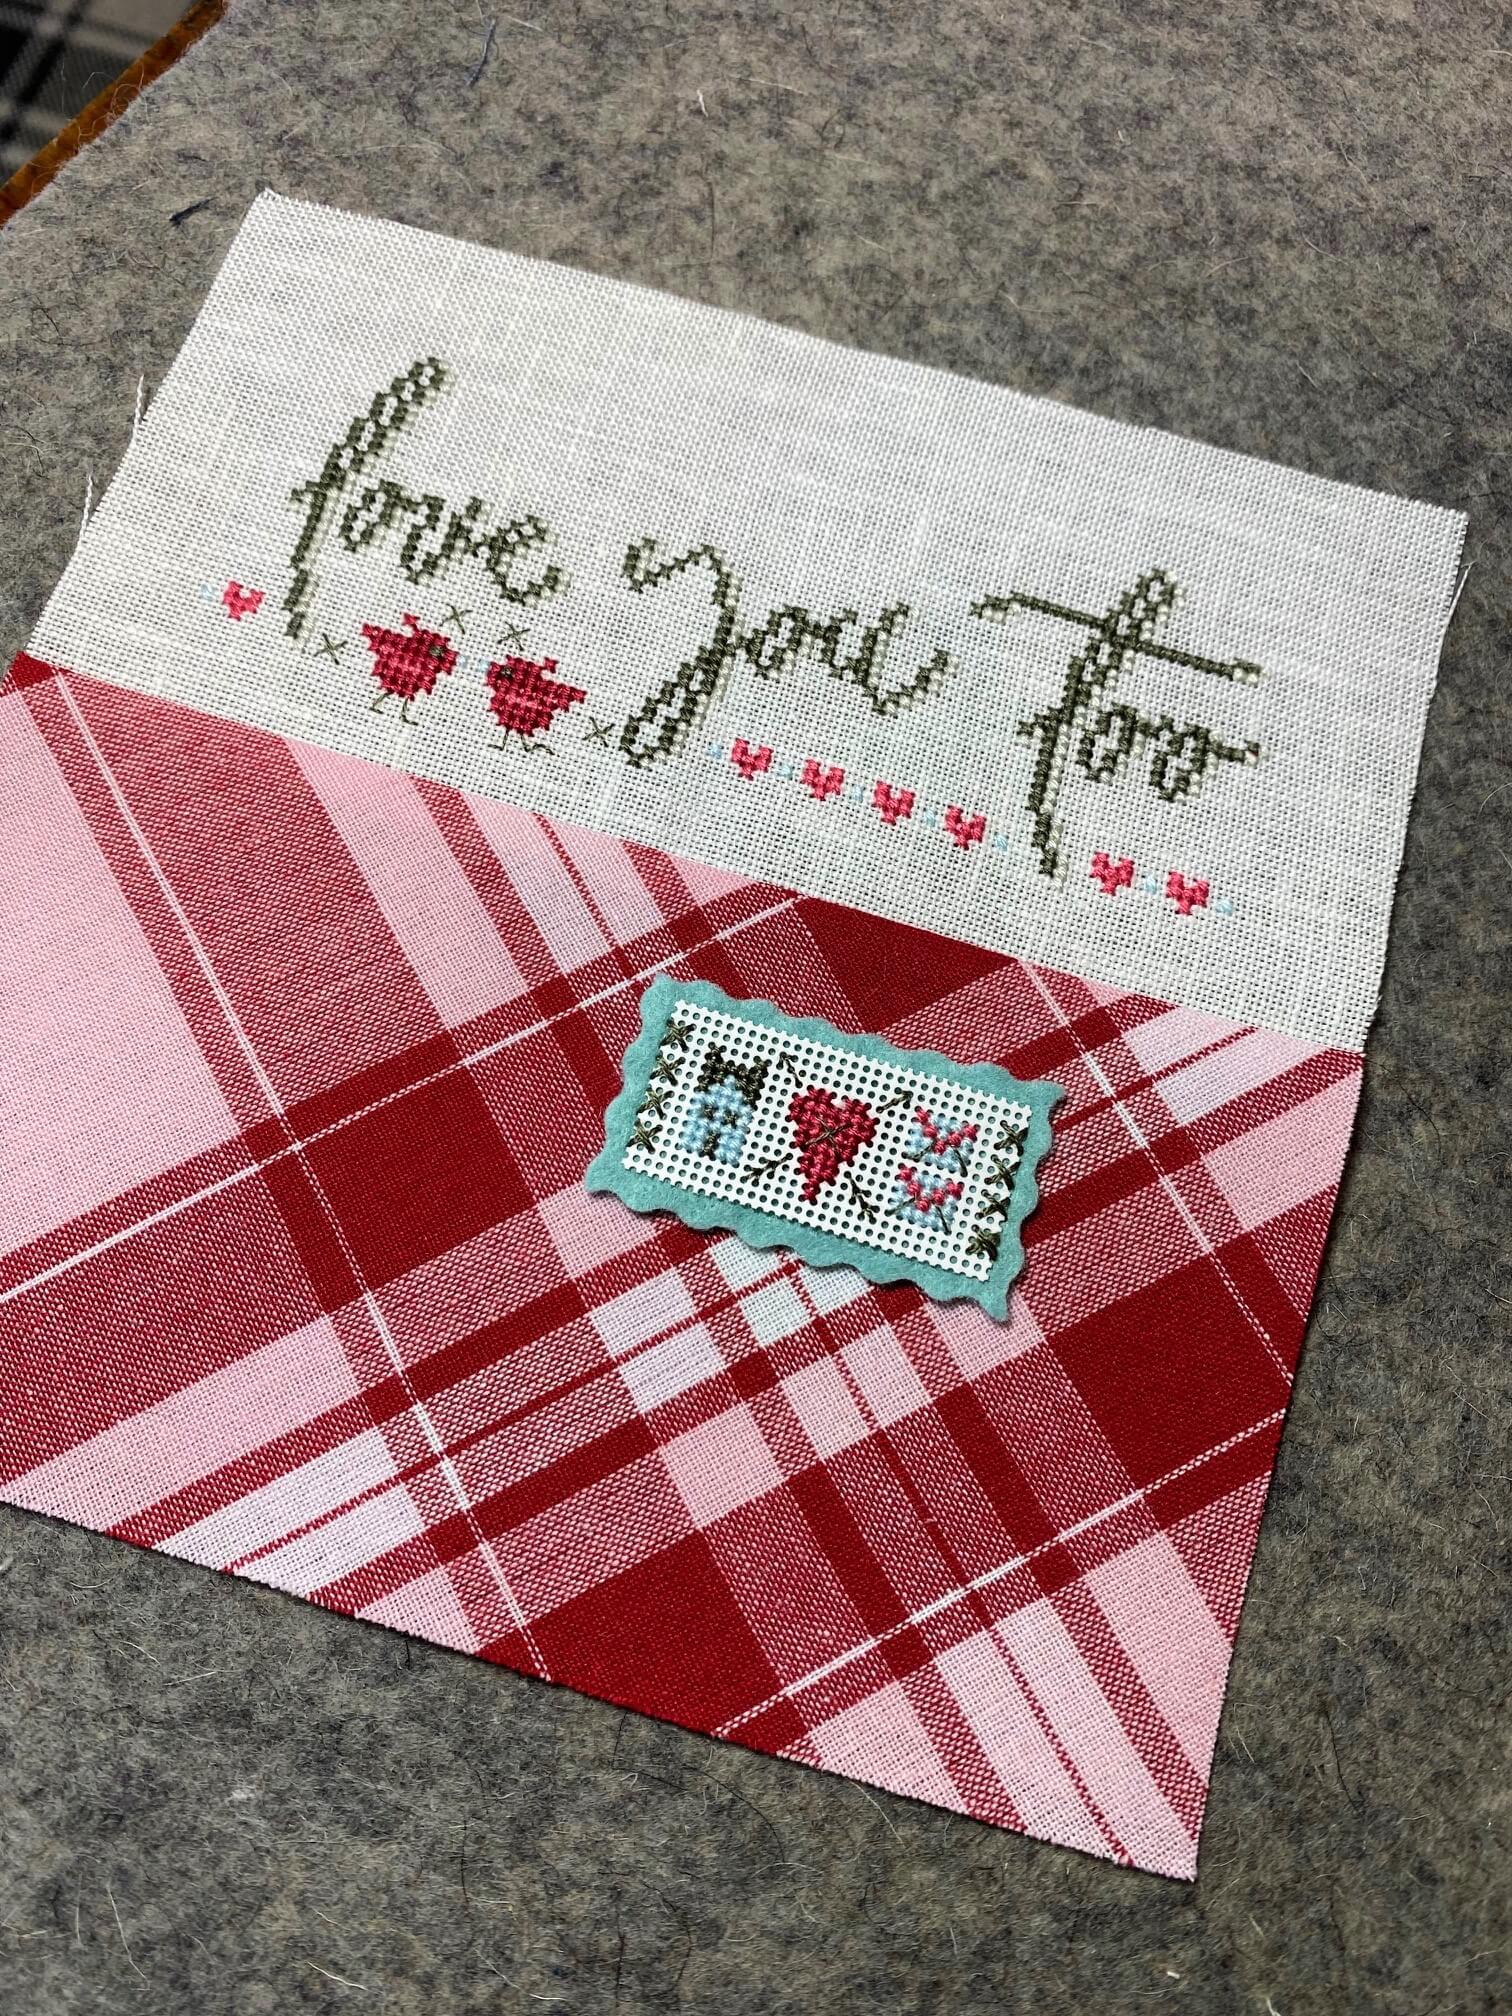
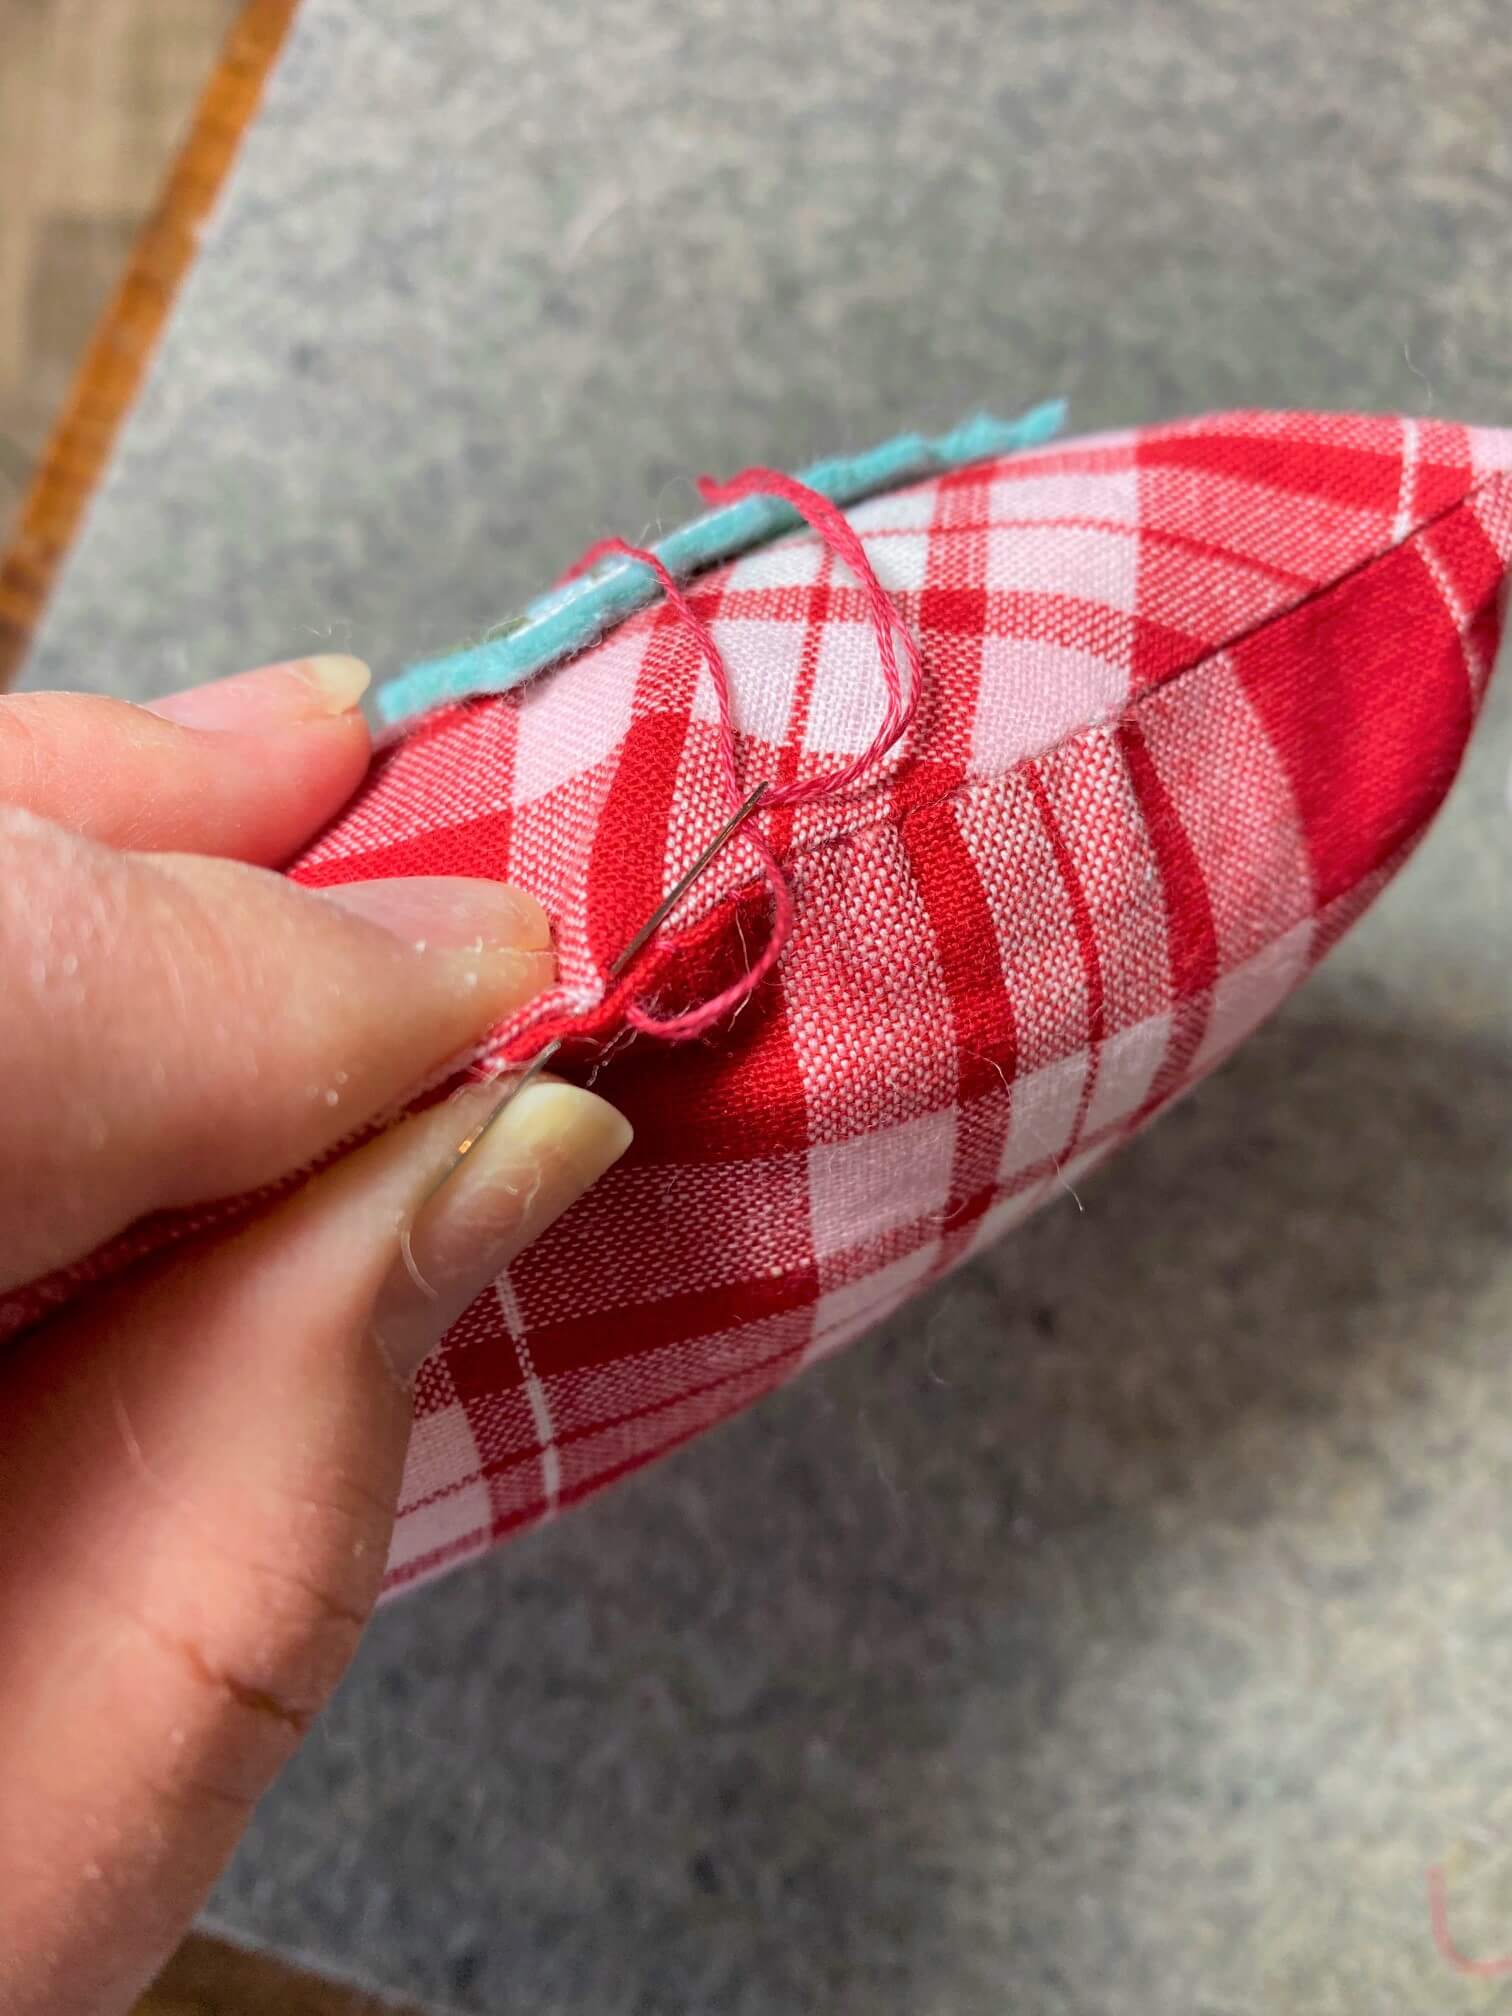
I placed the stamp on the right side (again for balance in the design) about 5/8″ down from the seam. I used the dark grey floss & with 2 strands, stitched 4 ‘over 2’ cross stitches on each side through all layers. I was able to hold it in place. I would suggest a little spray baste if you need help to keep it in place.
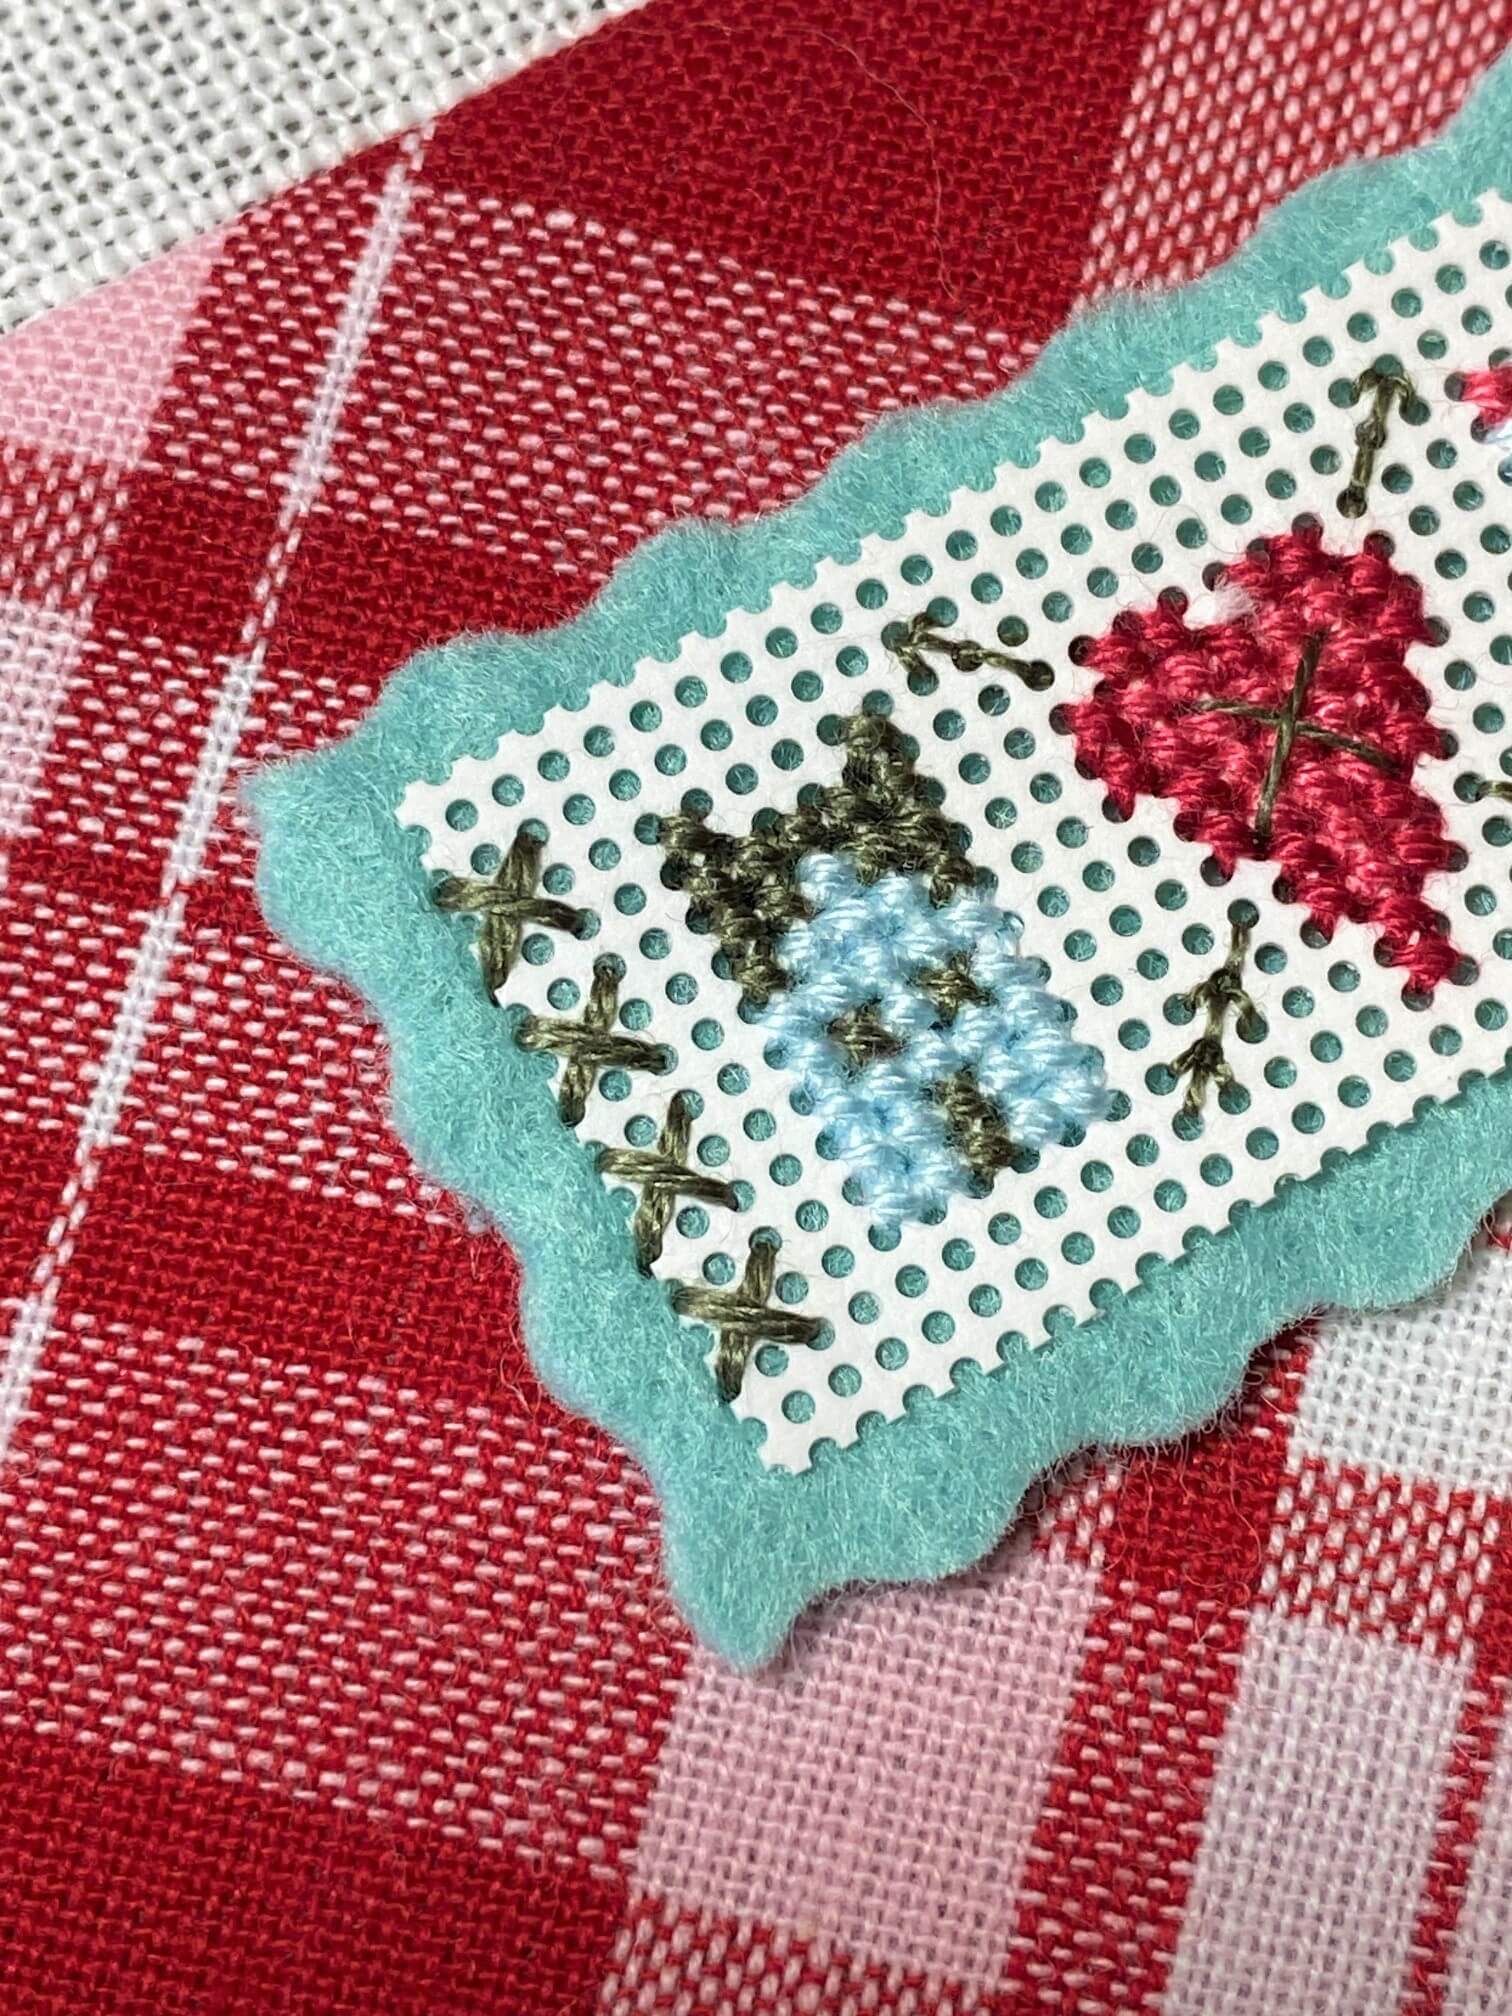
Close up, bird’s eye view.
Trim the cotton strip on the bottom edge – 1 1/4″ away from the lower edge of the attached stamp. Again – I made the cotton area below the stamp slightly larger than the area above the stamp…it’s all about balance!
I then cut a piece of plaid for the pillow back & applied fusible interfacing.
Why the fusible?? – it makes stuffing a pillow that is assembled with a loose weave fabric less likely get those unsightly bulges 😉 I did not put any on the back of my linen – it was a nice sturdy, tightly woven linen.
Place right sides together & sew as you would for a small pillow (1/4″ seam allowance). NOTE: you can kind of see that my large plaid section is off center (I did not sew the back on point). It’s much easier to ‘not center’ a fabric design on purpose than try to center a design & miss it…ask me how I know)
Leave that opening on the bottom edge to turn – trim excess fabric (especially at your corners).
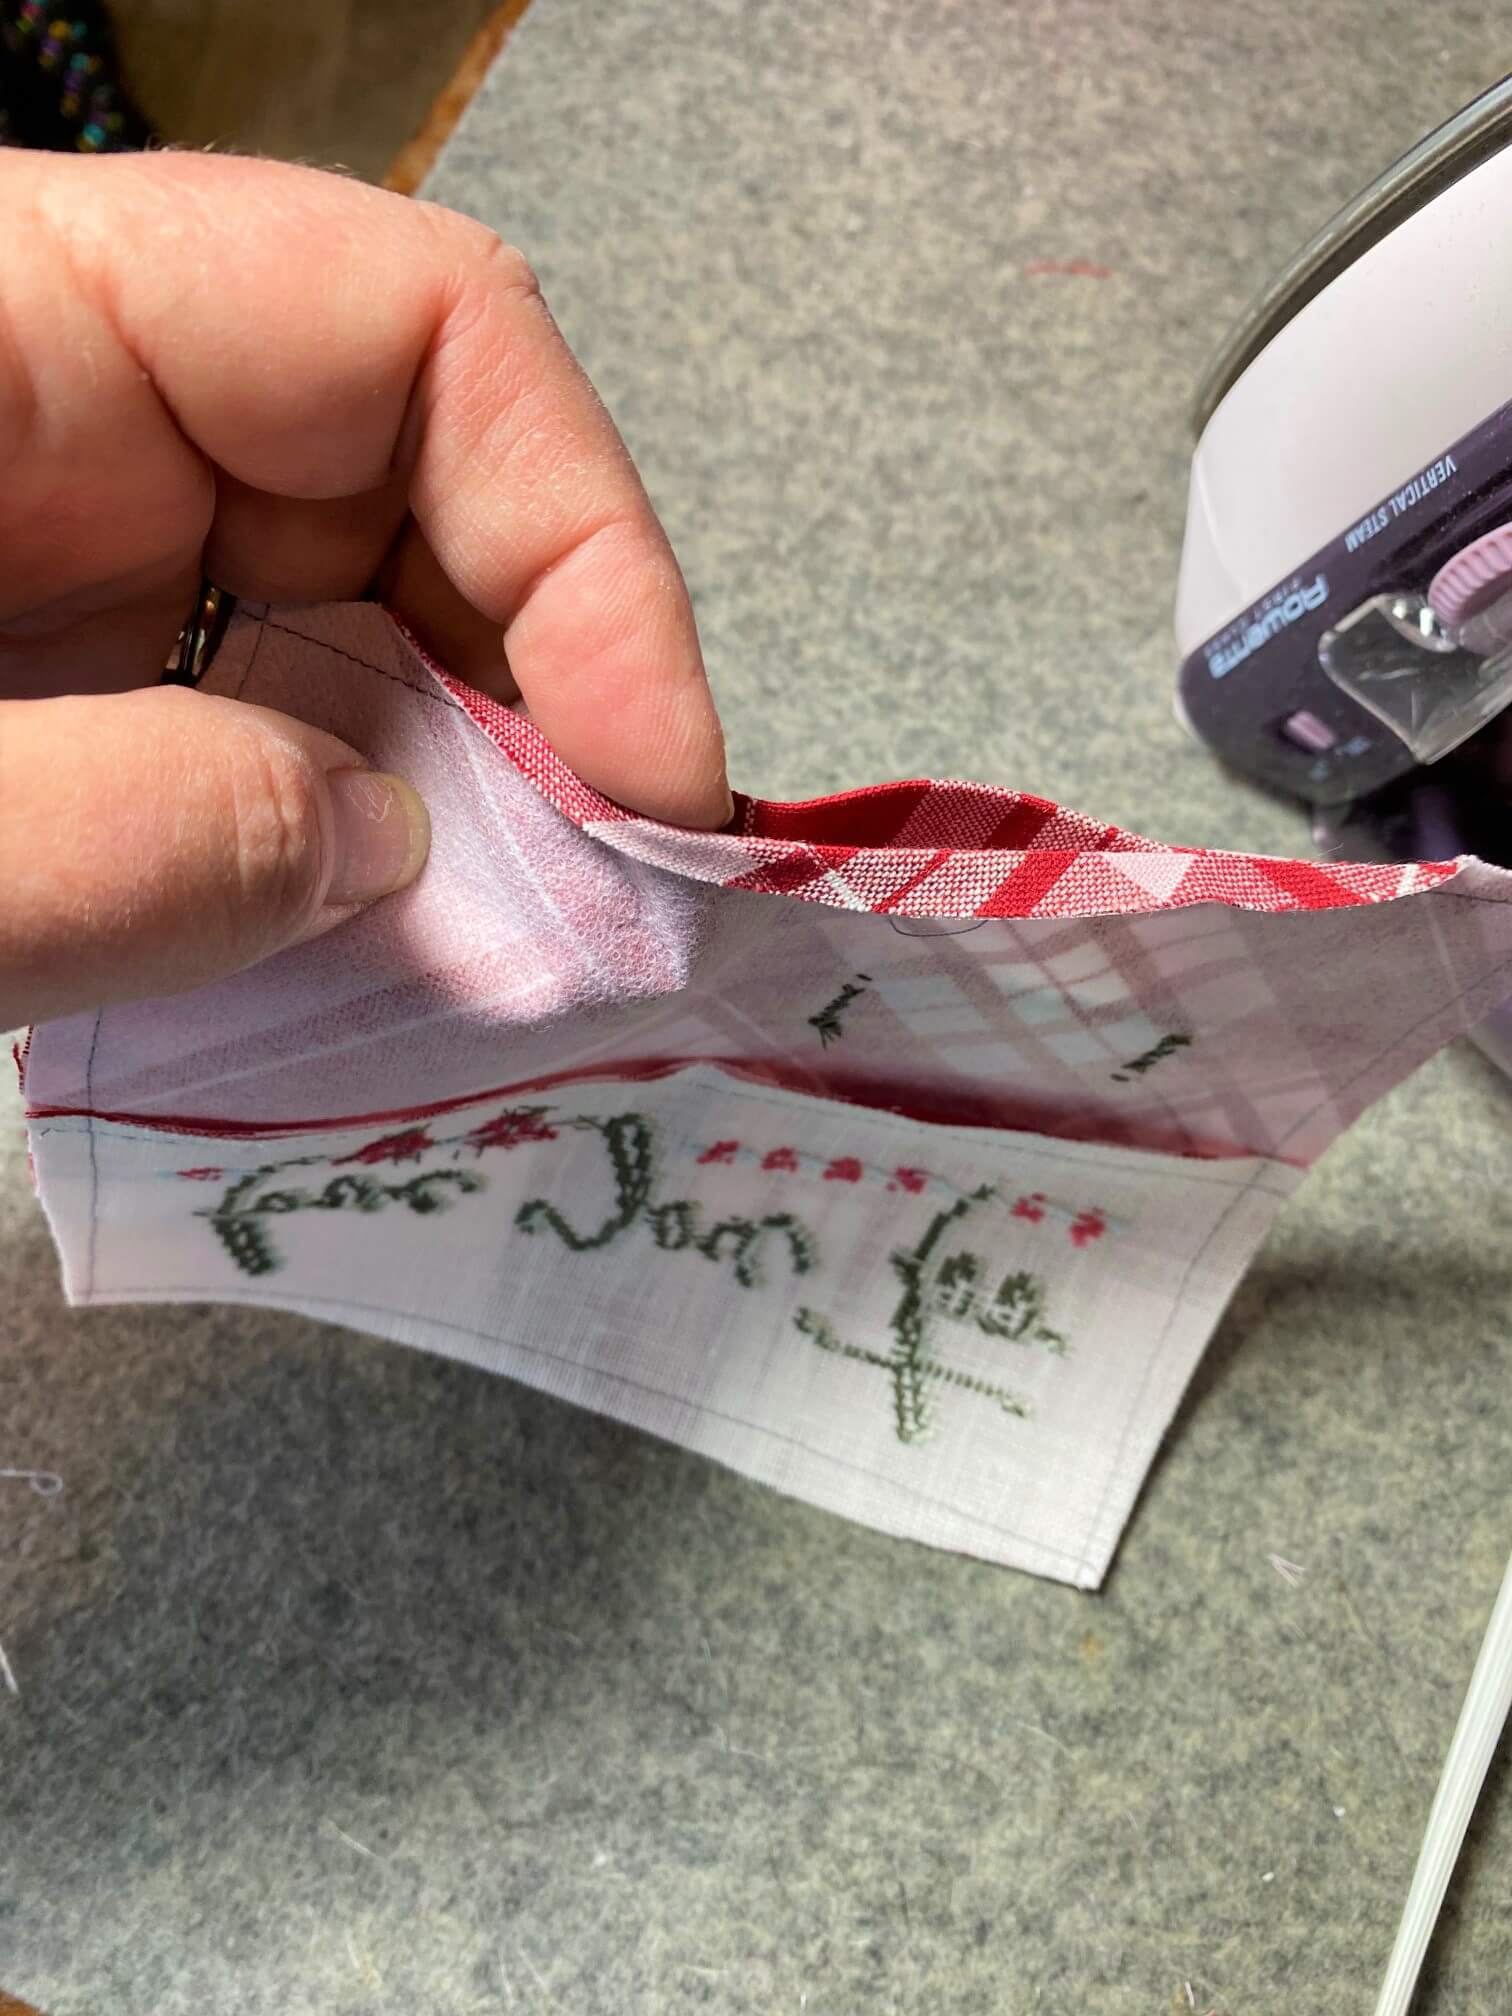
Before you turn your pillow right side out – take a moment to press your opening back to the seam on both the front & back sides. This will help you later when you go to slip stitch the pillow closed.
Turn right side out. Poke out your corners. Here’s my favorite line to say in class – stuff it!!! (in the nicest way possible) I use wool roving – just my preference. Cotton or fiberfill would be fine as well.
Slip stitch your pillow closed (here’s where those pressed seams come in handy). I like to press my pillow – it helps to compact the stuffing & give it a good shape.

Baker’s Twine – of course. I wrapped 3 times & tied a sweet bow. Yes, the finish spoke for itself (& I listened).
Enjoy – I look forward to seeing your finishes!
Cathy – Hands On Design


This is a great “ pictorial “ for the FINISHING. Thank you so much for this design and this finishing !
So cute! thank you for the design and finishing instructions.
I am following along and almost done…enjoyed every moment of making this piece. Thanks so much!
Love it!