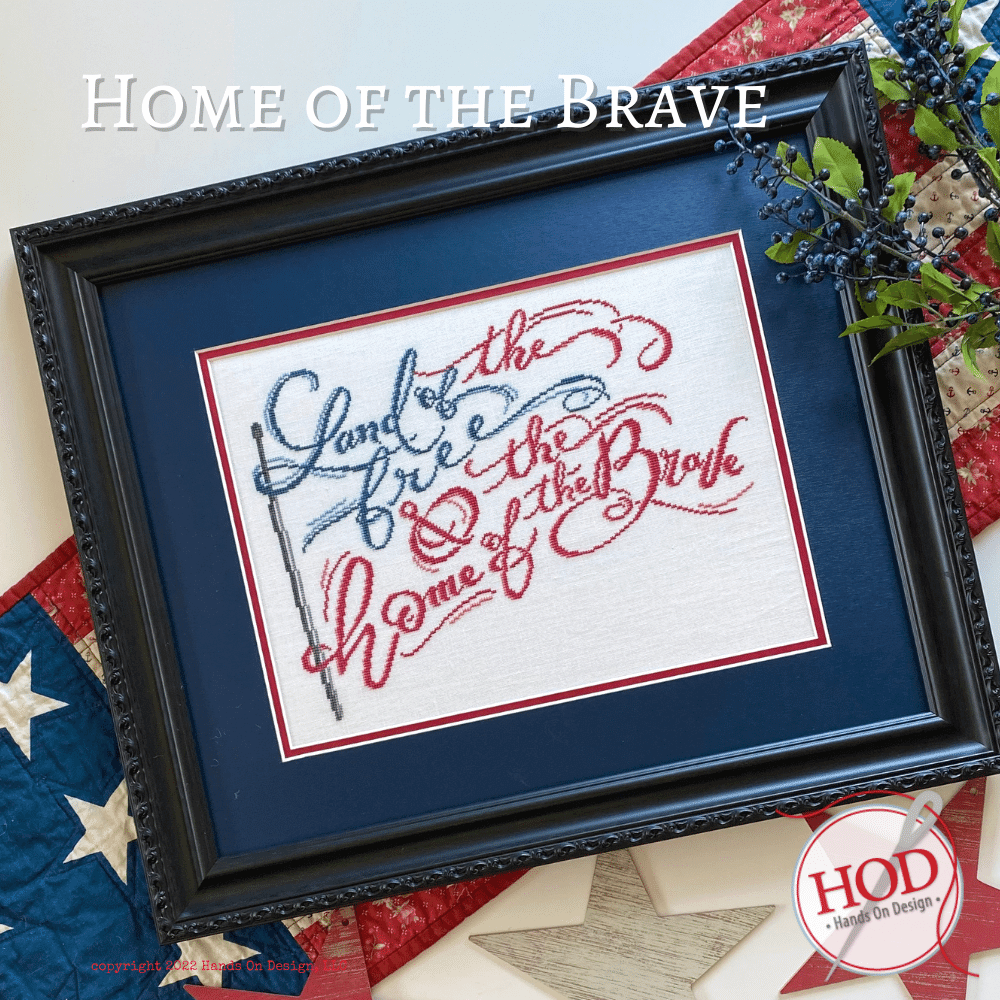
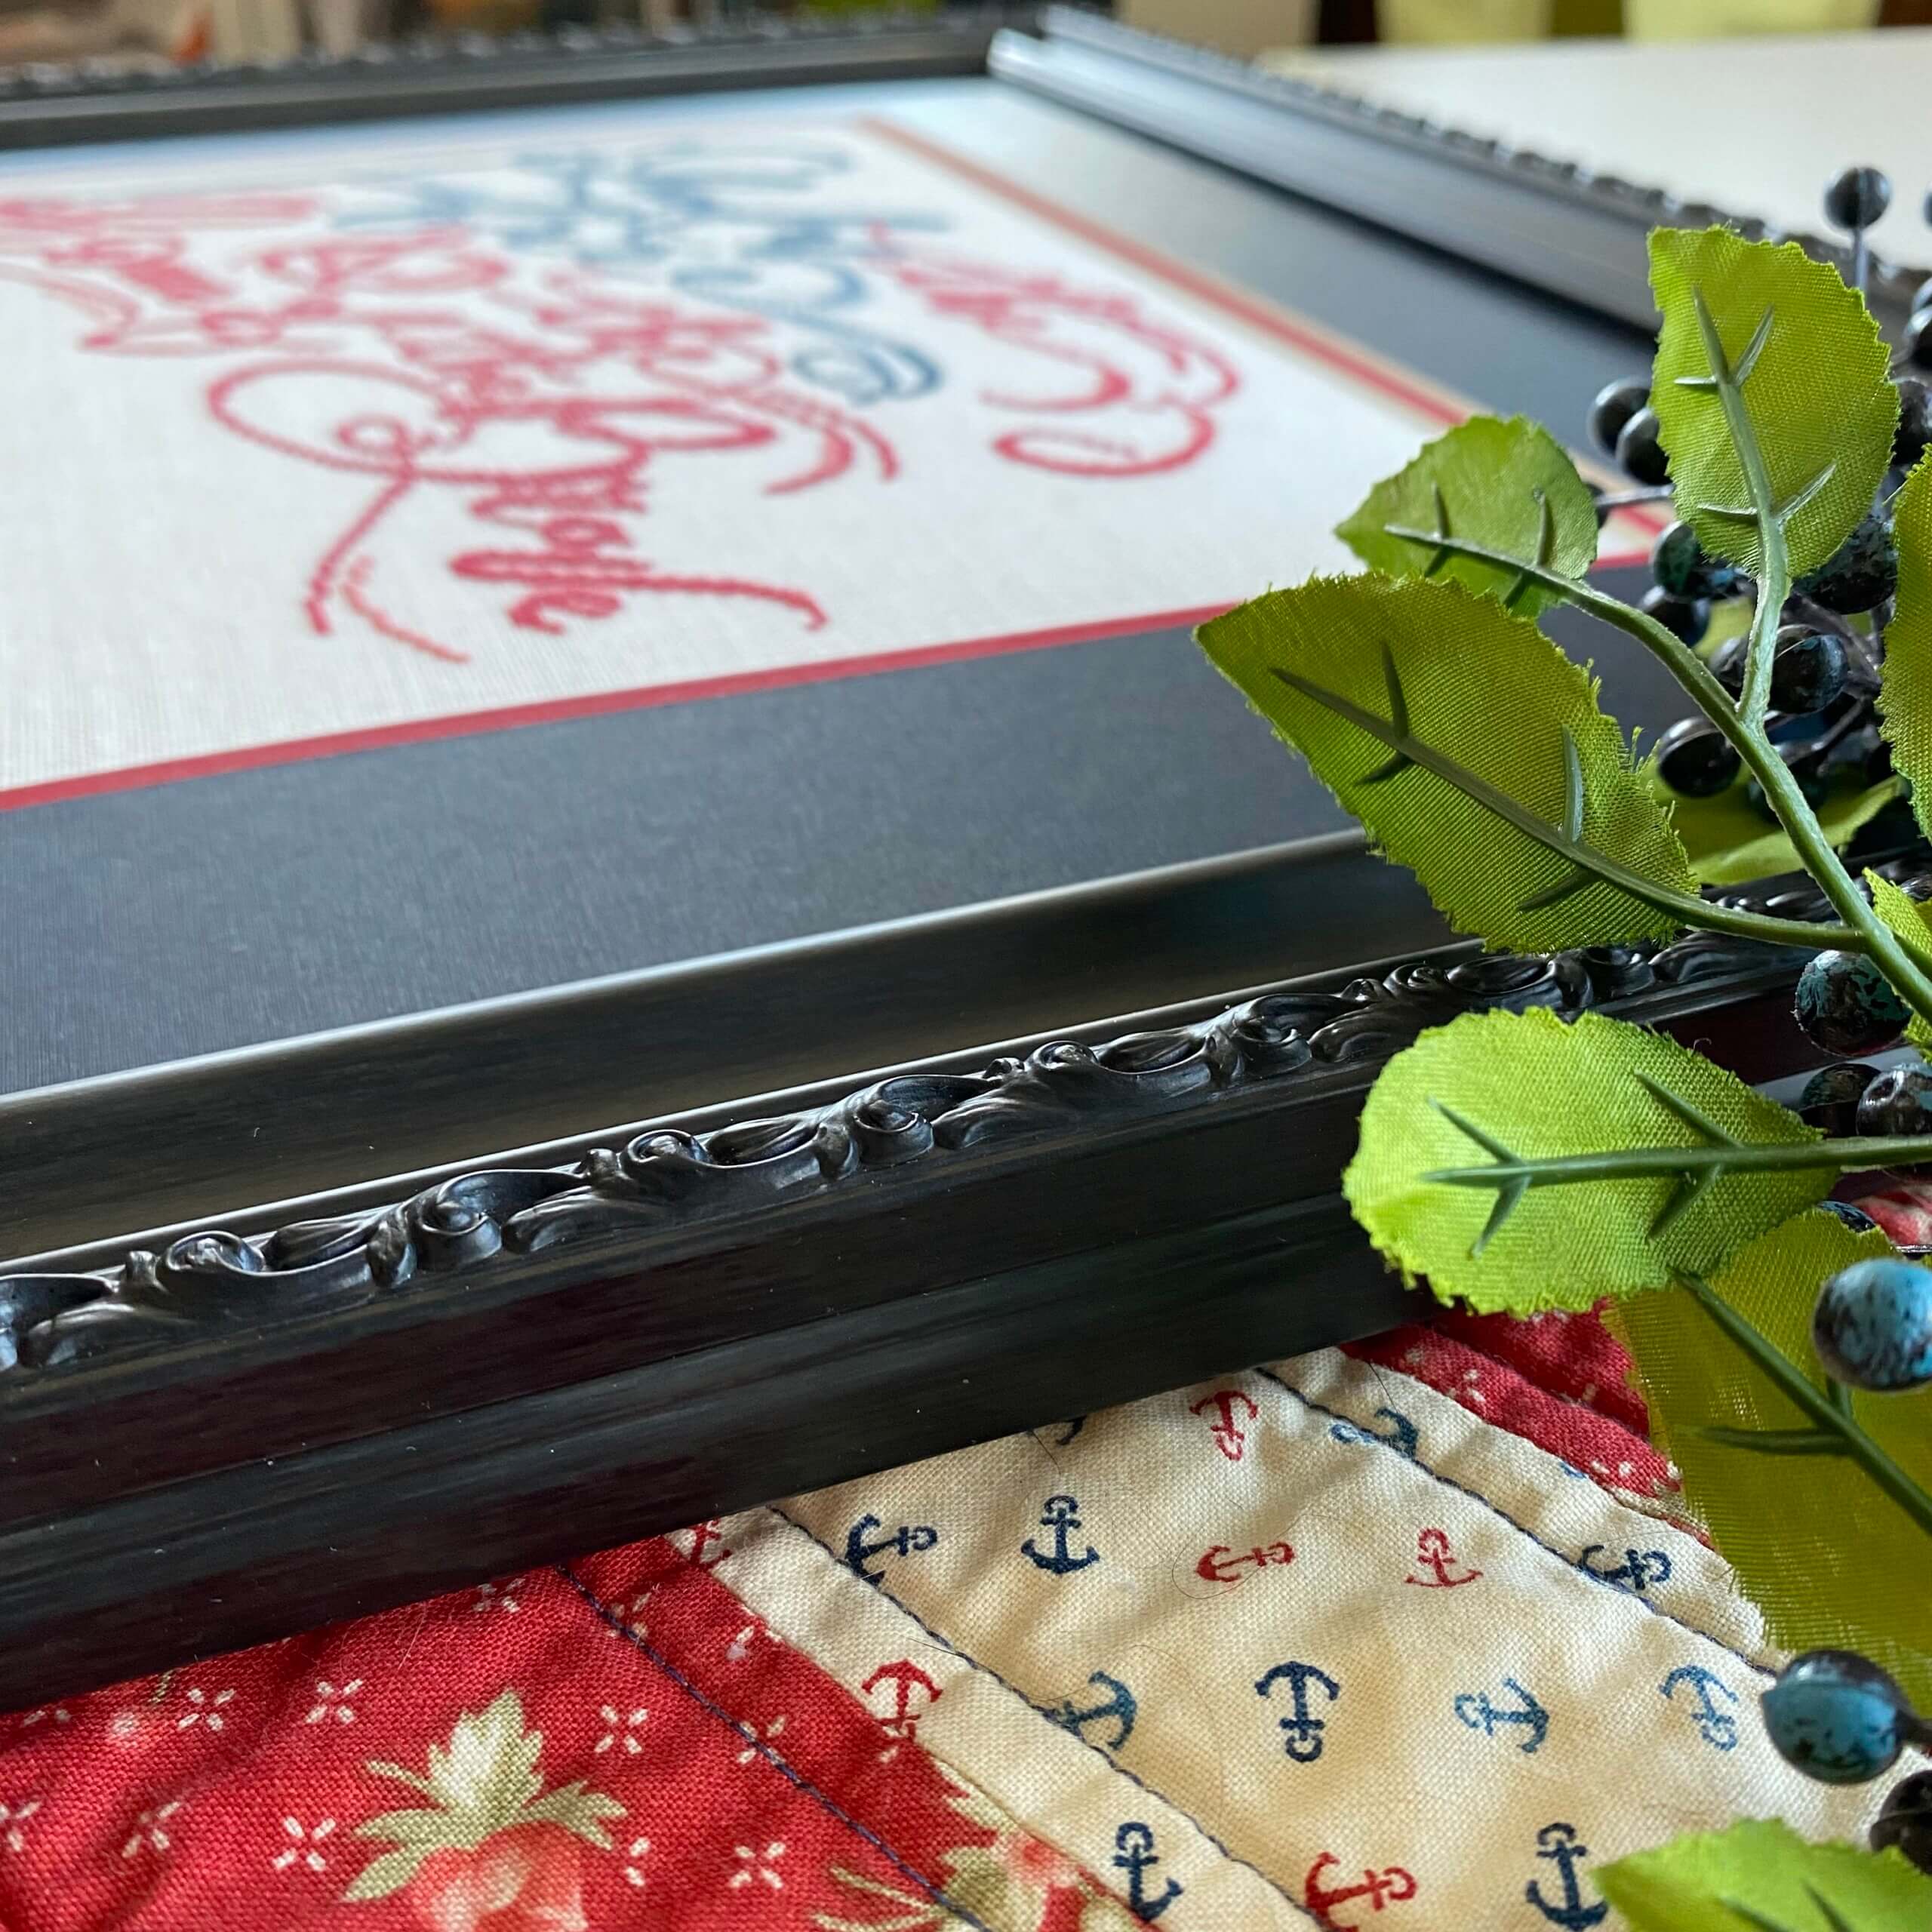
Last May I released a chart titled ‘Home of the Brave’. I licensed this lovely piece of artwork from Lily & Val, LLC – you can read more about the design on the product page as well as FlossTube #67 where Mr. HOD & I chat about the most recent releases.
That’s not what this blog post is about! 😉
Do you see those red & white stars casually yet strategically placed at the bottom of the photo? That’s what I want to talk about!
When a cross stitch designer gets ready to shoot a chart cover, he or she may gather 20-30 different items that may or may not actually make it into the final photo. In this case, I had the table runner in my personal stash but I wanted something smaller for balance. Off to my local hobby store I went.
I found this cute star garland…it was a little ‘manufactured’ looking for my taste, but I figured that I could make it work.
The whole time I was working with the stars (I cut the garland apart so I could lay the stars in a particular order), I kept thinking…I need to ‘do’ something with these…something that I can use in my home.
We had a little time over Memorial Day weekend & let’s just say – we got a little crafty!
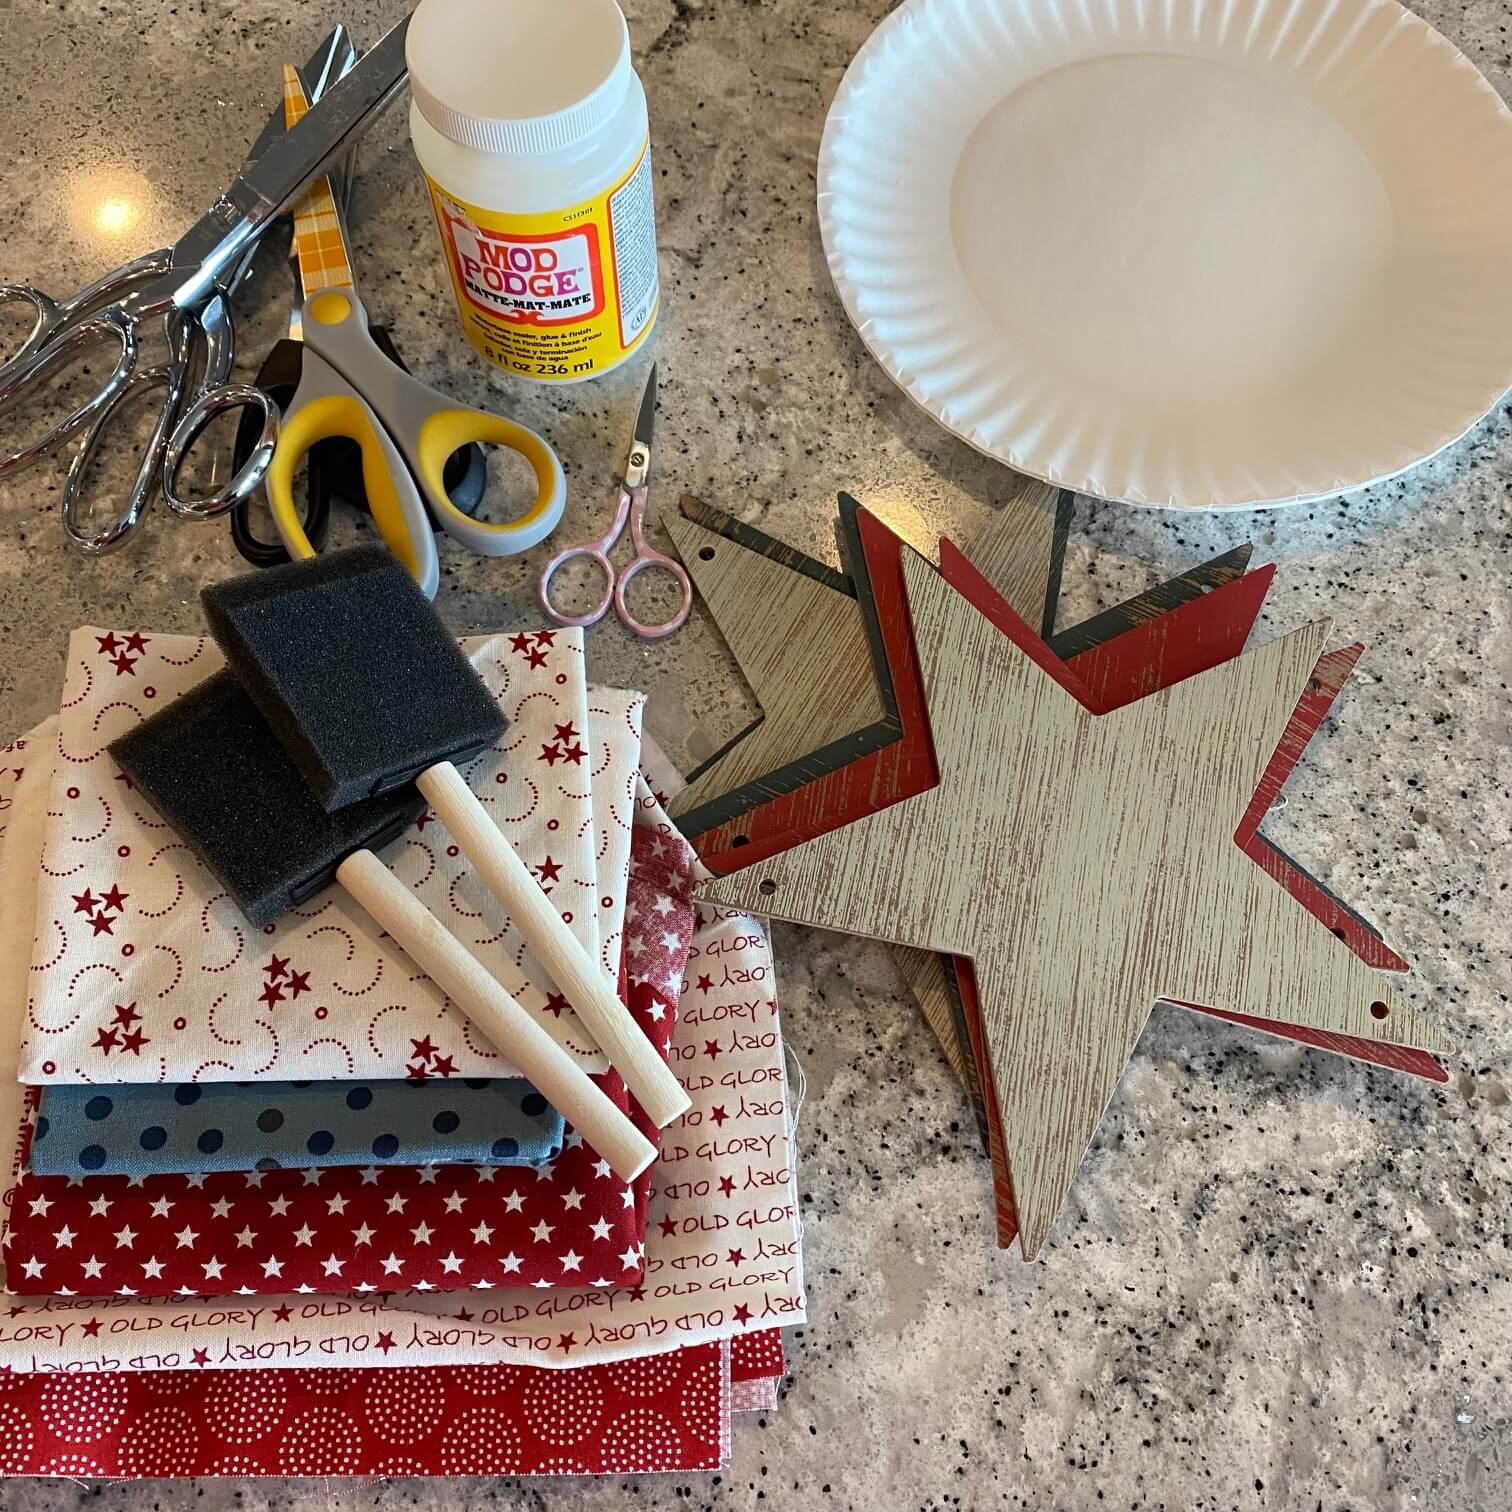
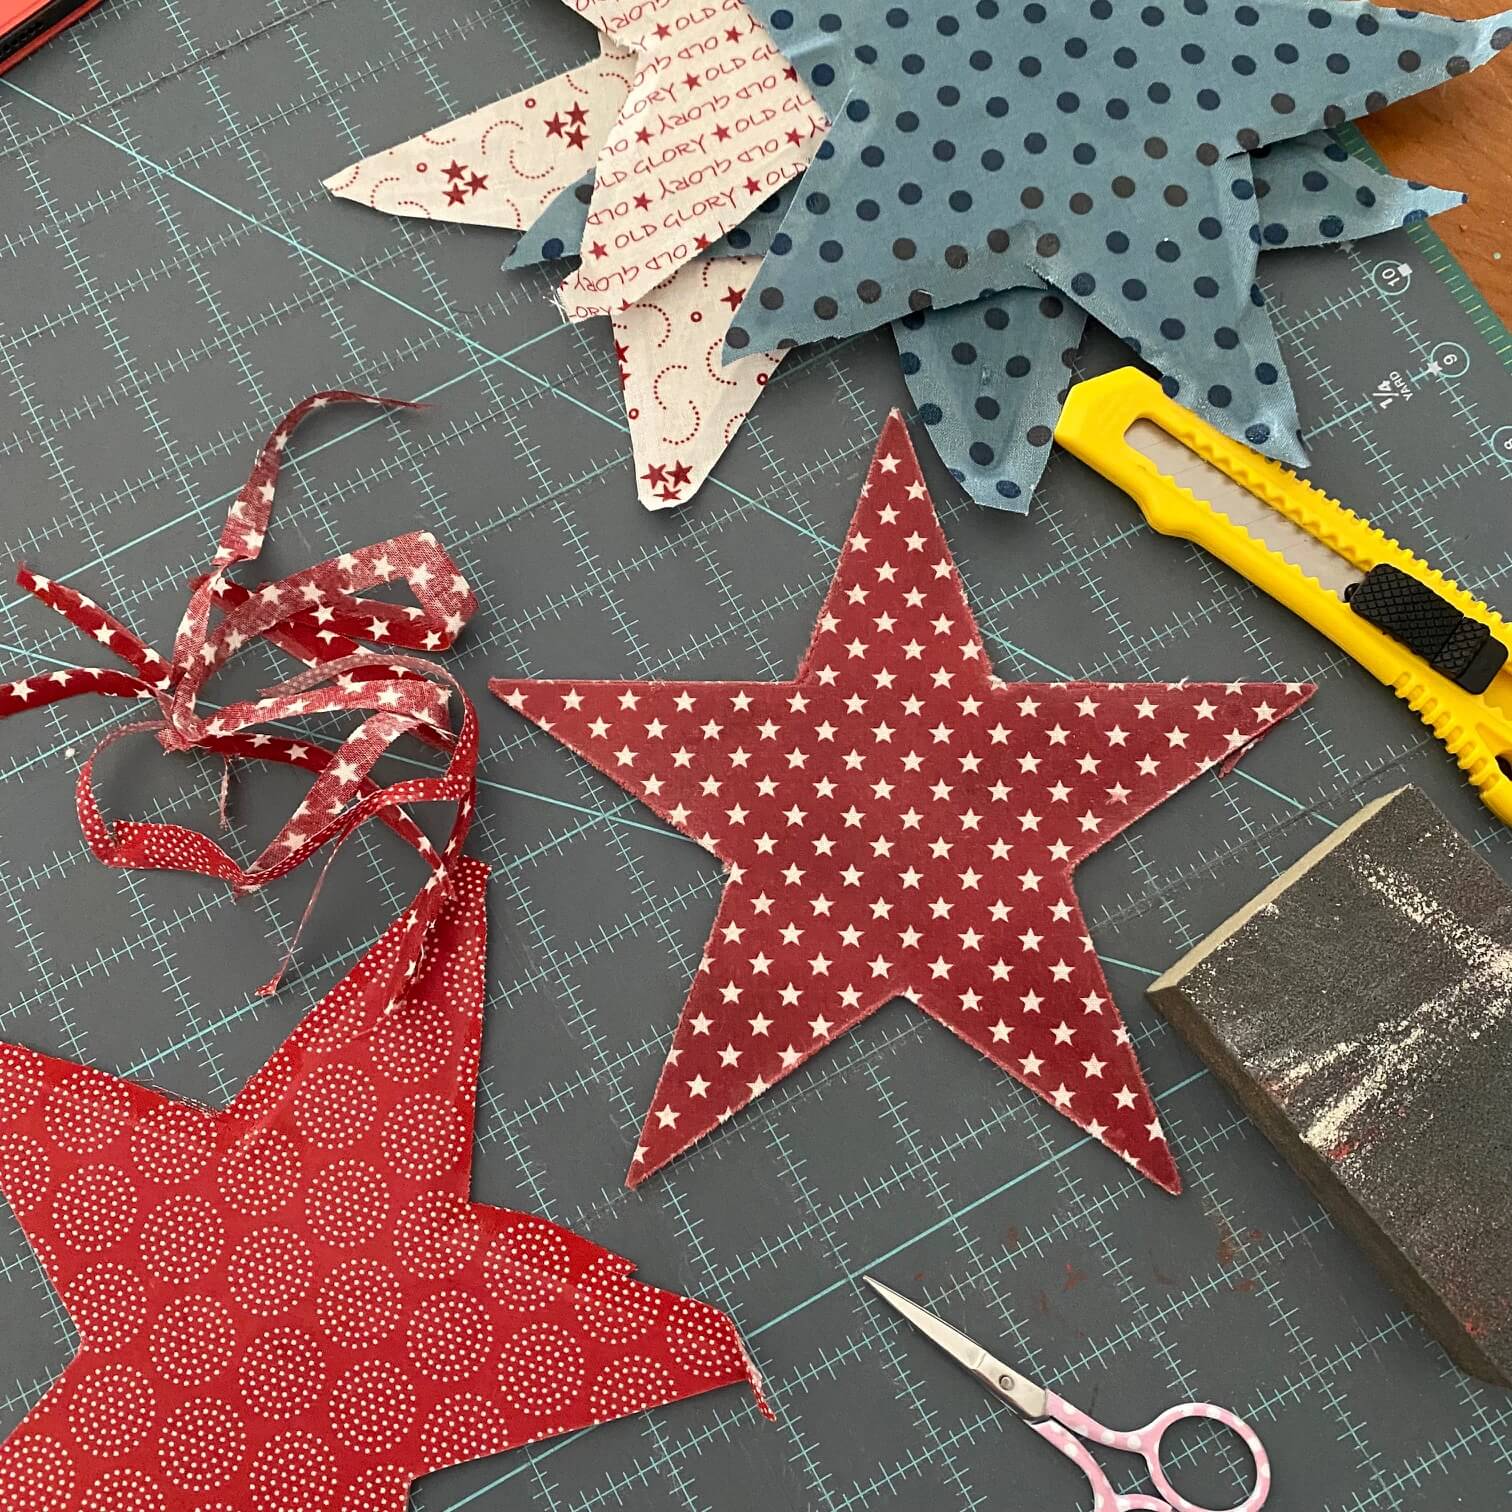
I gathered the necessary supplies: various scissors, foam brushes, fabrics, mod podge, paper plates, etc…
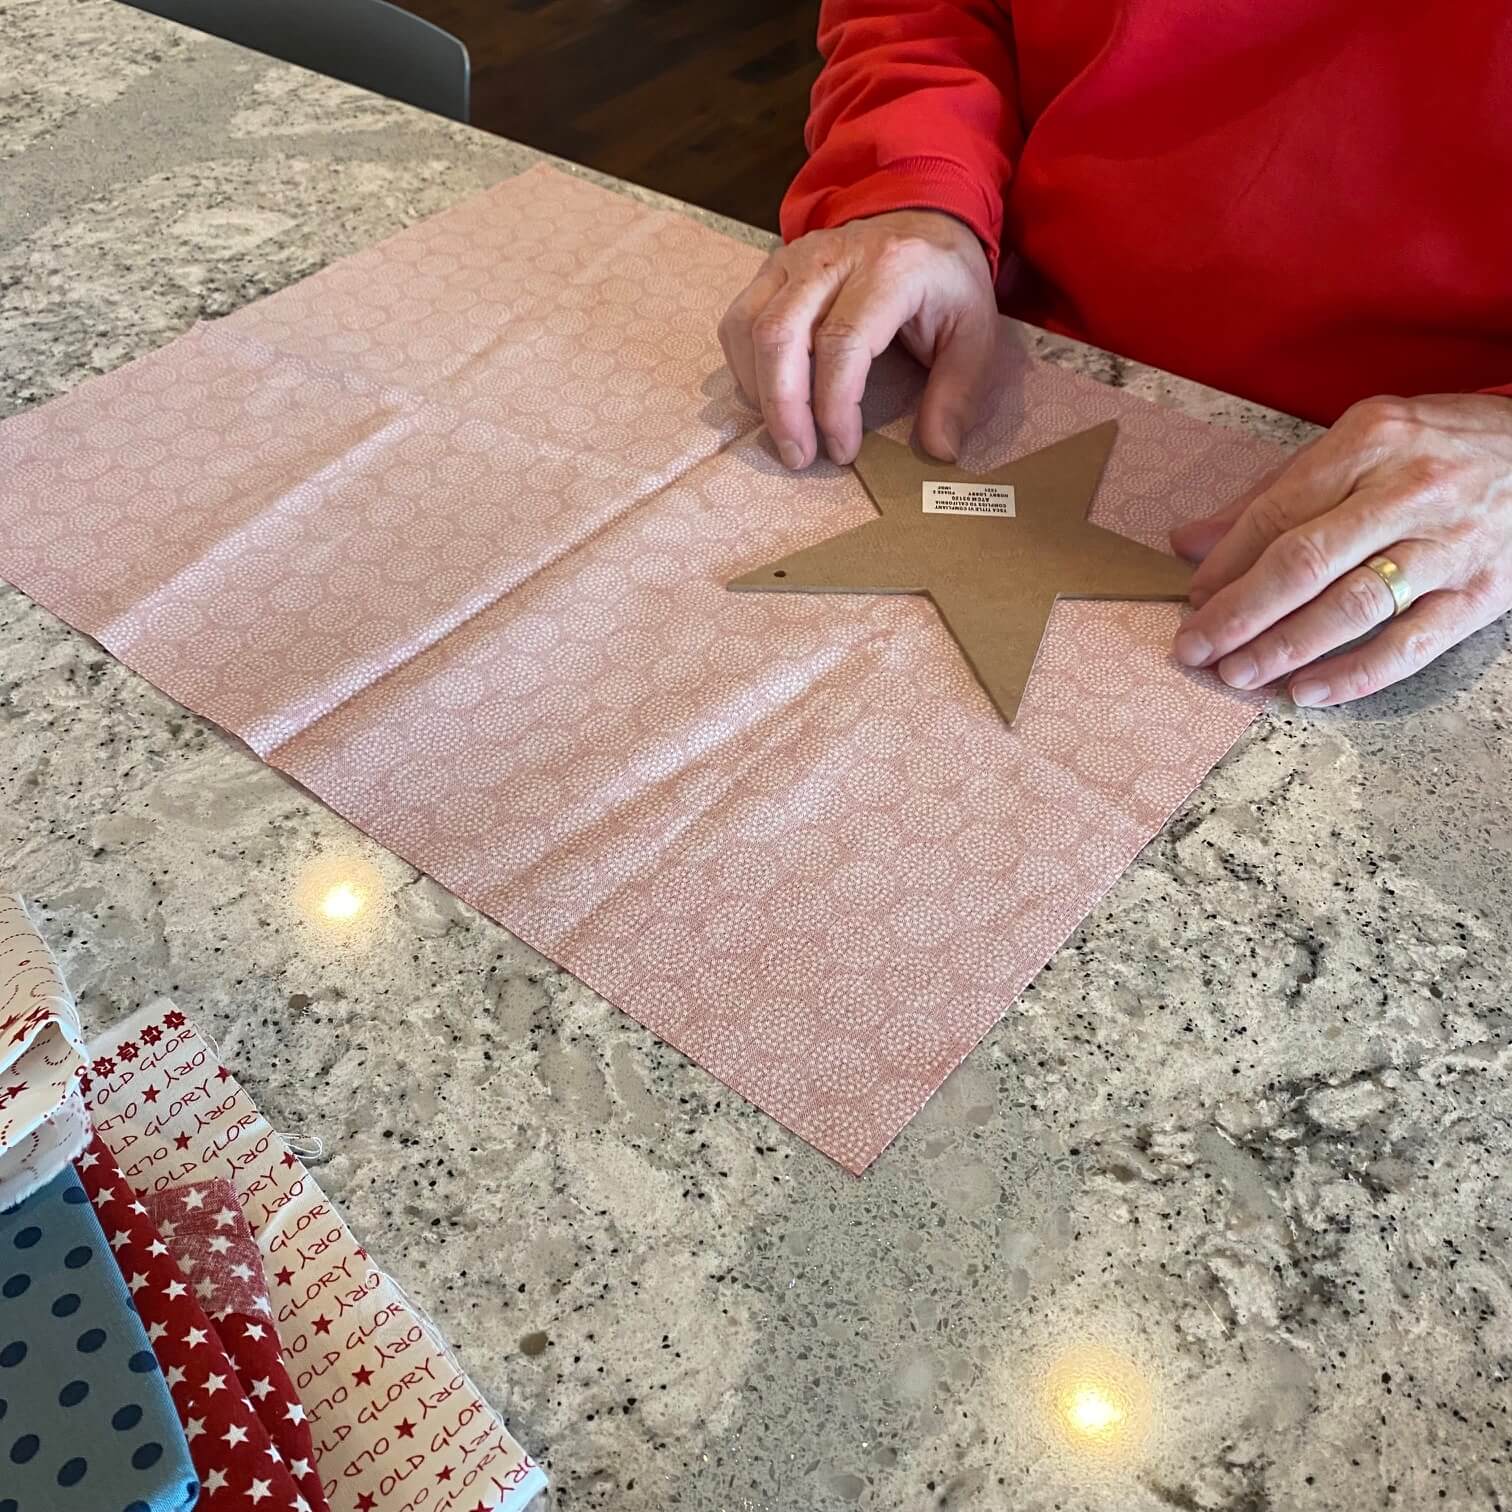
Yes, that’s Mr. HOD you see cutting fabric for his star!

We cut the fabric to roughly fit each star then poured Mod Podge onto a paper plate. Generously brush the Mod Podge on one side of the star & place MP side down on the wrong side of the fabric.
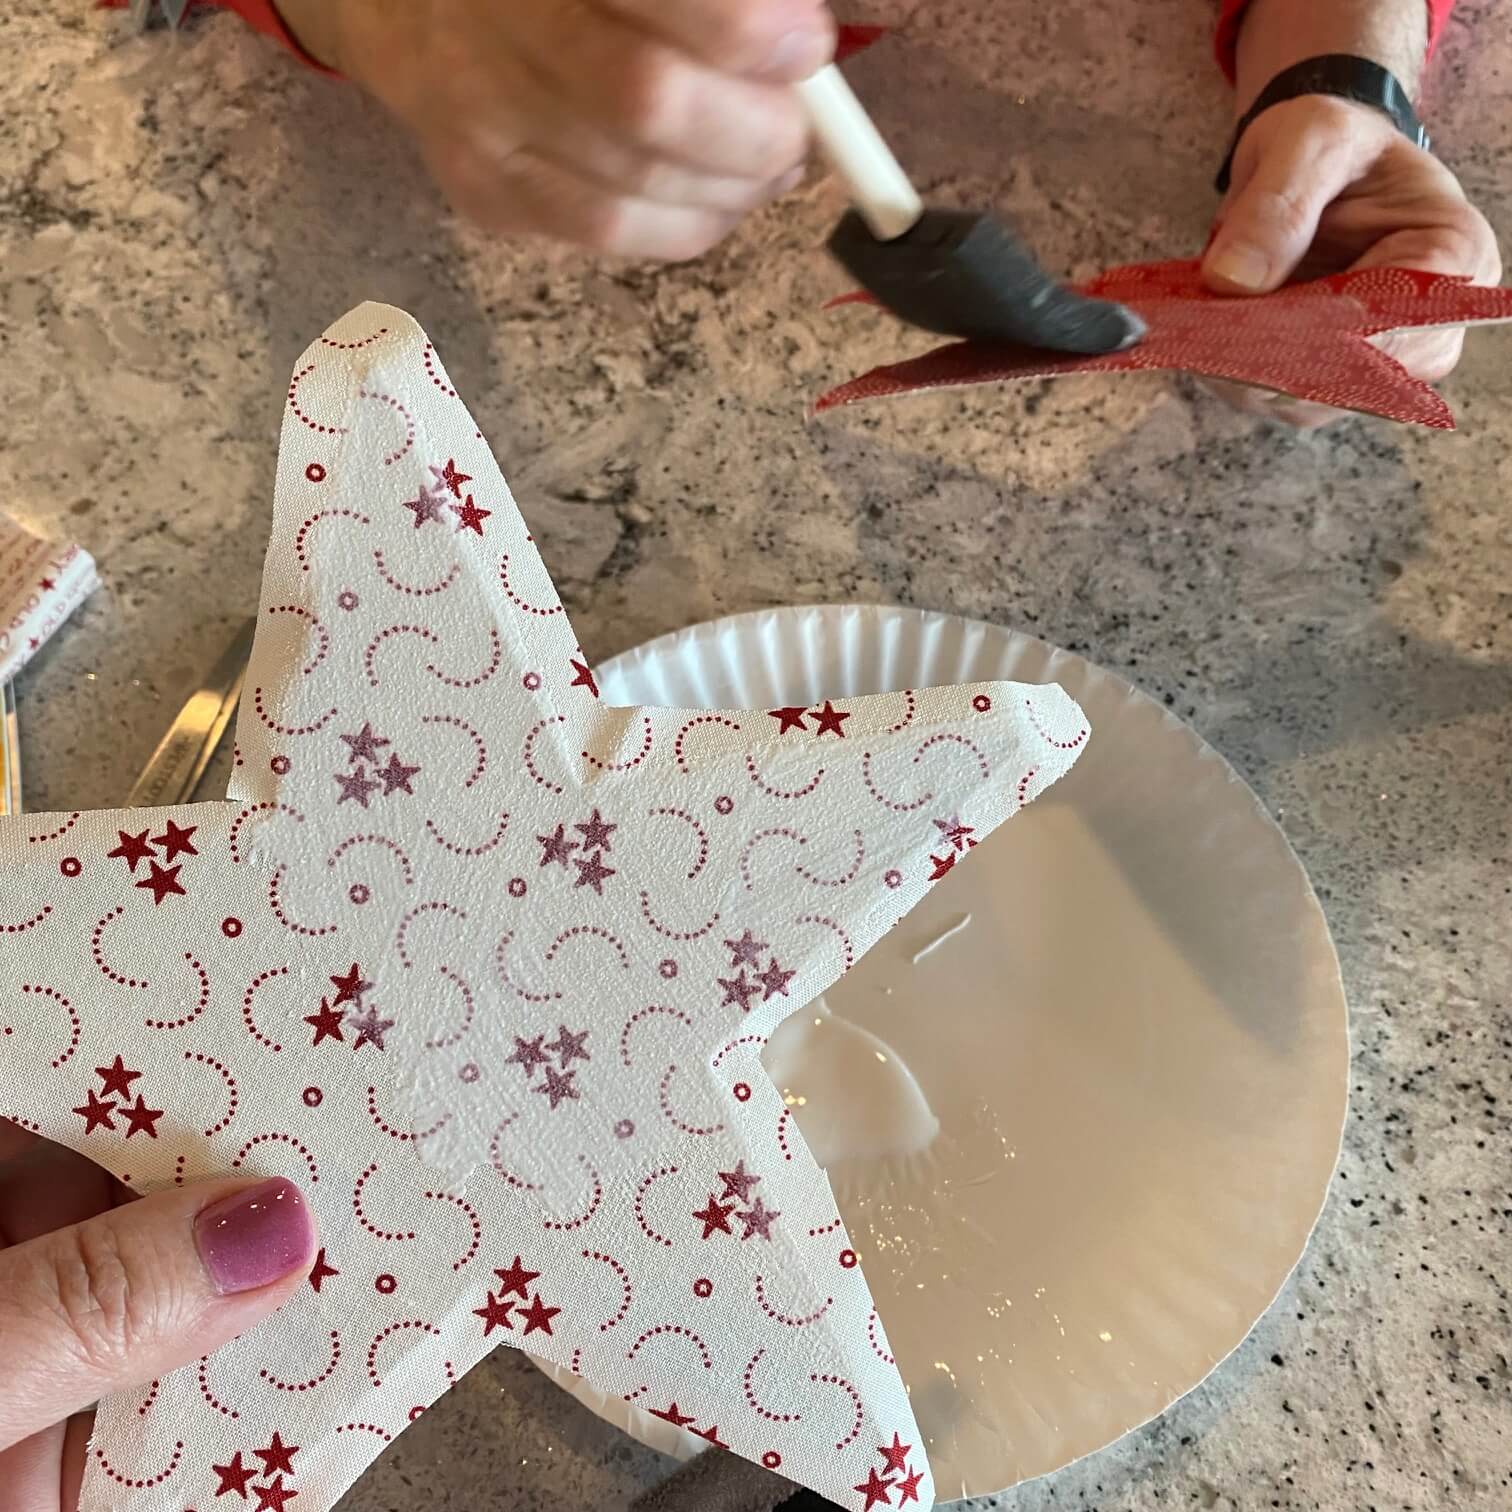
I trimmed the cotton fabric a little closer to the star shape but still left about a 1/2″ extra. Next you will Mod Podge over the top of the fabric – work the fabric to make sure there aren’t any bubbles.
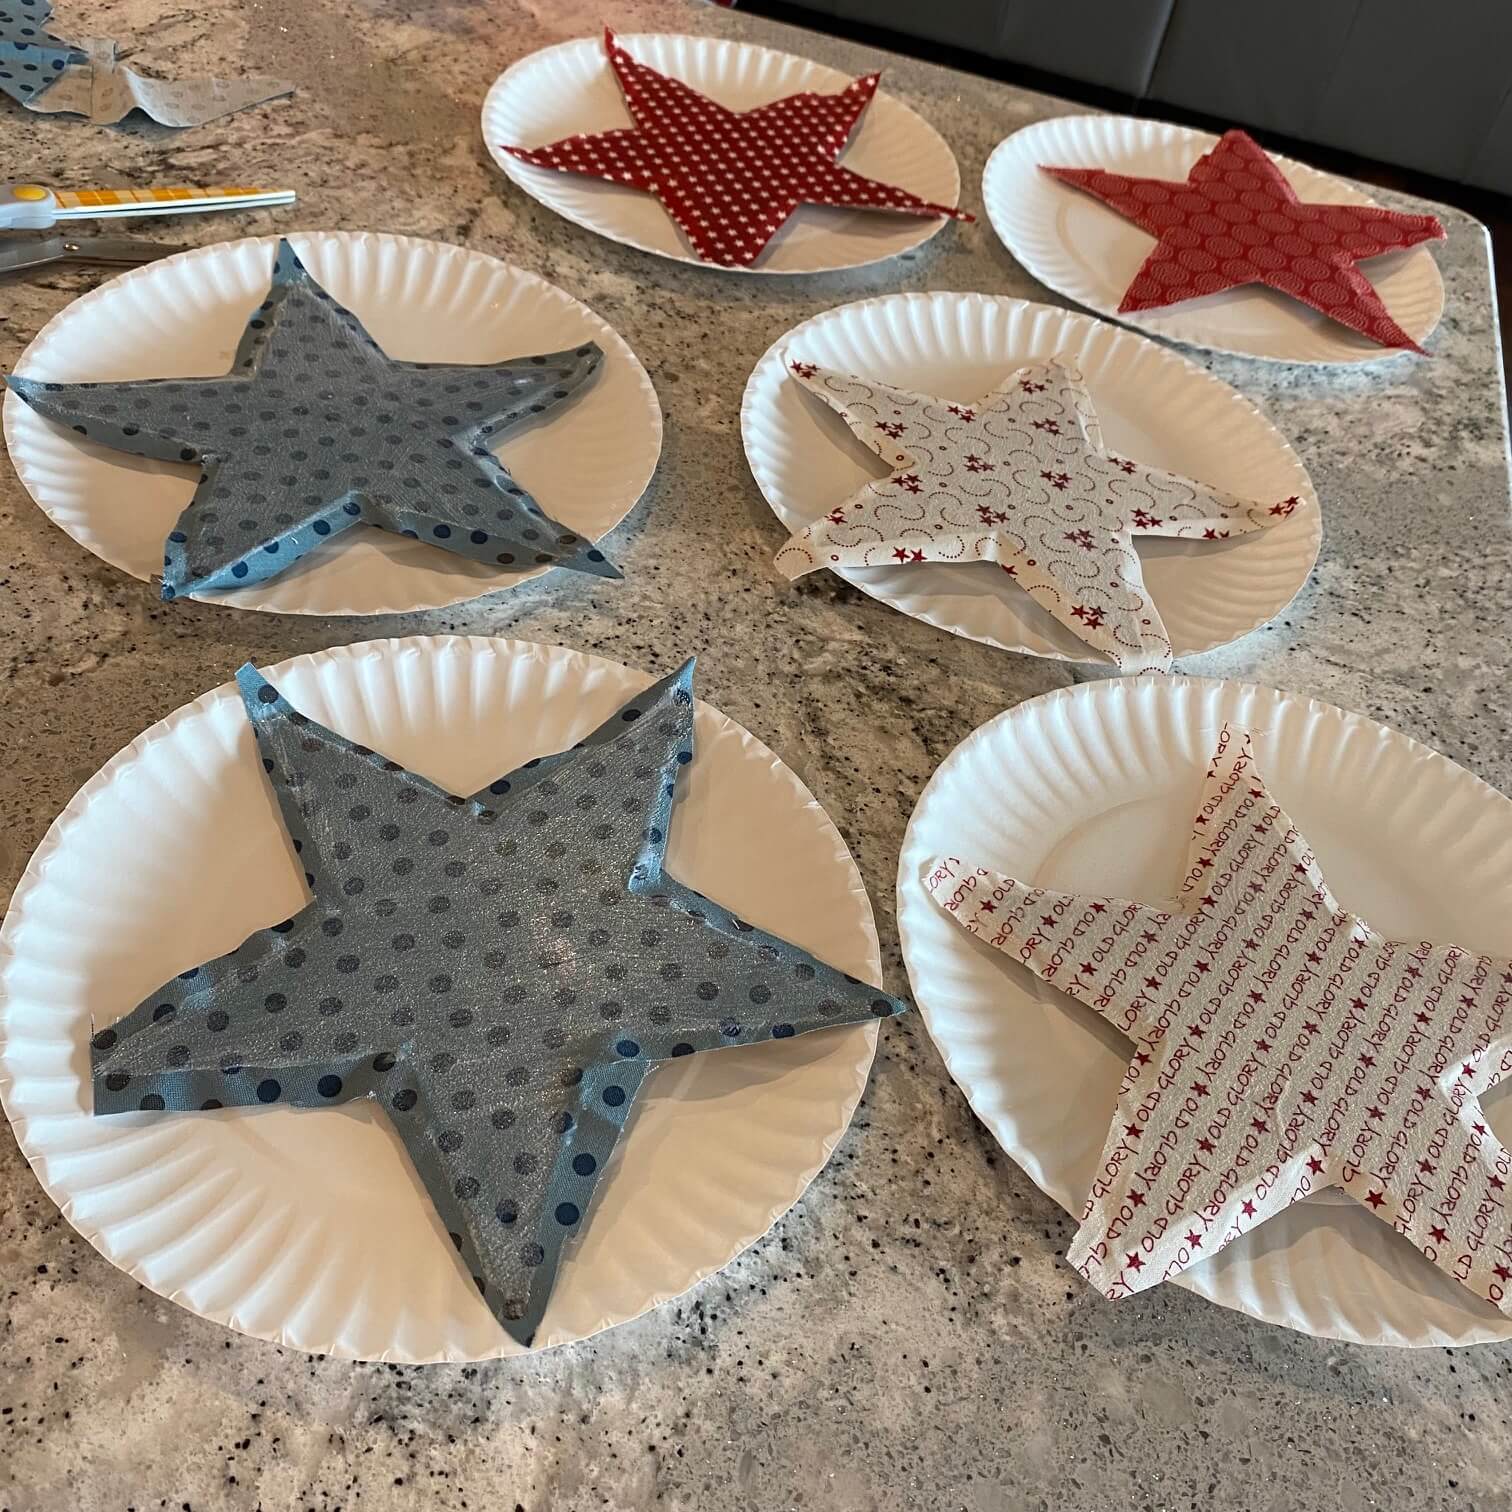
Here you see all of the stars with their under & over coating of Mod Podge. Let them dry completely…
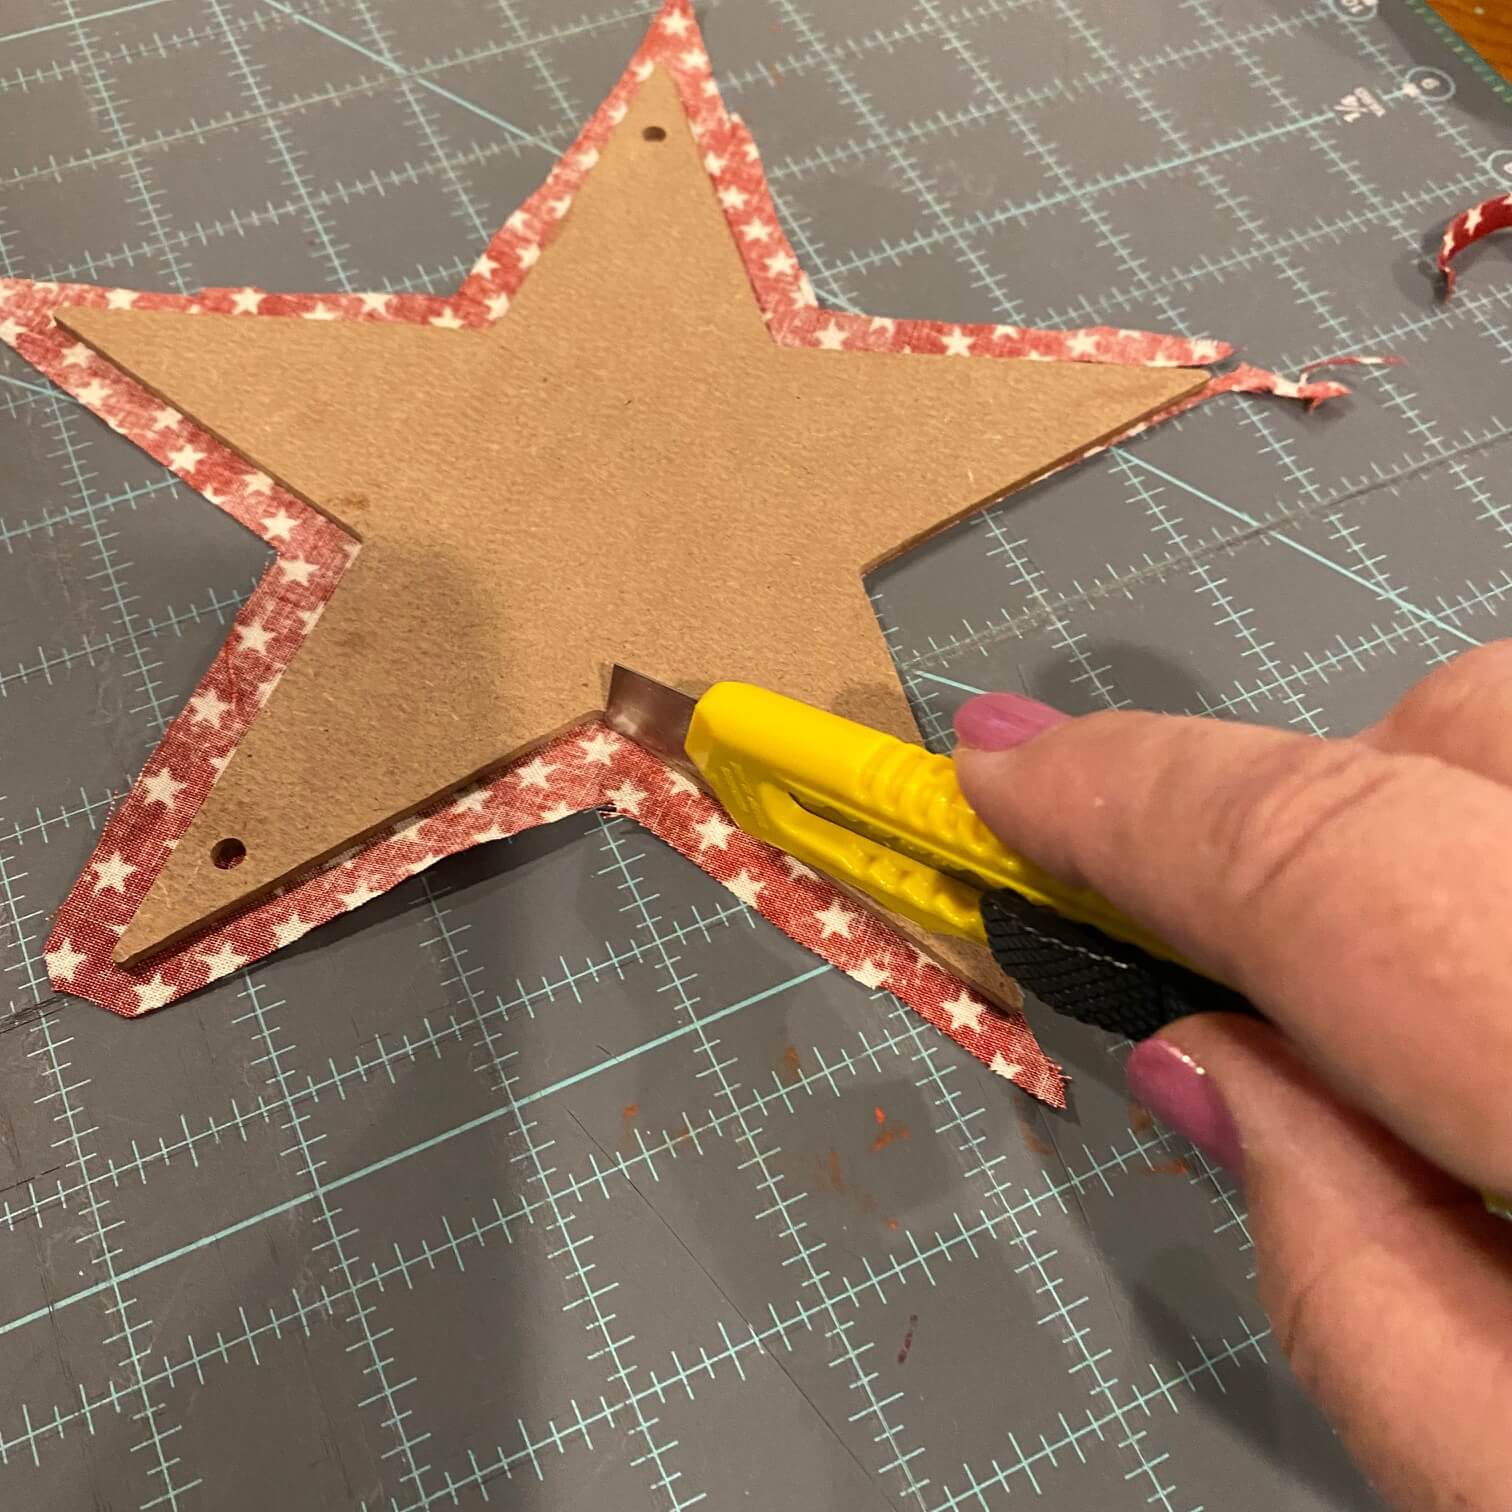
Once the fabric has dried, I used an exacto blade to trim the excess cotton away from the star.
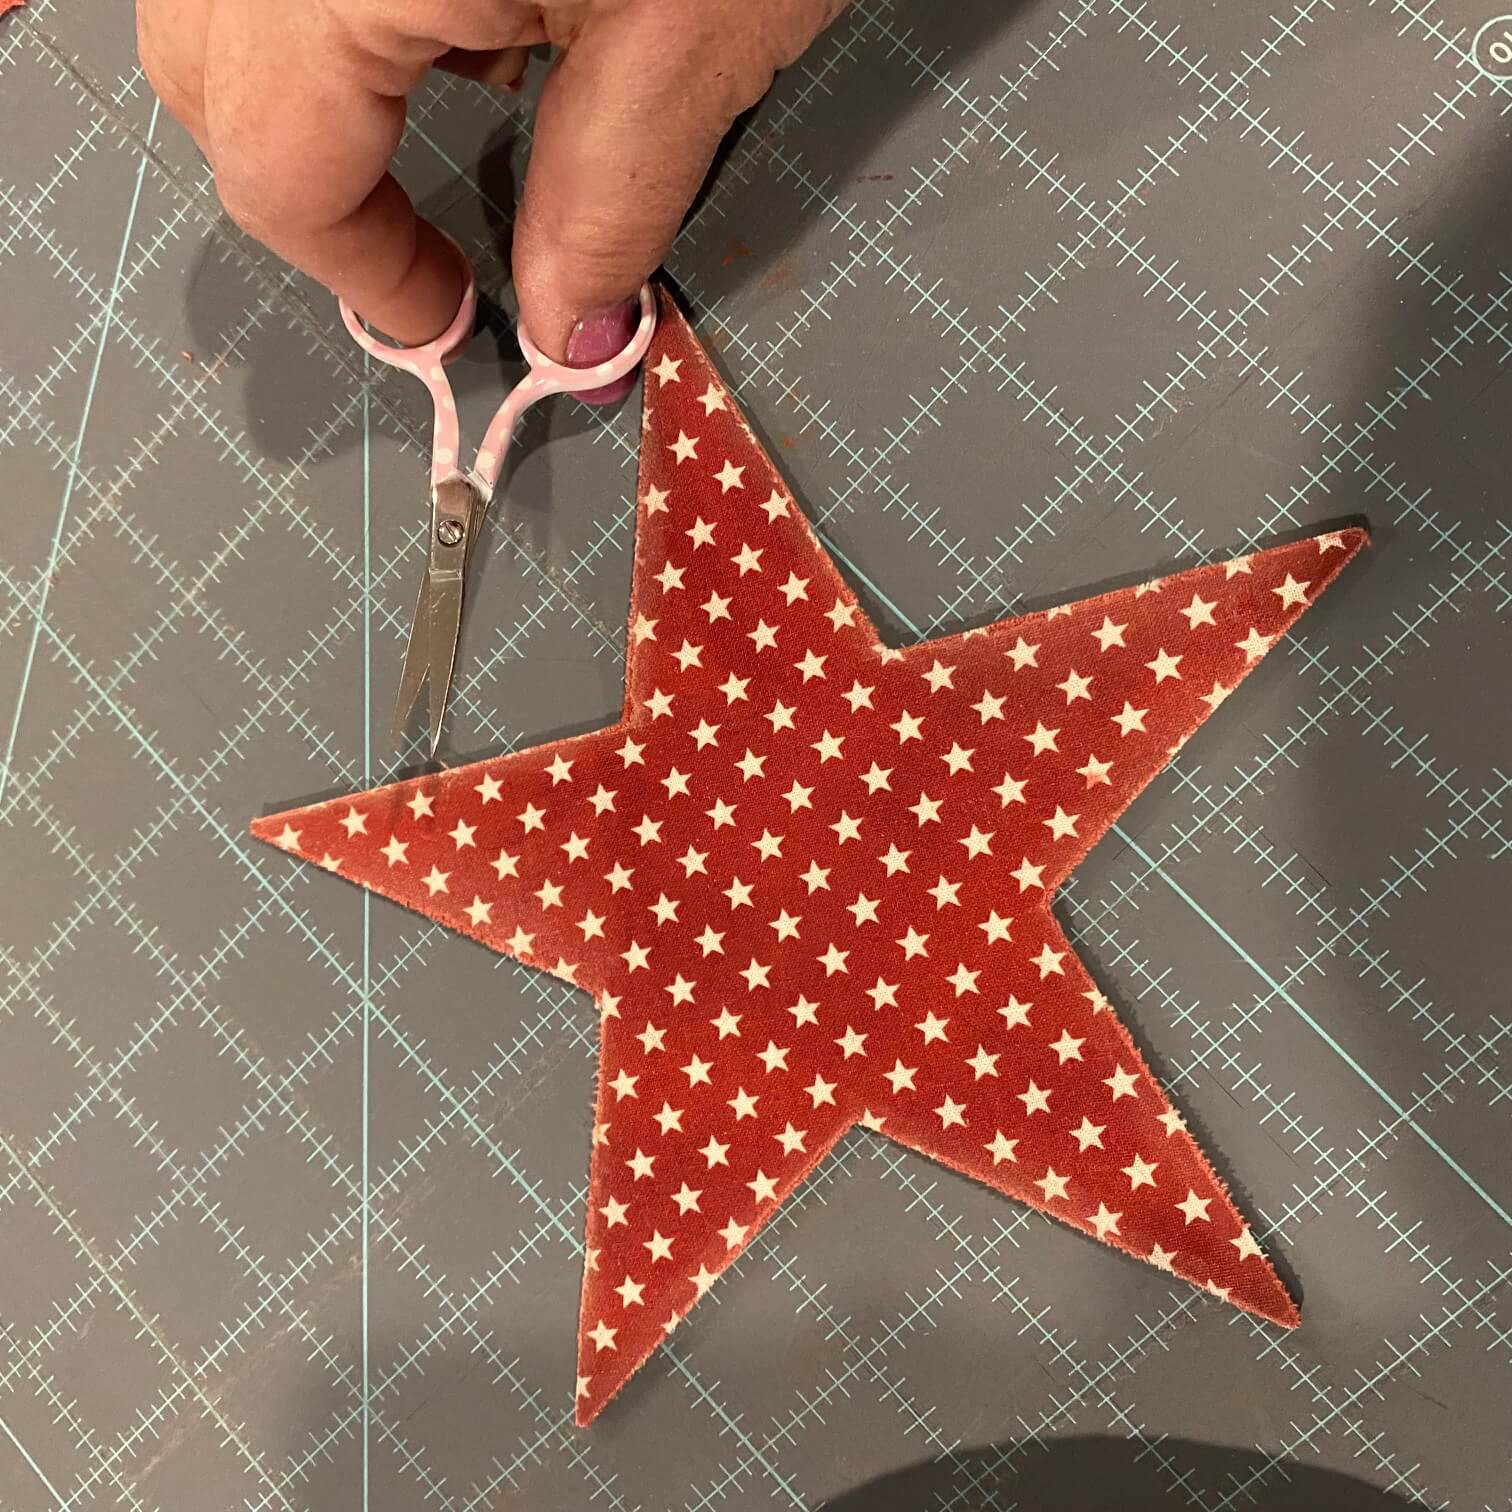
Sharp, pointed scissors were helpful to trim into the corners.
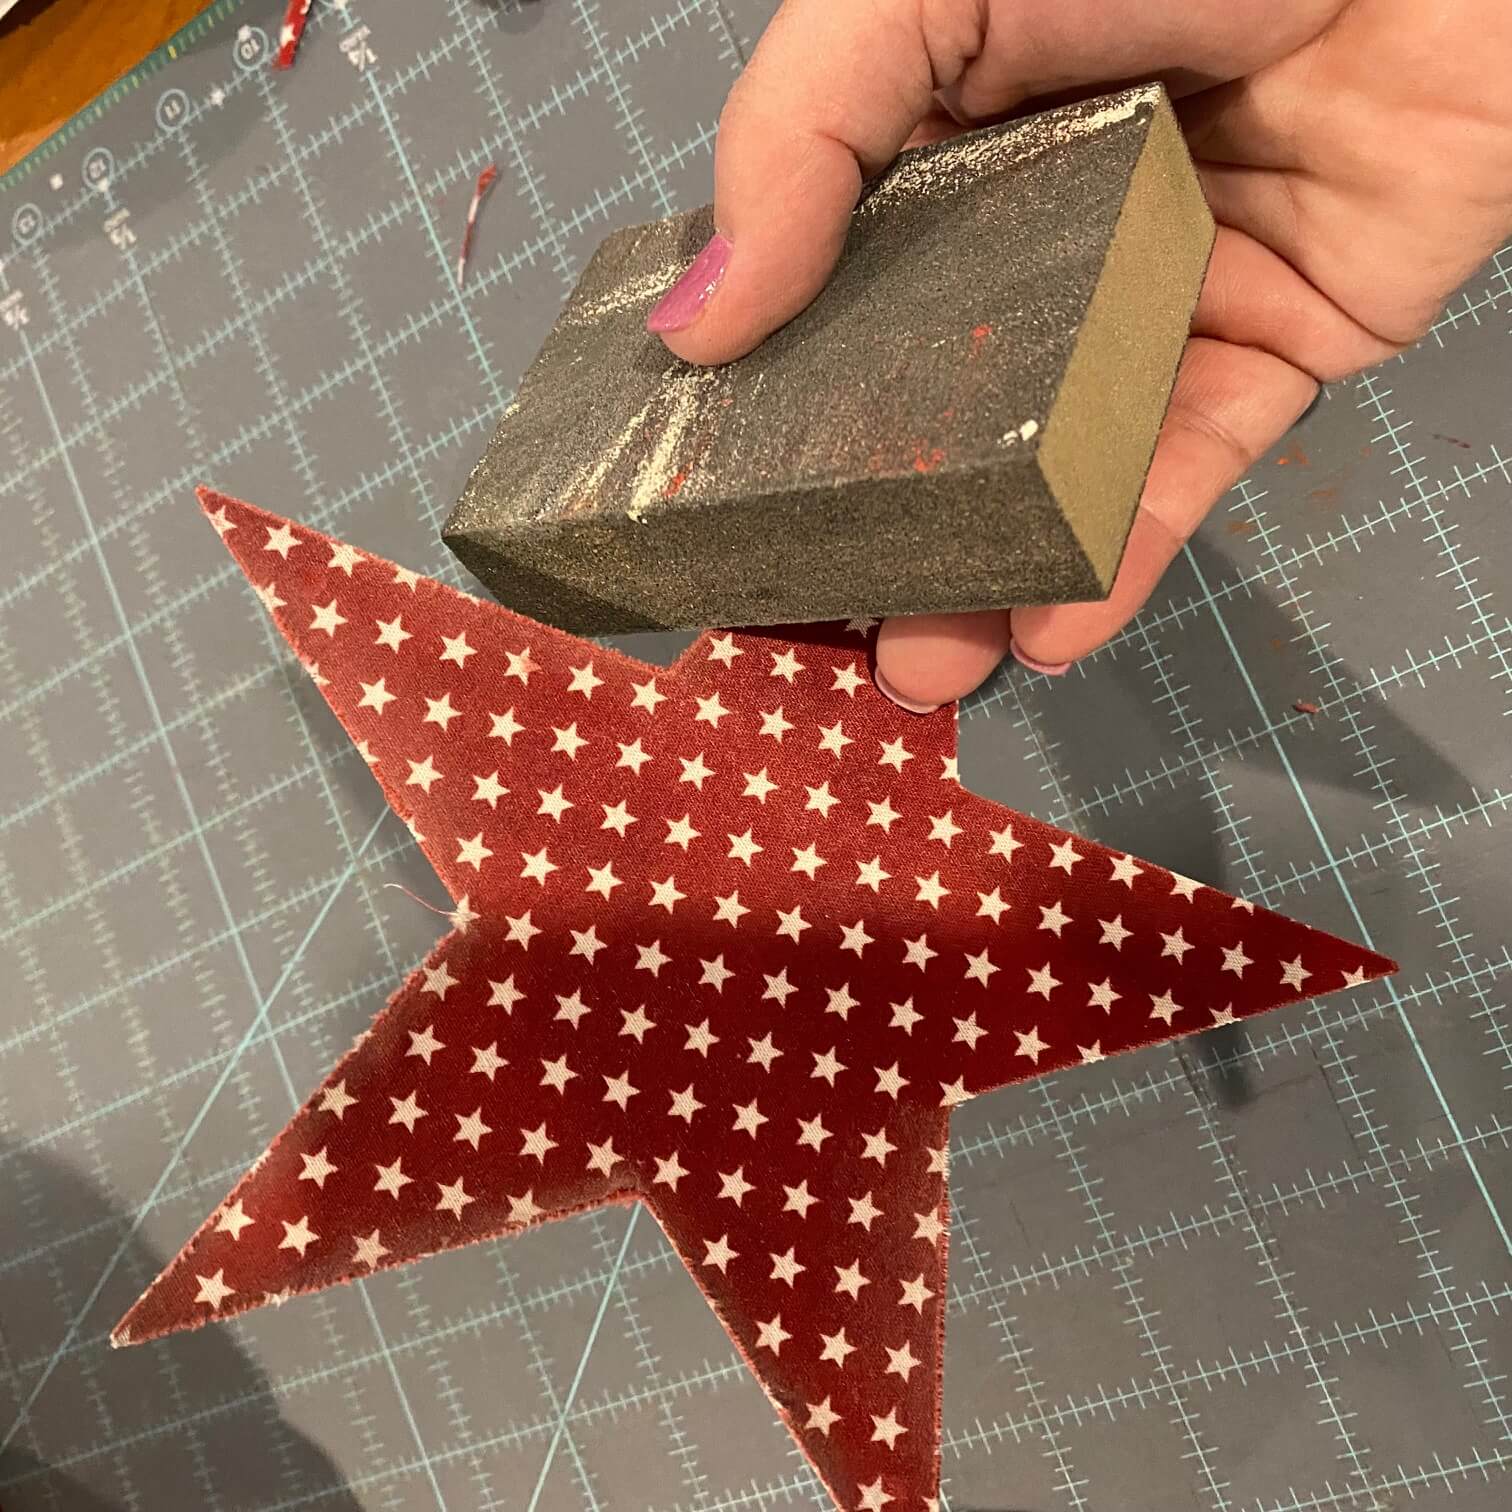
I keep one of these sanding blocks handy in the studio (it’s surprising how many times I reach for it). I lightly sanded the edges of stars to remove excess fabric & give the stars a ‘worn’ look.
Once I trimmed all the stars, I poked through the fabric where the holes were positioned in the stars & re-strung them on a piece of jute.
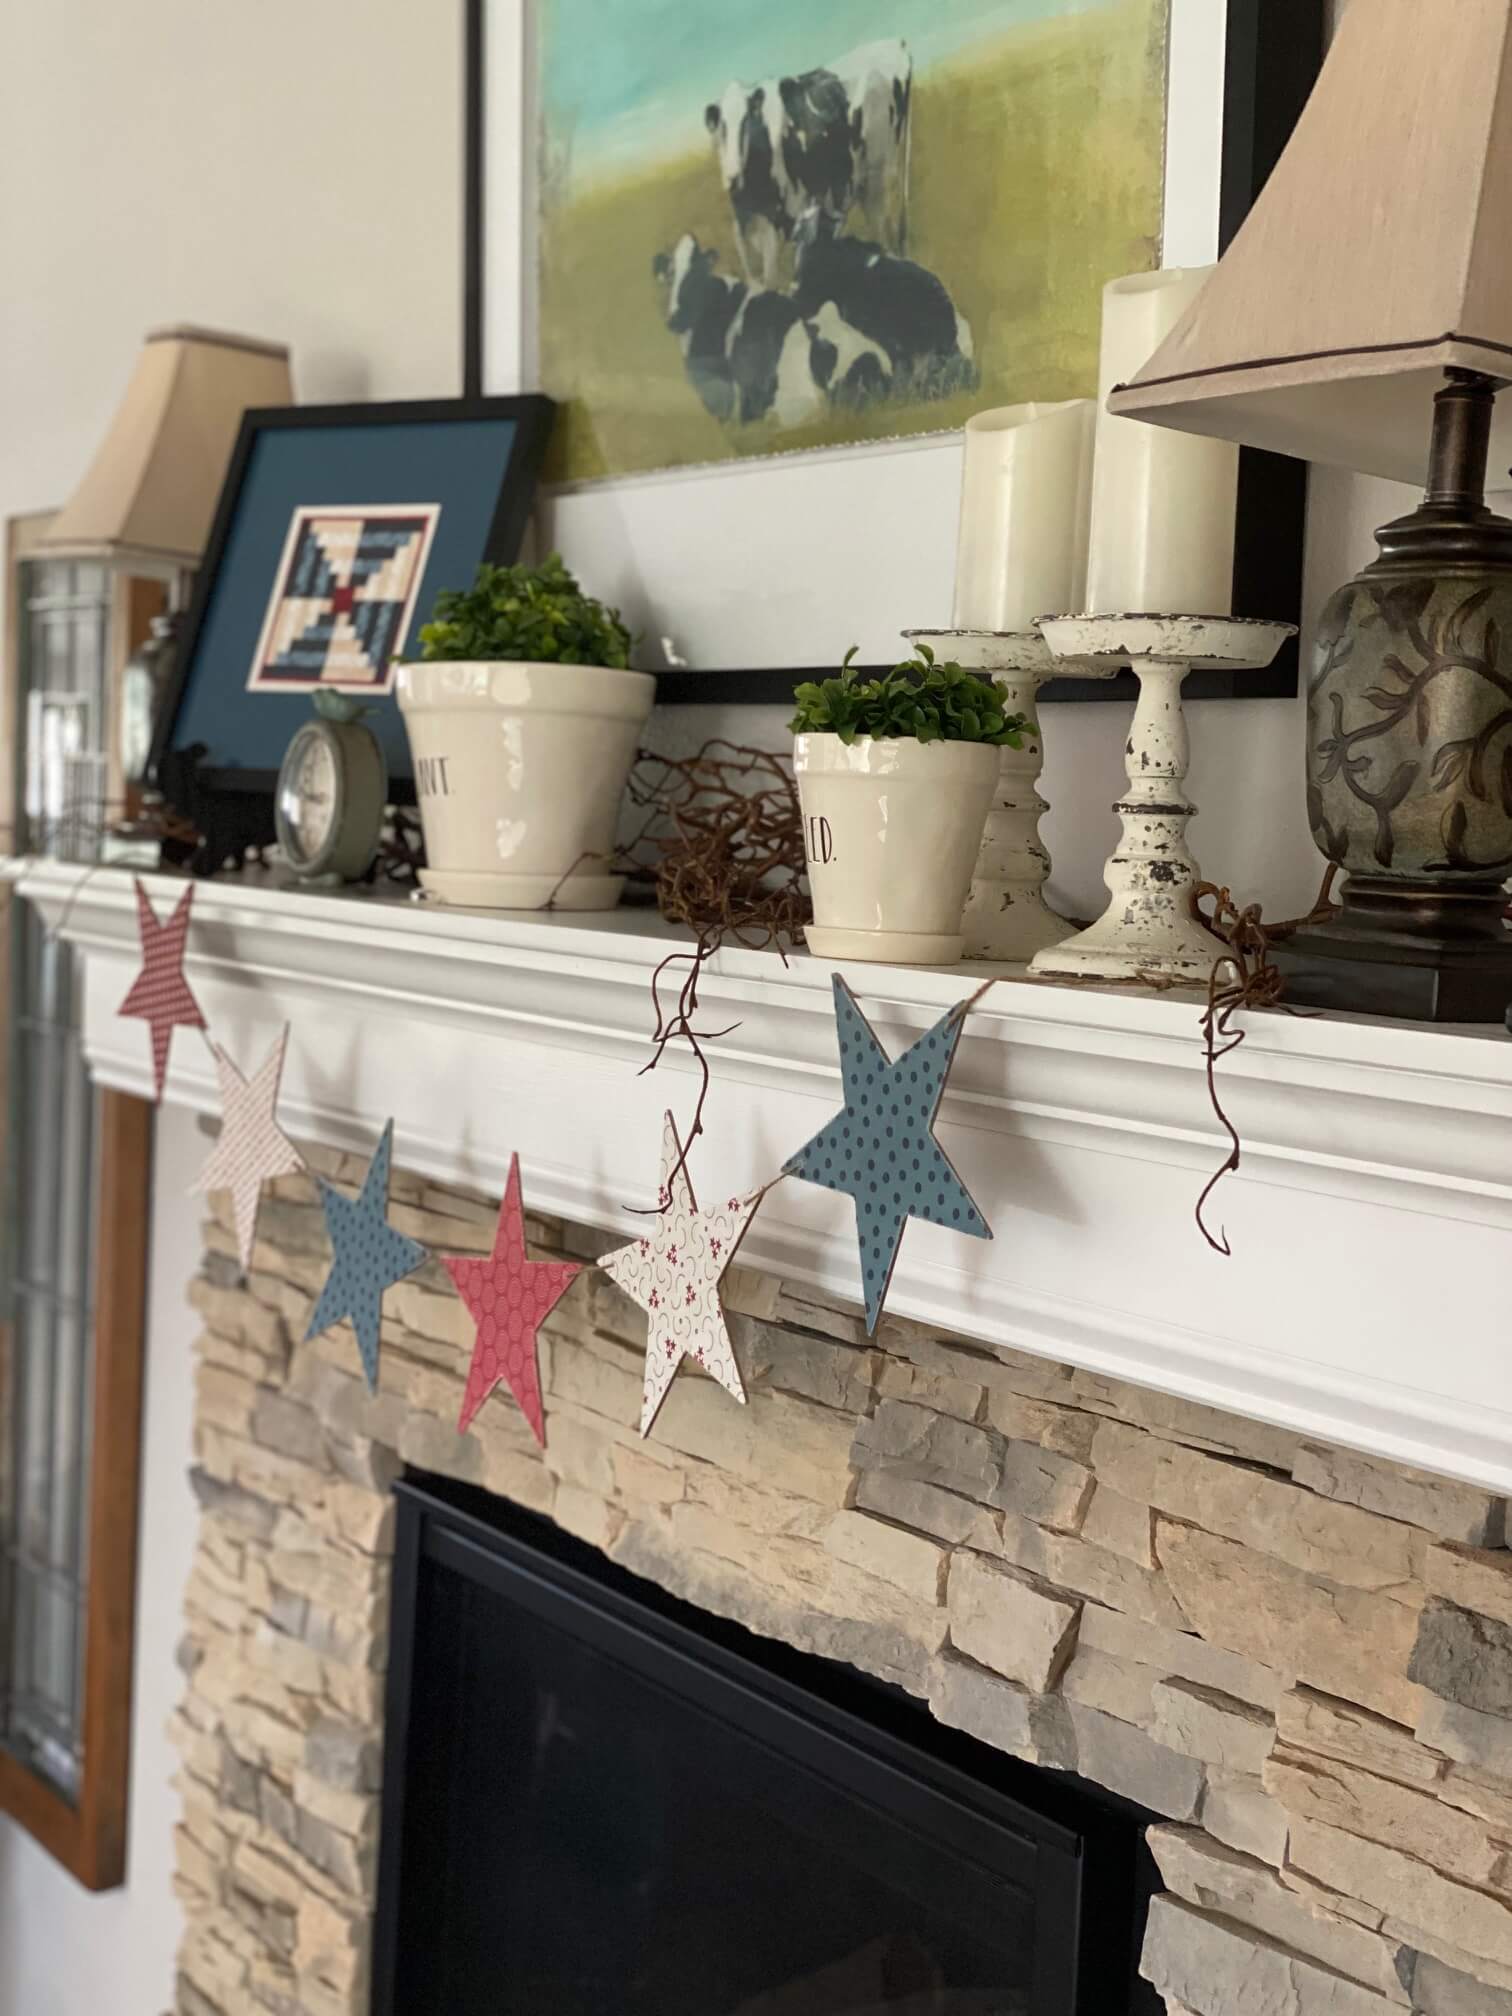
Ta-da – here are the stars on my mantle. This is one of my favorite places to decorate & it was nice to give these ‘mass produced’ stars a little personal touch. It was a fun & simple project that we did together while creating a memory or 2 along the way.
Thank you for letting me share a little story behind the design!
Enjoy the stitch,
Cathy, Hands On Design


Hi Cathy!
I love your idea using the stars and covering them with fabric – i am going to do that too! Also, being an Air Force wife, I love the new cross stitch “land of the free…” Is there a possibility that you could redesign it to say “land of the free because of the brave”?
You and Mr. Hod are just so creative. I am in awe of your creative abilities – I can do a mean tax return, so we all have our strong points, so I support clever artists like you!!!
Thank you Judie!