Congratulations! You are ready to finish ’Well Hello There’!
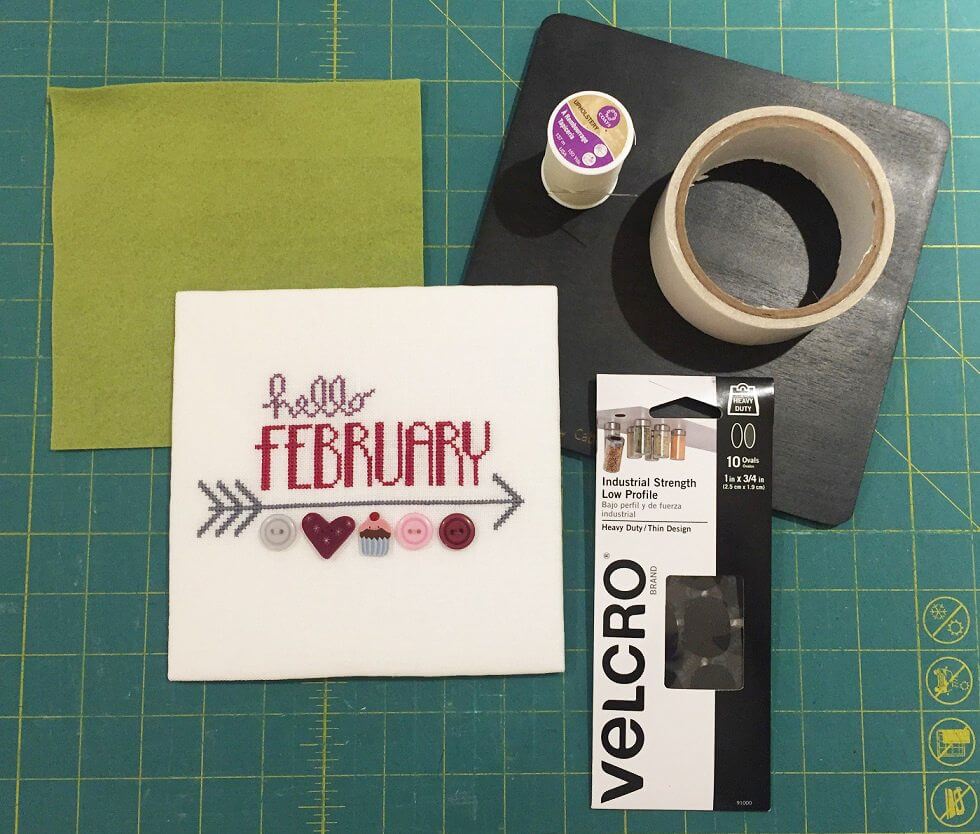
You will need the following supplies:
- 12 stitched pieces (pressed)
- ‘Well Hello There’ button-moji embellishment packs from JABC
- square finishing board
- 12 squares of matboard cut to 6 1/2”x 6 1/2”
- thin cotton batting (white)
- stitchery tape (double sided acid free), scotch tape
- woolfelt or felt
- Velcro: Industrial Strength Low Profile sticky back pieces
- lacing thread (upholstery or craft thread), sewing thread, various shades DMC for attaching button-moji’s
- Thin needles for attaching buttons, sharps for lacing
- Cutting mat, ruler, rotary cutter & exacto knife
Read on for the tutorial or download a printable version here.
Have fun with your finishing! Cathy, Hands On Design
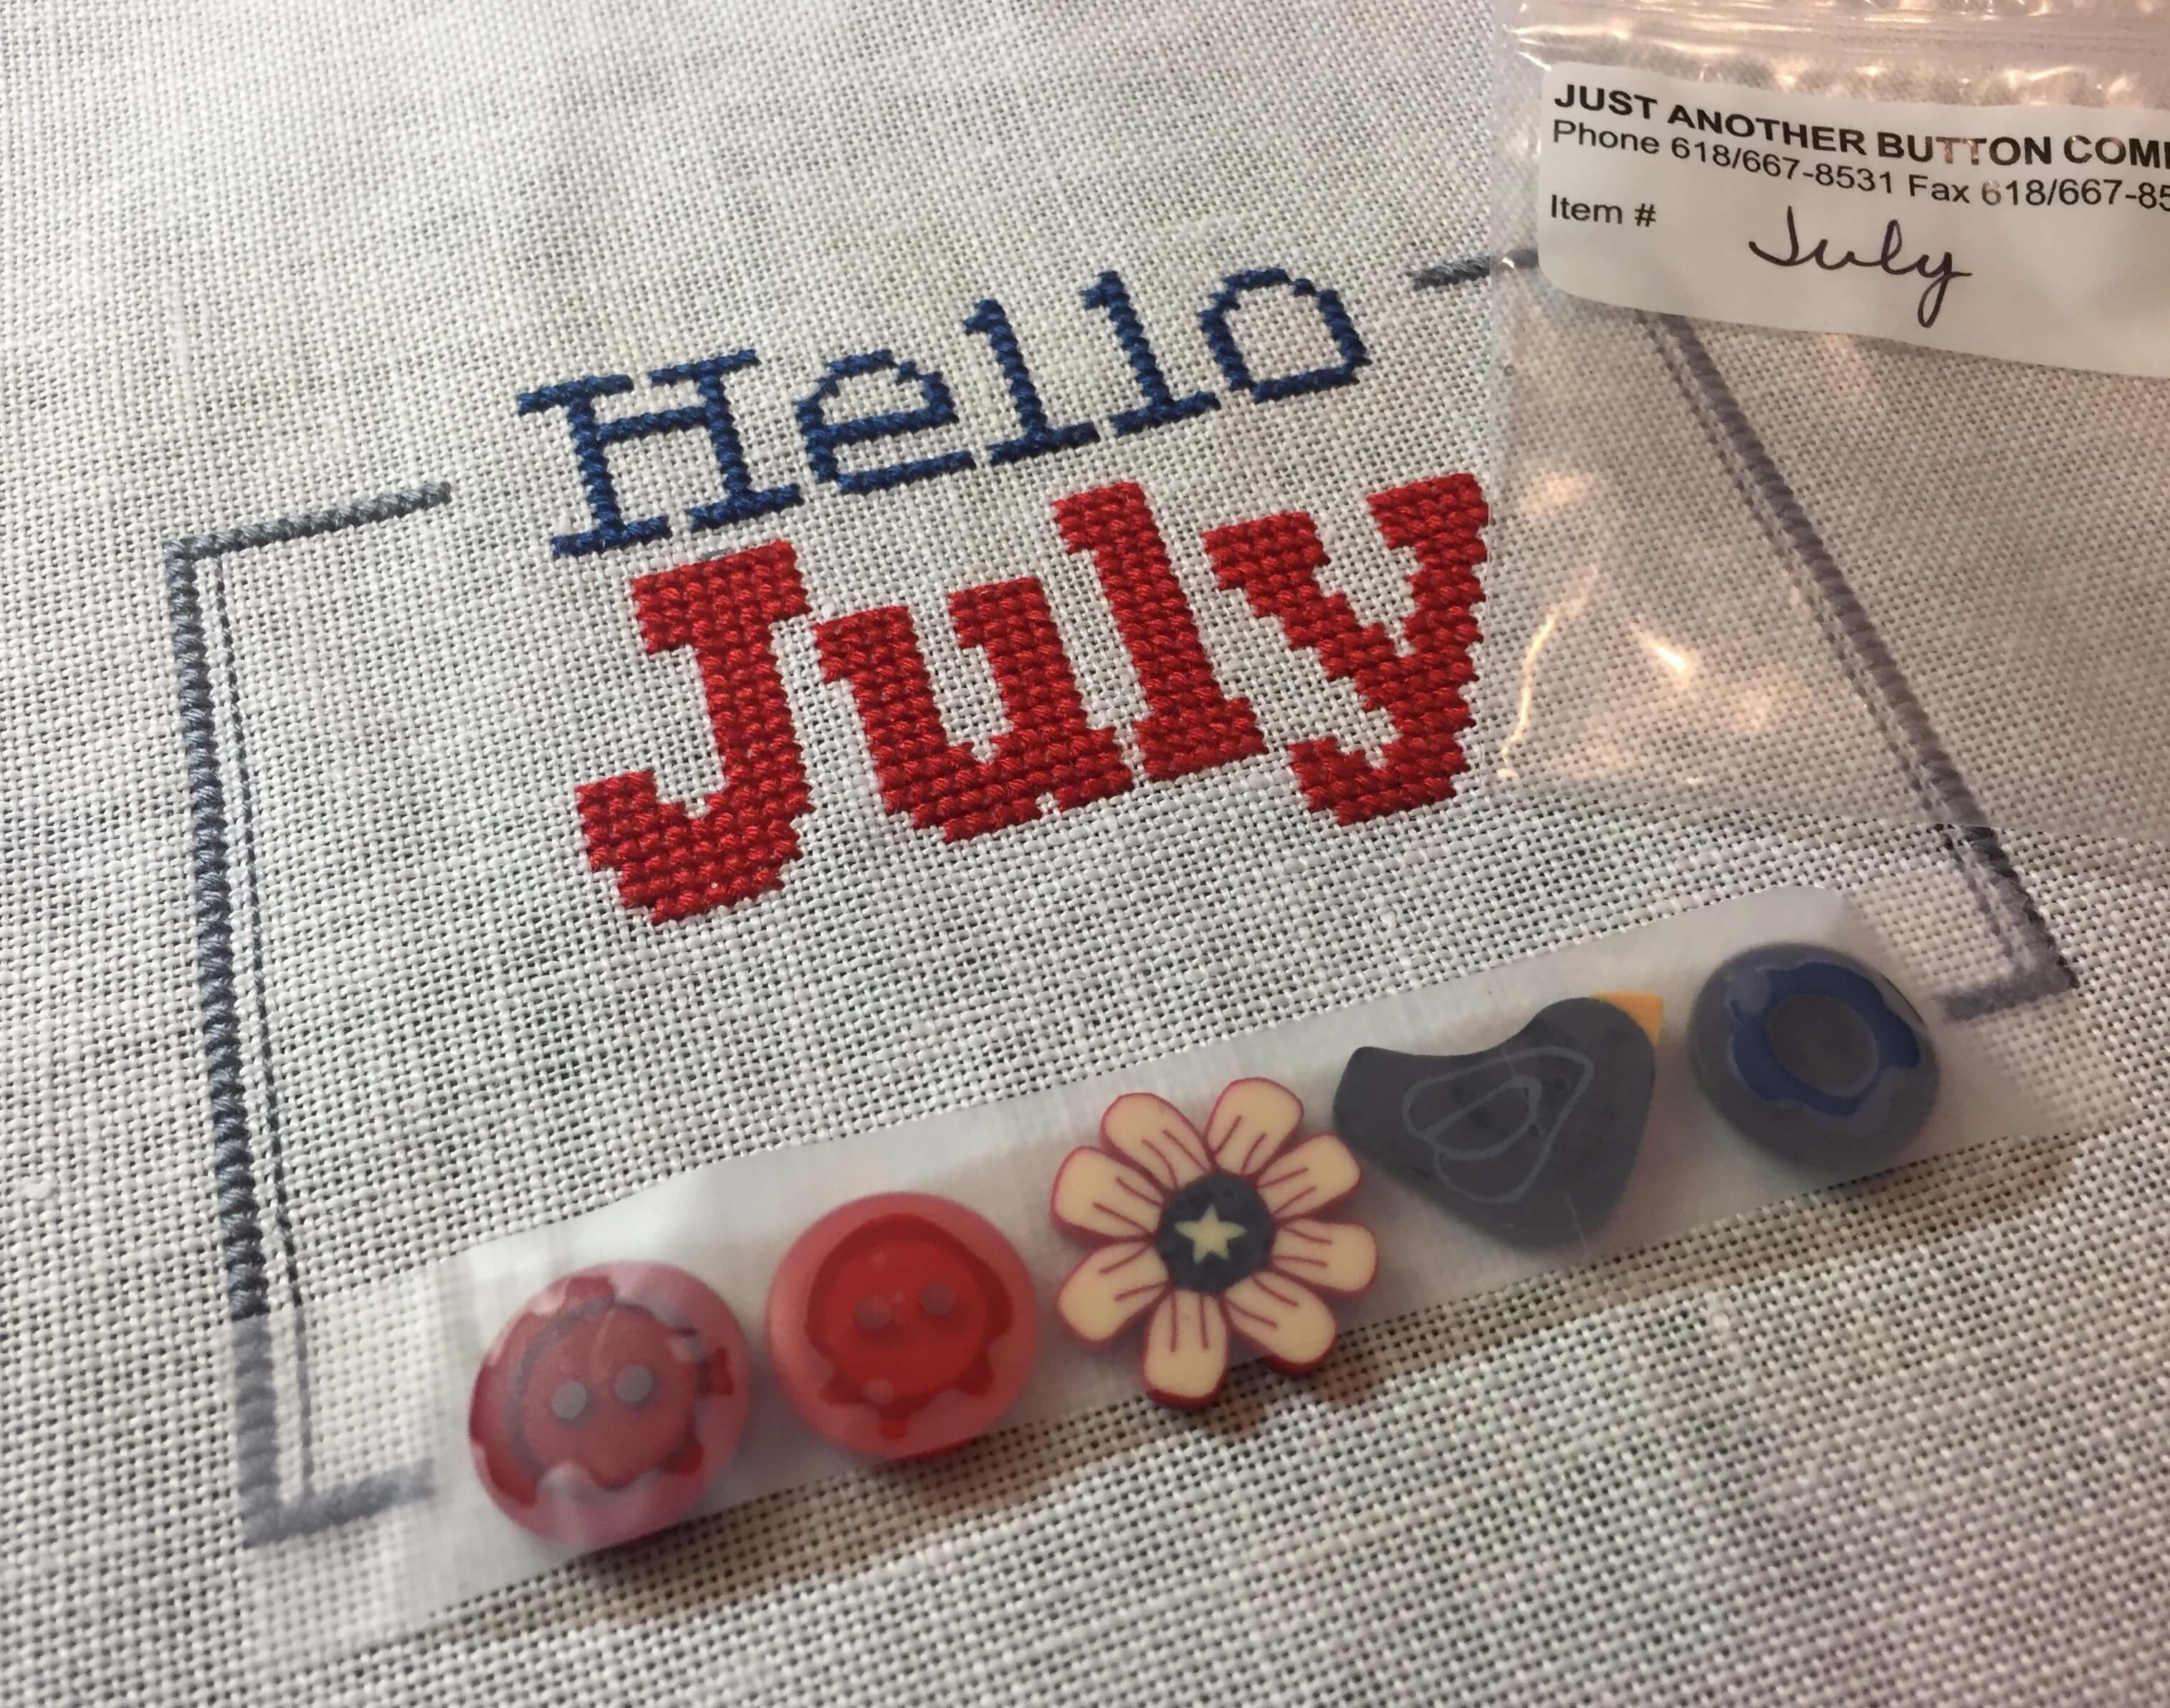
- Begin by attaching button-moji’s to the stitched pieces.
- refer to the chart photos for button-moji placement
- Hint: lay a long piece of Scotch tape across your button-moji line-up & lightly adhere to buttons & linen. Attach with matching thread, then peel back tape.

- Cut 12 matboards 6 1/2”x 6 1/2” – mark cutting lines with ruler, cut with exacto blade on cutting mat with ruler to keep cut straight.
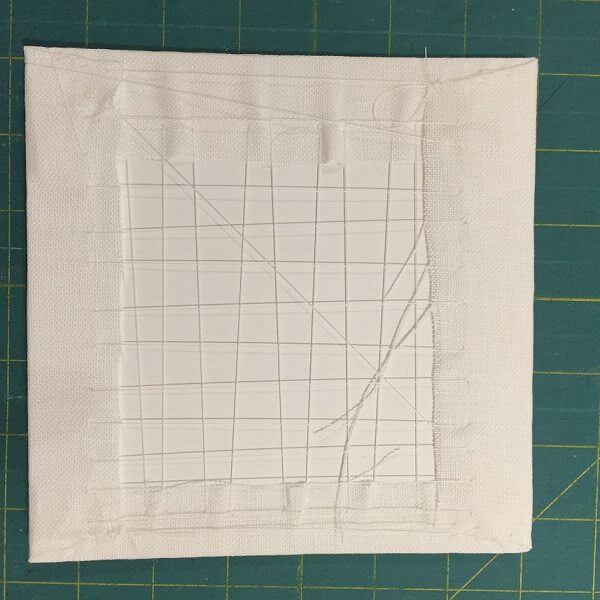
- Cut 2 layers of thing (white) cotton batting for each matboard (keep the 1st layer in place with a small piece of stitchery tape) Trim to edge of matboard with rotary cutter.
- If you centered your stitching well on the 9×9 cut of linen, you will not need to trim much. Here I trimmed the bulky selvage with a ruler & rotary cutter.
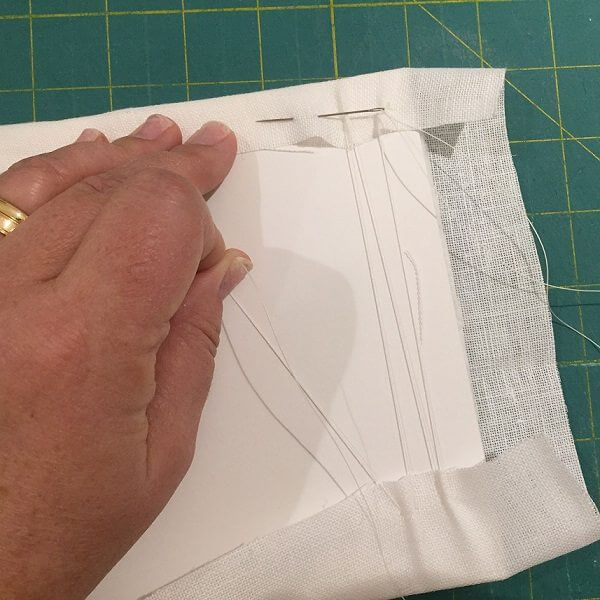
- Center the stitched design on the matboard, turn over & begin to lace.
- start with a very long strand of lacing thread. Thread through the needle & knot the opposite end.
- Fold opposite sides of linen over the matboard. Anchor your thread on the top right corner of the linen, Scoop stitch across the 2 sides (scoop=needle runs in & out of the linen parallel to the side of the matboard)
- Pull evenly, scooping from side to side, across the board & make a small knot at the opposite end to anchor thread again.
- Check the stitching on the front side & move the linen around as necessary to keep design centered.
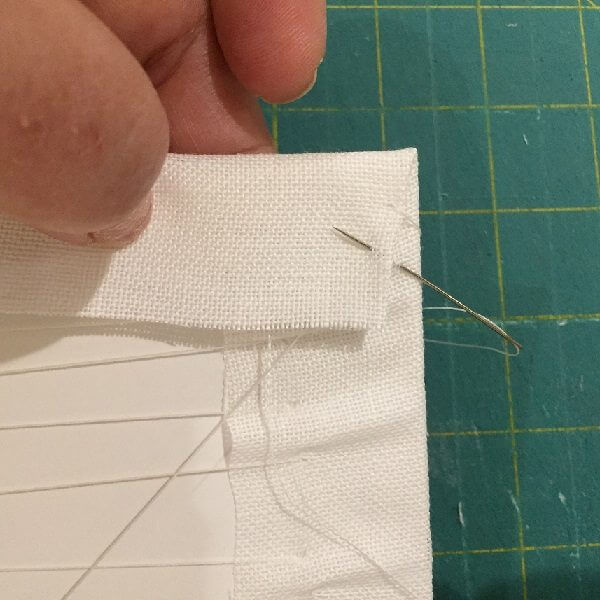
- Fold the remaining side of linen over the matboard.
- Hint: You may need to trim some excess linen to avoid thick corners
- I find the linen naturally pulls in a bit from lacing the previous side, so I secure my corners with a few stitches to get a crisp looking corner on the front side.
- Scoop stitch across remaining side.
- Left picture is what your stretched piece looks like. This is a basic flat finish. From here you can do marvelous finished, but we will continue with your Well Hello There finish.
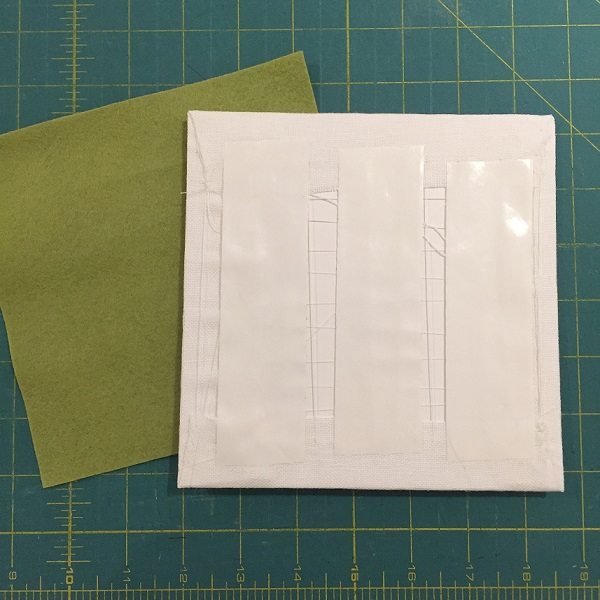
- You are adhering a piece of woolfelt or felt to the backside of the stitching. (if you use sticky back felt, cut to size & stick on)
- cut 3 pieces of Stitchery tape and lay across the back center. (do not use your good scissors to cut stitchery tape!)
- Do not place Stitchery tape too close to the edge: you don’t want it to show & you don’t want to have to lace through it.
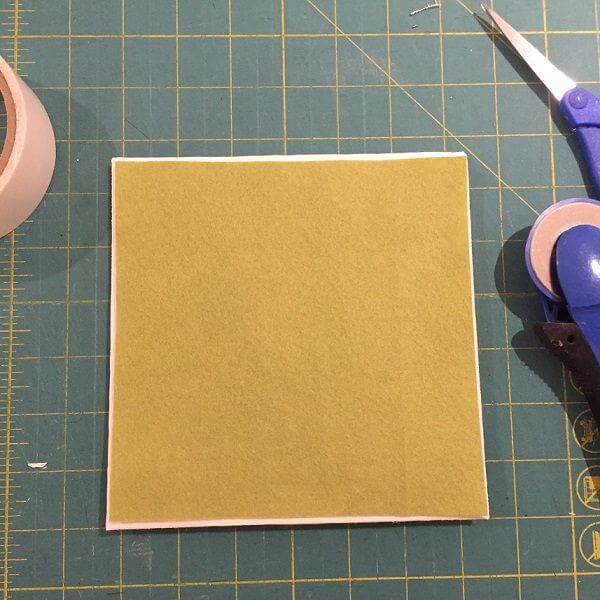
- Cut your woolfelt or felt to fit just inside the back of the laced stitching. We want to cover the lacing, but not see the felt from the front.
– Hint: we use the Stitchery tape to help hold the woolfelt to the matboard. Woolfelt will give & stretch a little over time if we skip this step.
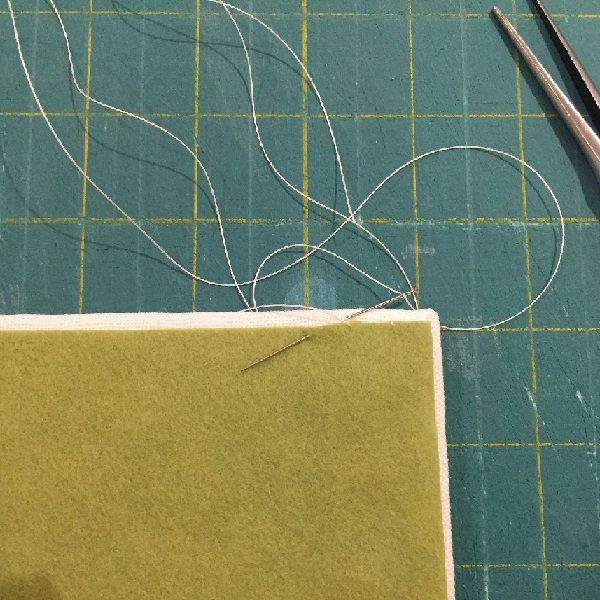
- Slip stitch the Woolfelt to the linen all around the Woolfelt square.
- Woolfelt will not fray which makes it perfect for many finishing projects. (you do not need to slip stitch if you used sticky back felt)
- You are in the final stretch!
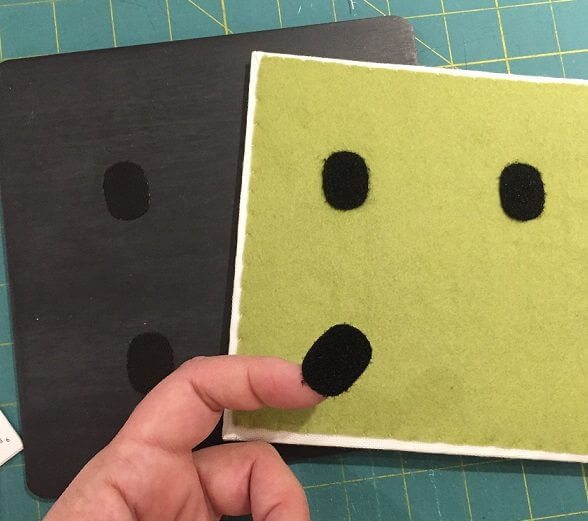
- Attach 4 pieces of the Velcro to the finishing board: use the ‘flat’ side or ‘non-fuzzy’ side and place approximately 2” in from each corner.
- Line up your finished piece to the finishing board and adhere the remaining side of Velcro to the 4 corners
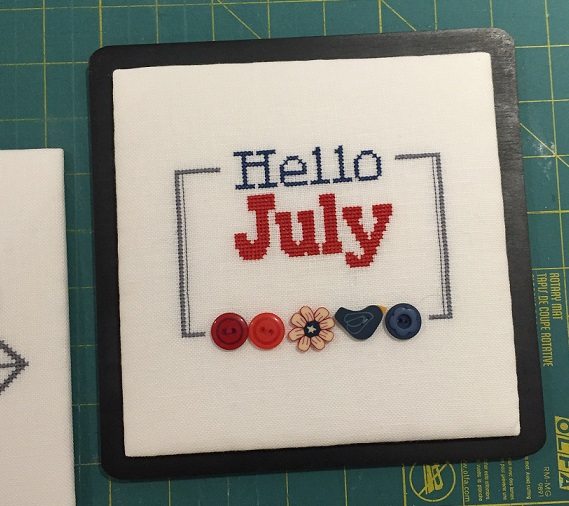
Attach your finished ‘Well Hello There’ greeting to the board!
- The finishing boards are thick enough if you would like to use a small sawtooth hanger. Your finished piece would also look great on an easel for display.
- Note: the industrial strength Velcro does say ‘not for use on fabrics’. Take care when changing the display each month. Carefully slip your fingers under the stitching to ease off the Velcro and not bend the flat finish!

Well Hello There Finishing Tutorial ©2017 Hands On Design & Cathy Habermann. Permission is granted for Shops & Stitchers to print & distribute for classes & personal use. Reposting is permitted with proper reference to http://www.handsondesign.biz These instructions are complimentary & not for resale. Images are the property of Hands On Design & Cathy Habermann.


Thanks so much for another great tutorial! Your directions are so clear and just excellent for finishing! thanks for giving Pat from Stitches Unlimited the dimension of the board so I could finish her shop model.
lovely tutorials and also the charts are great. Have a good day and happy stitching, etc.
I lo y video! Where do we get this cross stitch pattern?
You can order it from this website! – c