When I started working on these designs, I was trying to think of a new ‘take’ on the Block Party series…change the shape maybe? I kept coming back to the round drum. The more I thought about it, the more I liked it. I could use the lovely new hand-dyed velveteen from Lady Dot Creates plus the new Pin-Mini sets from JABC – a perfect pairing. The bonus was that I now had a ‘title’ for my series…’A-Round the Holidays’. They are not only Round, but they are about holidays: a beach holiday, a patriotic holiday…oh wait – I’m getting ahead of myself!
Follow these directions or print here: around the holiday tutorial
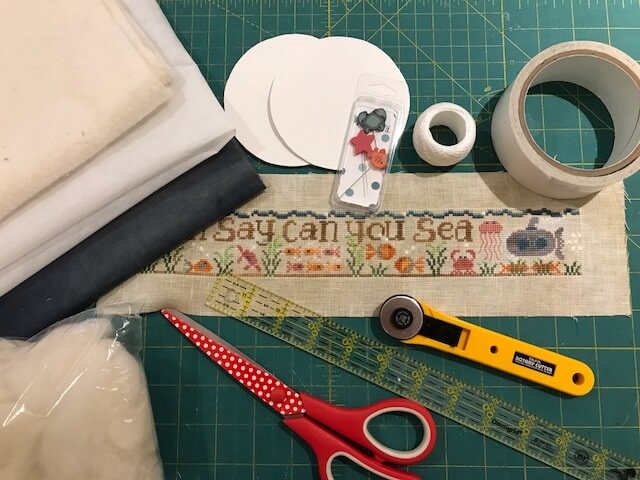
Gather the following supplies:
– Stitched drum piece with backstitched edge (pressed)
- Lady Dot Creates Blue Corn velveteen (included in your chartpack), Just Another Button Company Pin-Mini’s (jpm418)
- 2 Matboard circles cut to 3 7/8” & thin cotton batting
- stitchery tape (double sided acid free), lightweight fusible interfacing
- lacing thread (upholstery or craft thread) & sharp needle
- Stuffing: wool roving or fiberfill
- Usual finishing supplies
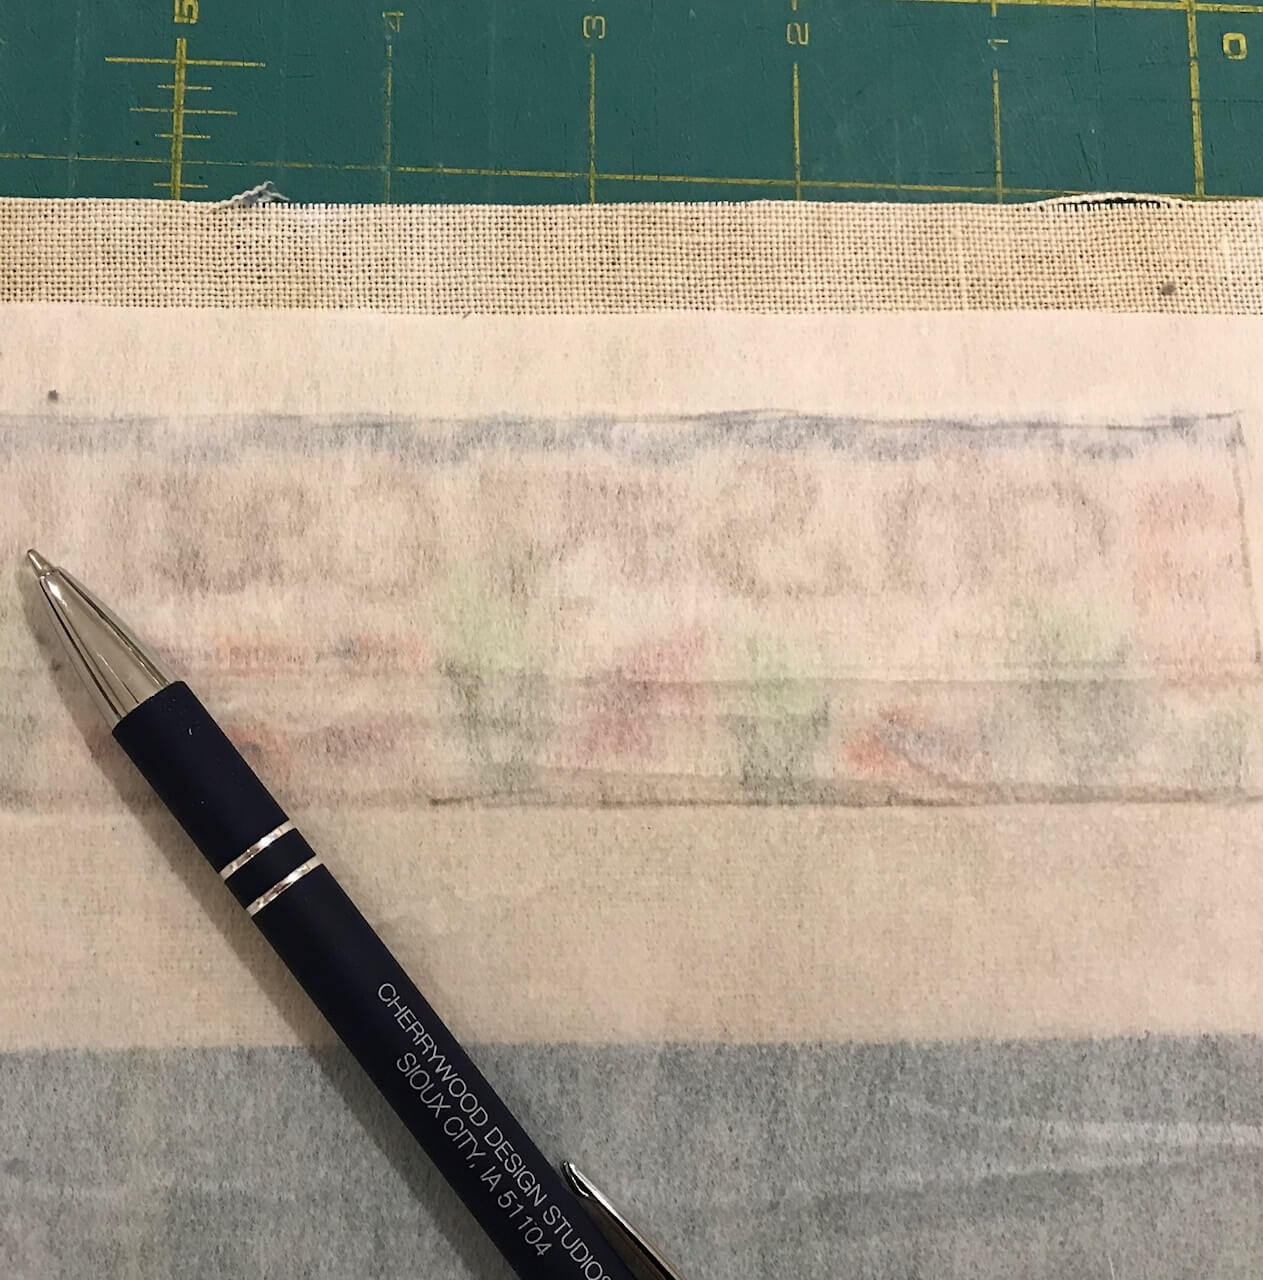
- Lay lightweight fusible interfacing, nubby side down, on the back of your stitched piece.
- Using a pen, trace just inside of the backstitching line.
- Trim the interfacing to fit & apply with iron to the back side of stitching according to interfacing directions.
 . Trim the linen to approximately 3/8” away from the backstitching line.
- finger press the short ends along the backstitching line.
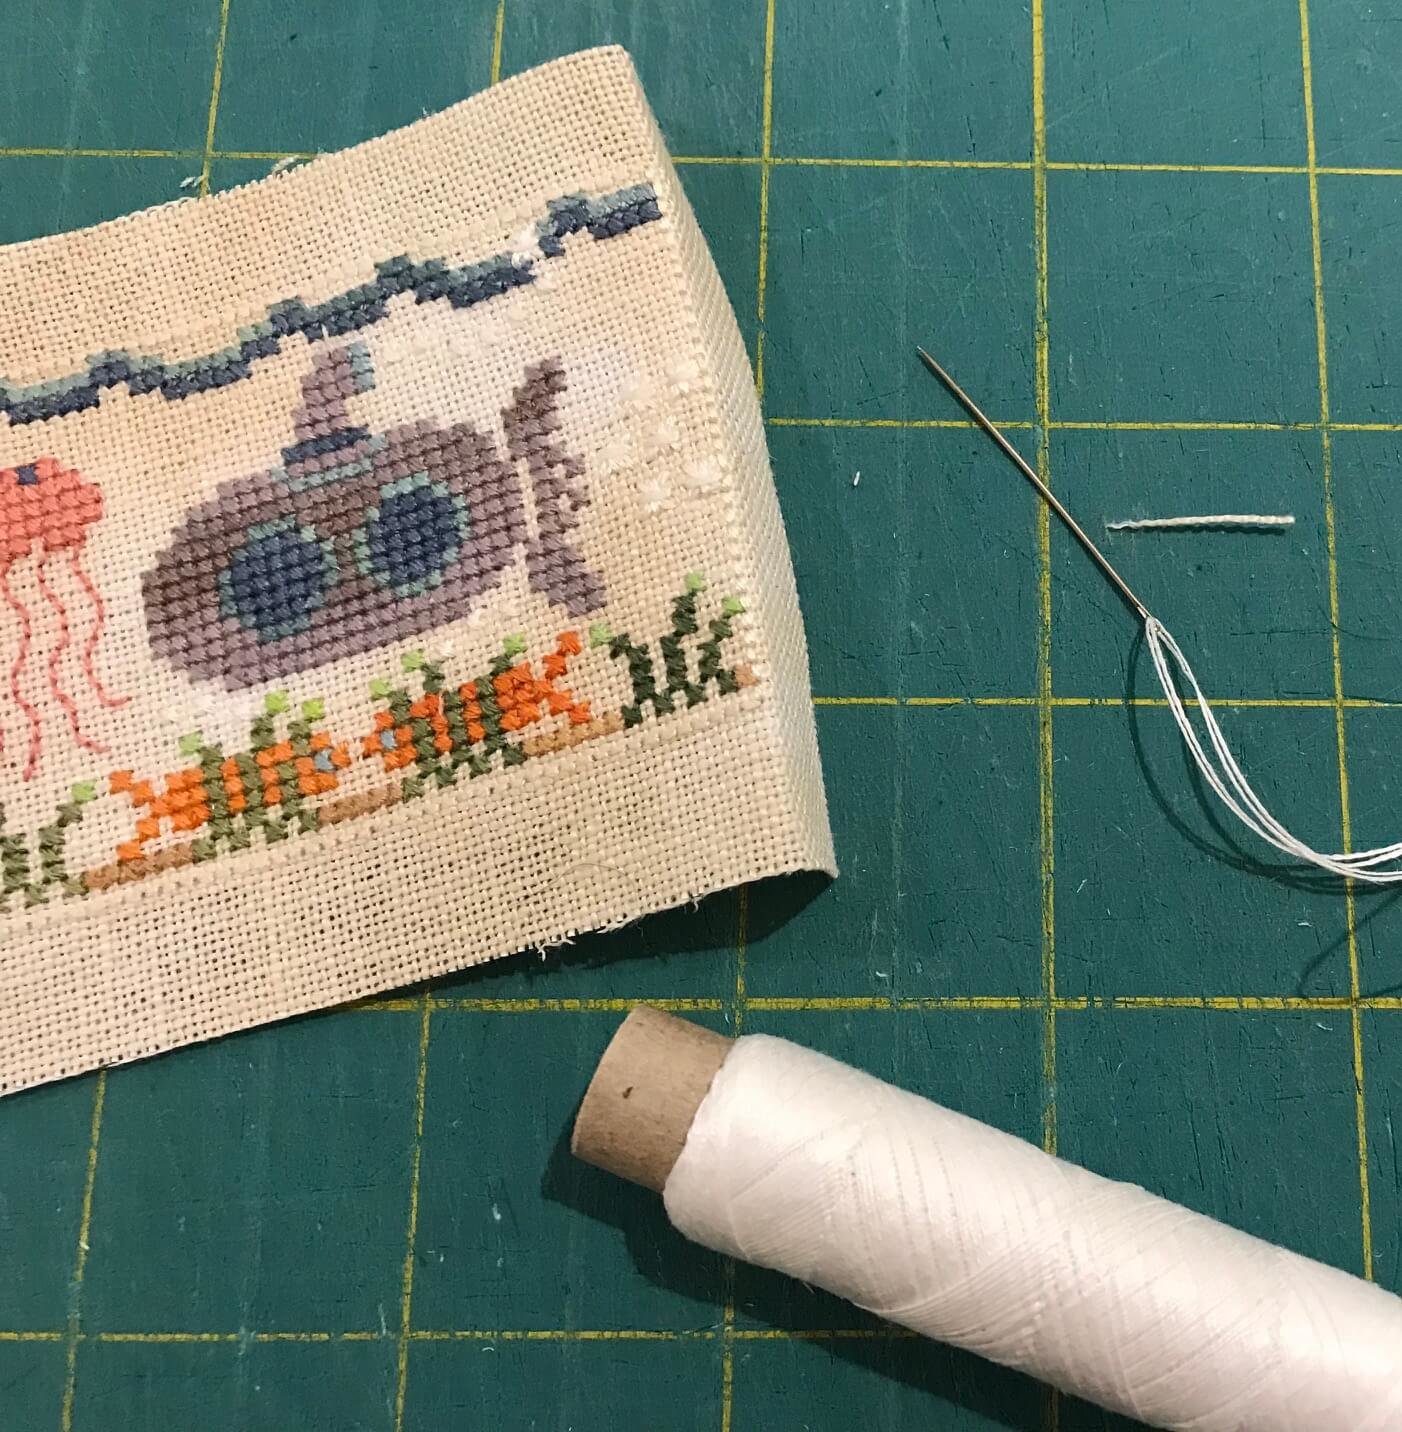
- The horizontal backstitch line will serve as a guide for your drum assembly.
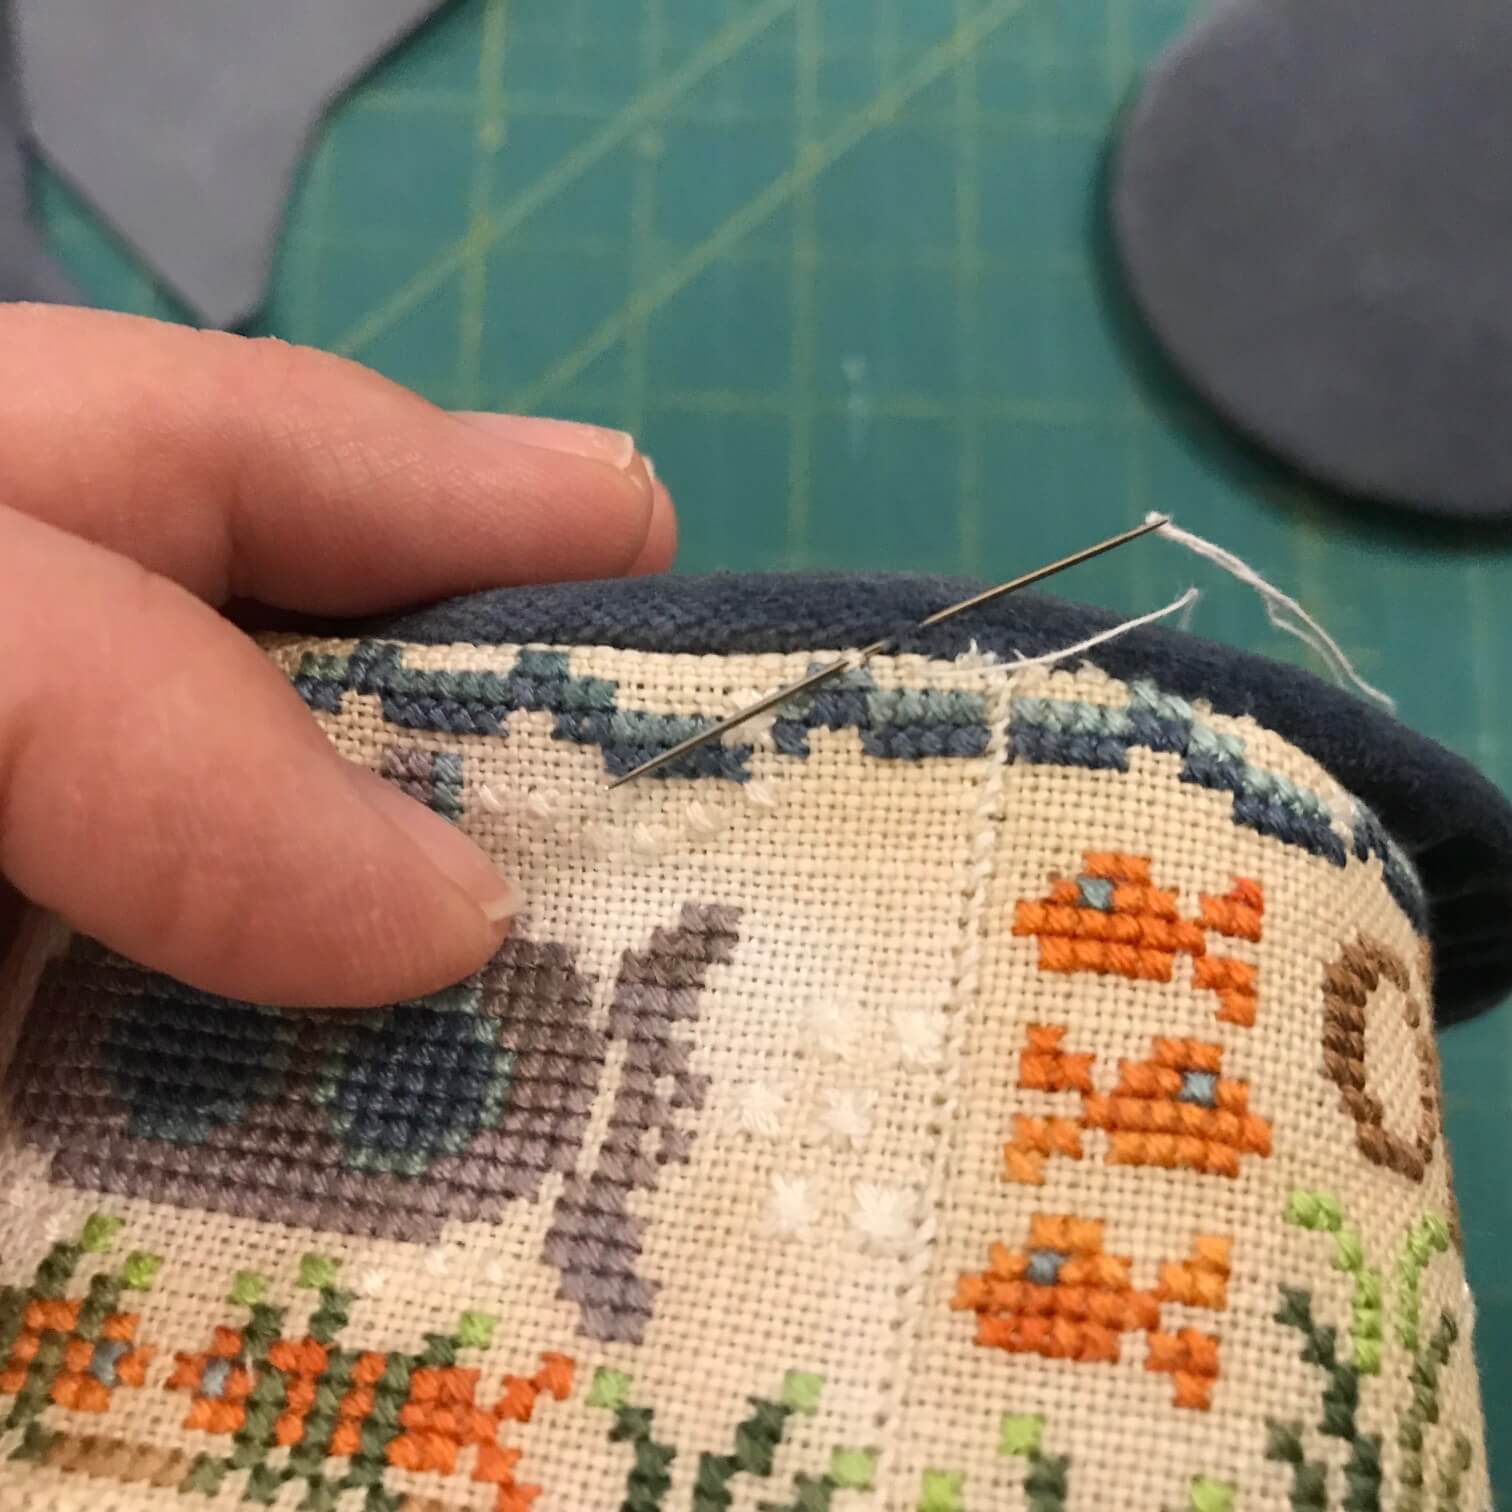
. Thread up a needle with lacing thread (upholstery or craft thread to match backstitching).
- secure the thread on the back side of the stitching and bring needle & thread to the front through the corner of the backstitching.
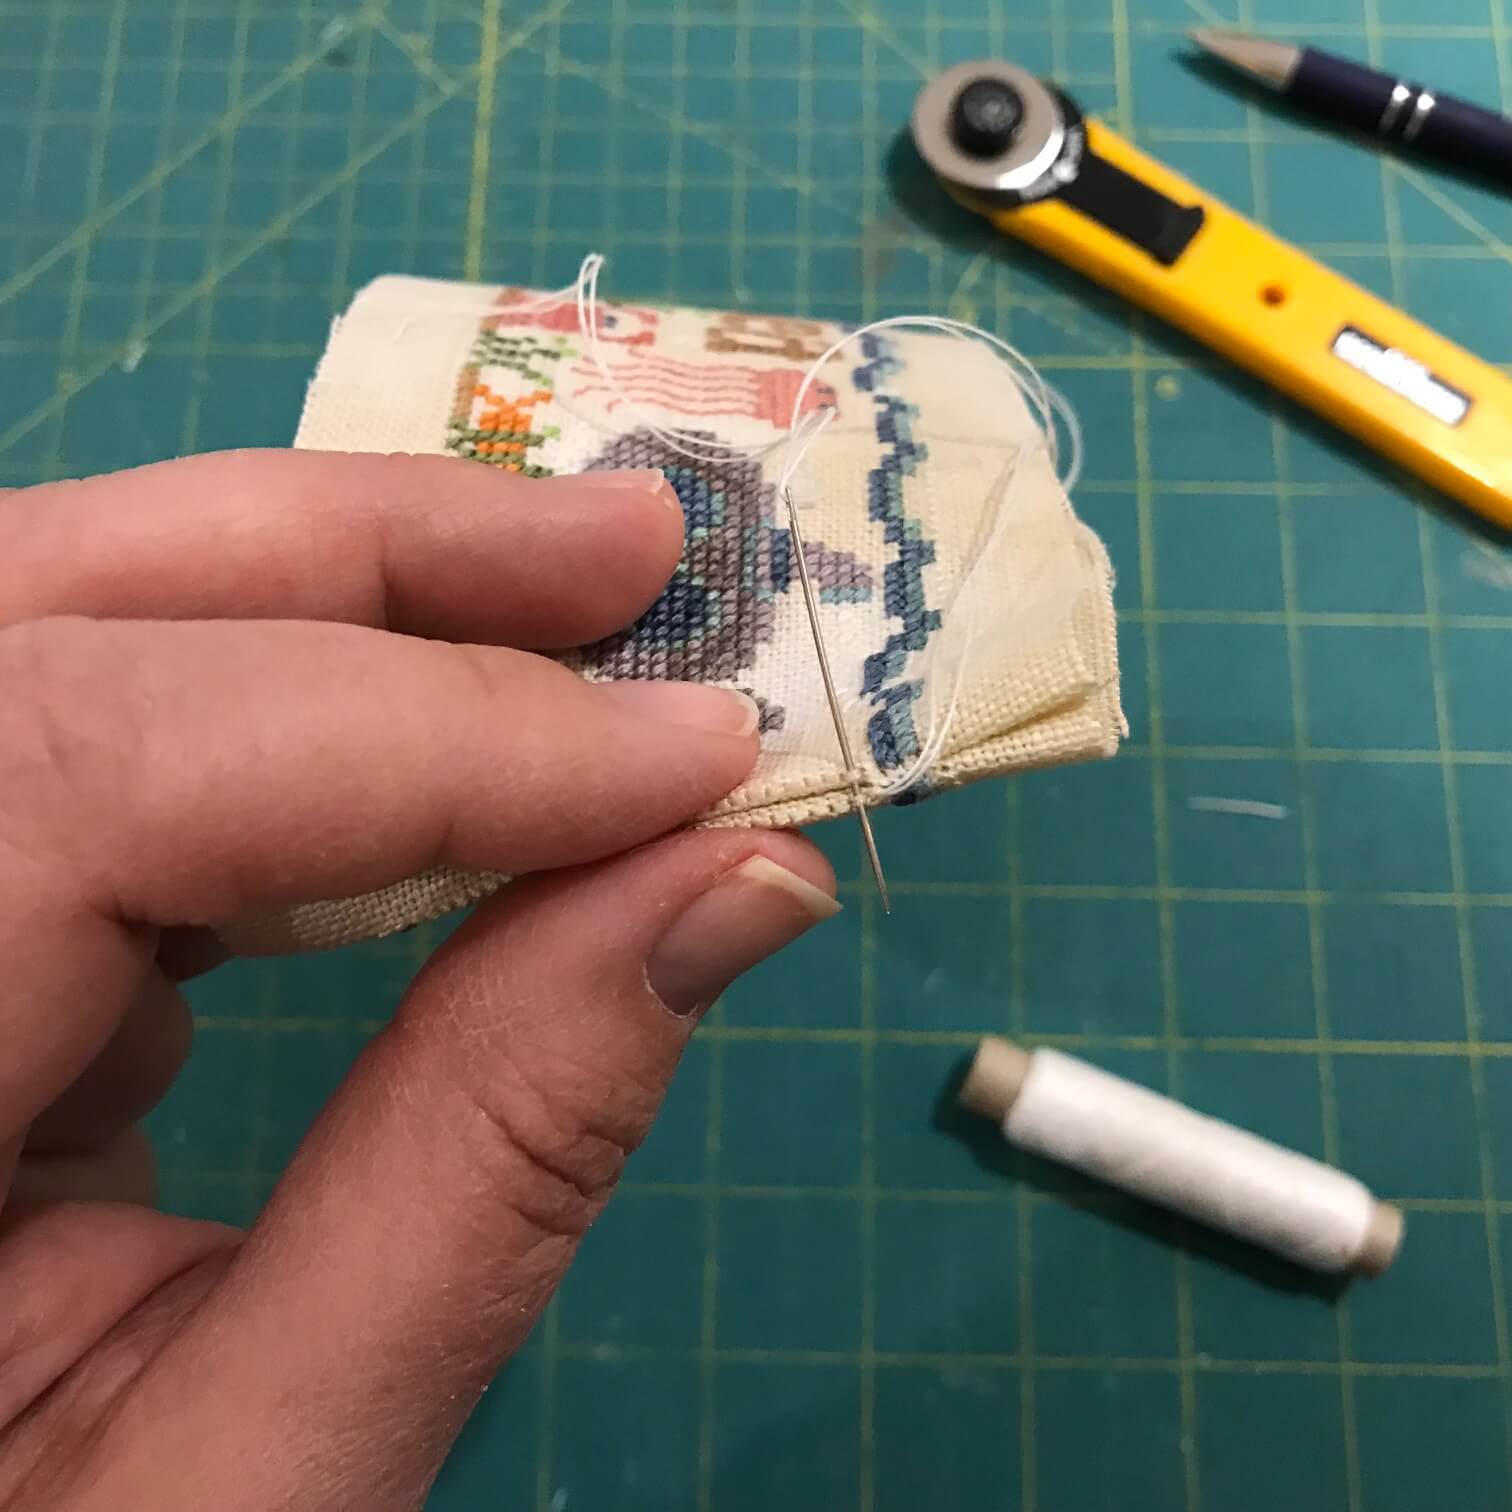
- Lace the ends together through the lined up back stitches with a whipped stitch. Be sure to go through every stitch—glide needle under the back stitch & not through the linen.
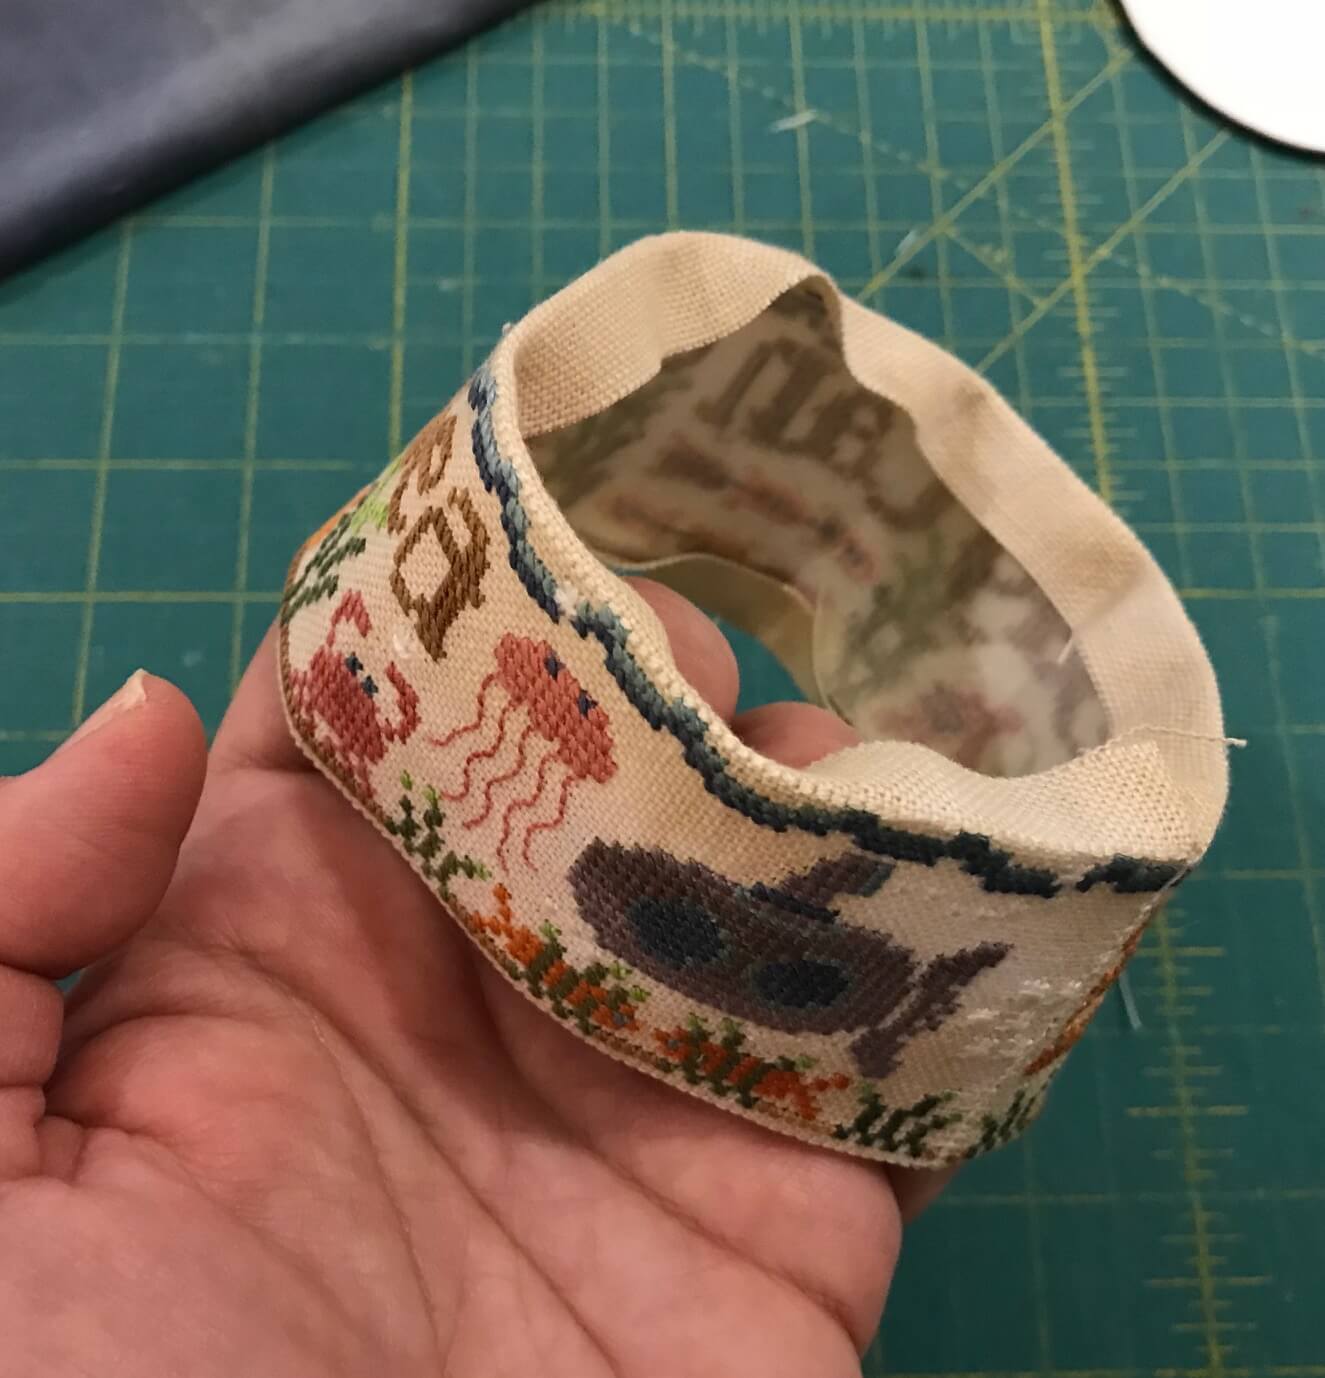
- Finger press along backstitch line all around the drum circle—top & bottom edge. Set aside for the moment.
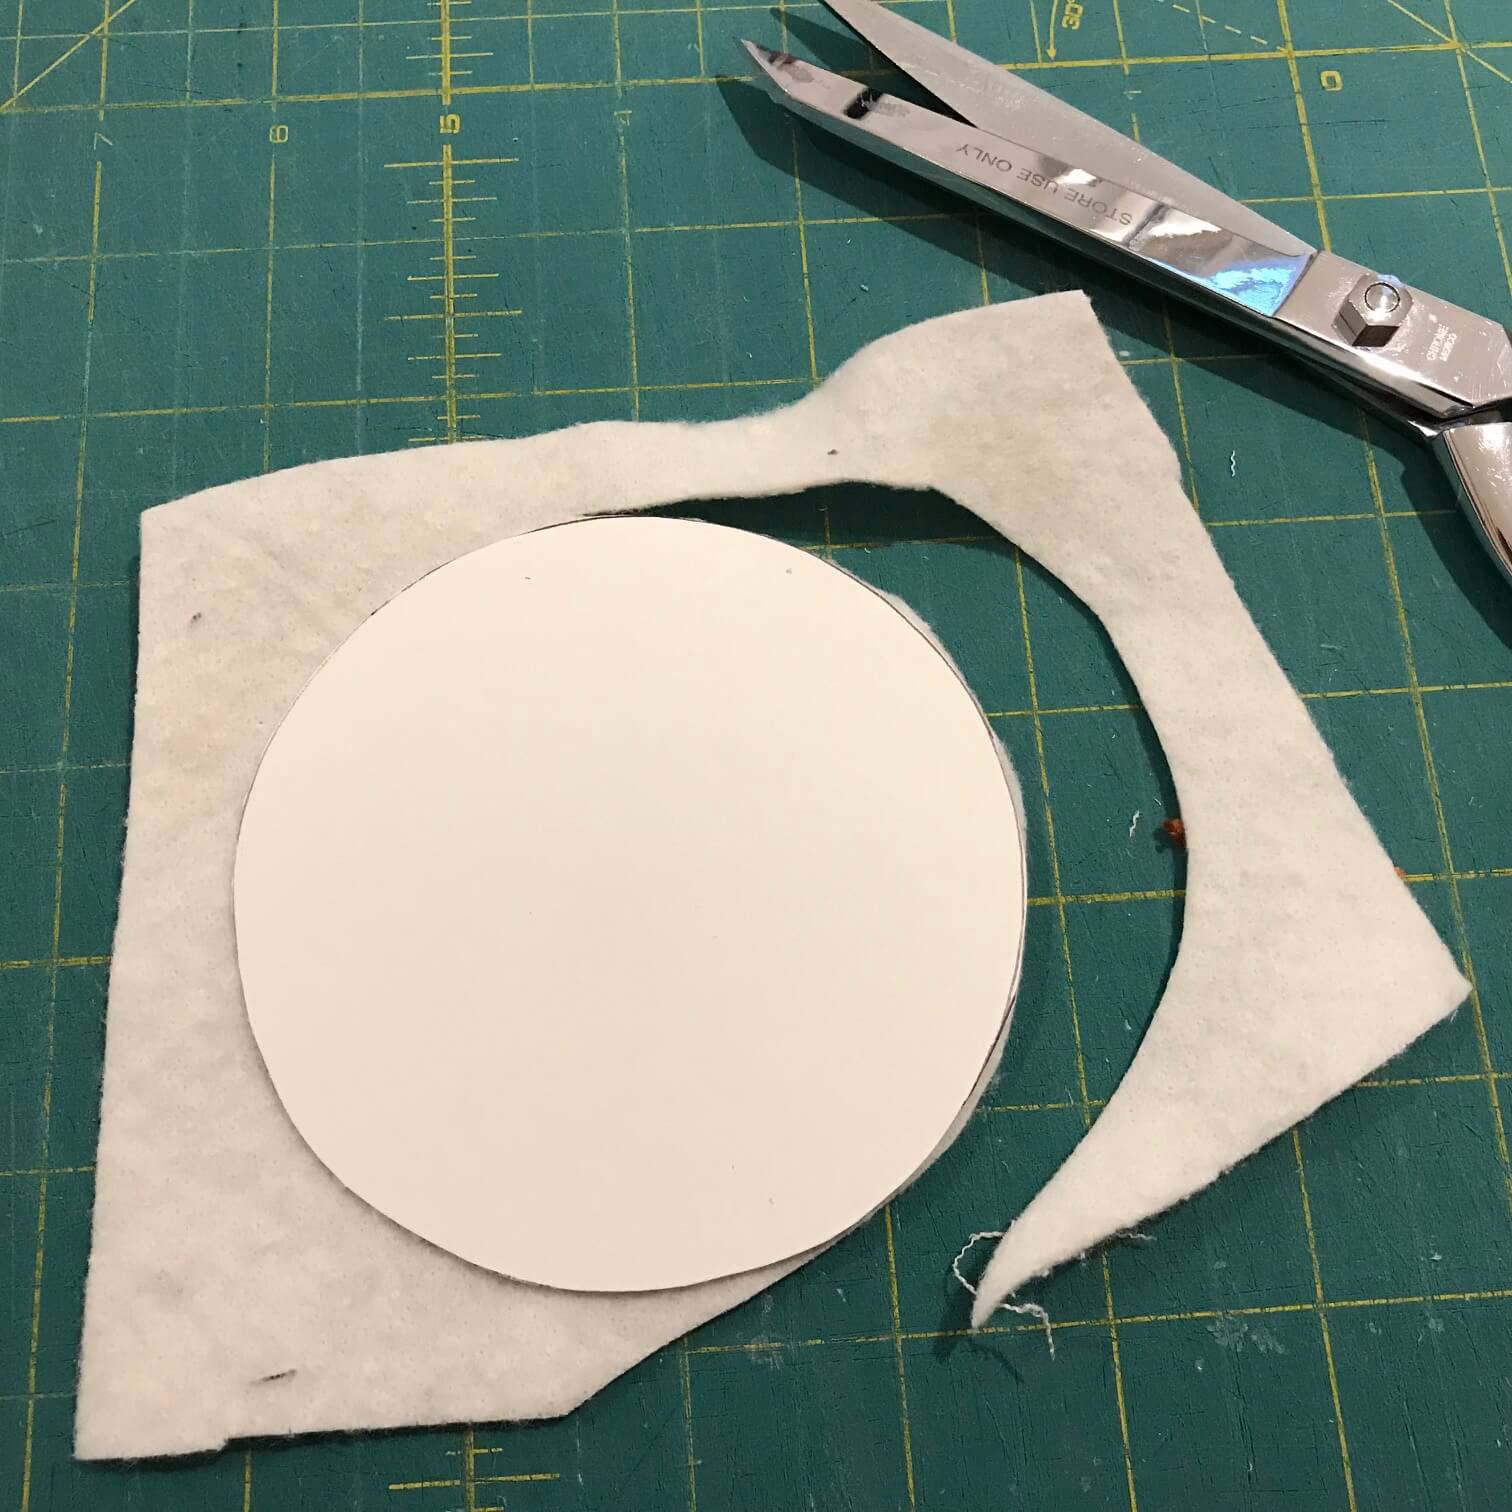
- Cut 2, 3 7/8” diameter circles out of matboard.
- 3 7/8” is the circle size based on a project stitched on 32ct.
- Use double sided acid free tape to attach a piece of batting to both circles—set one aside for the bottom of the drum.
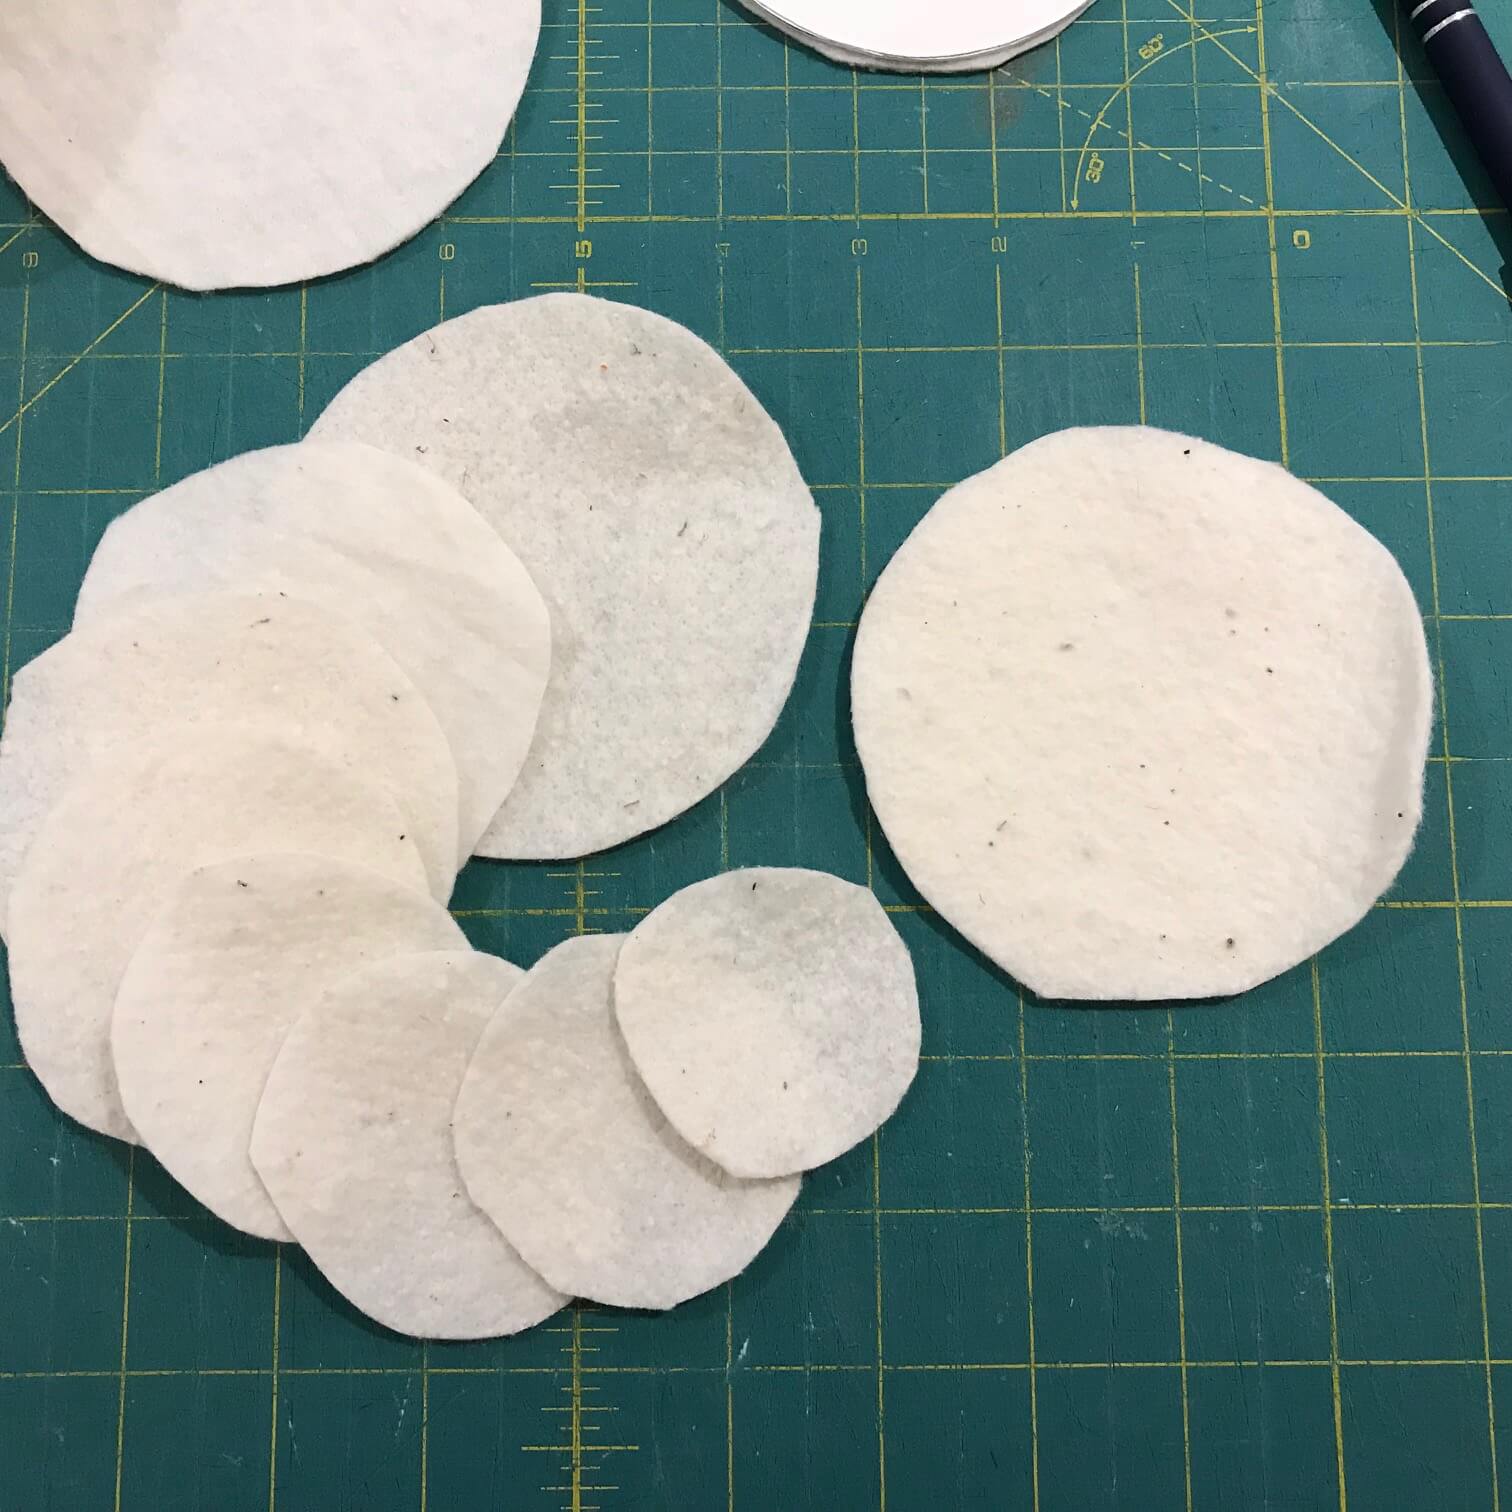
- Cut multiple layers of batting for the top circle in graduating sizes—here I cut 7-8 layers to create the domed top for the drum. No need for a template—cut free hand the cotton batting (I use Warm & Natural) – perfect circles are not necessary.
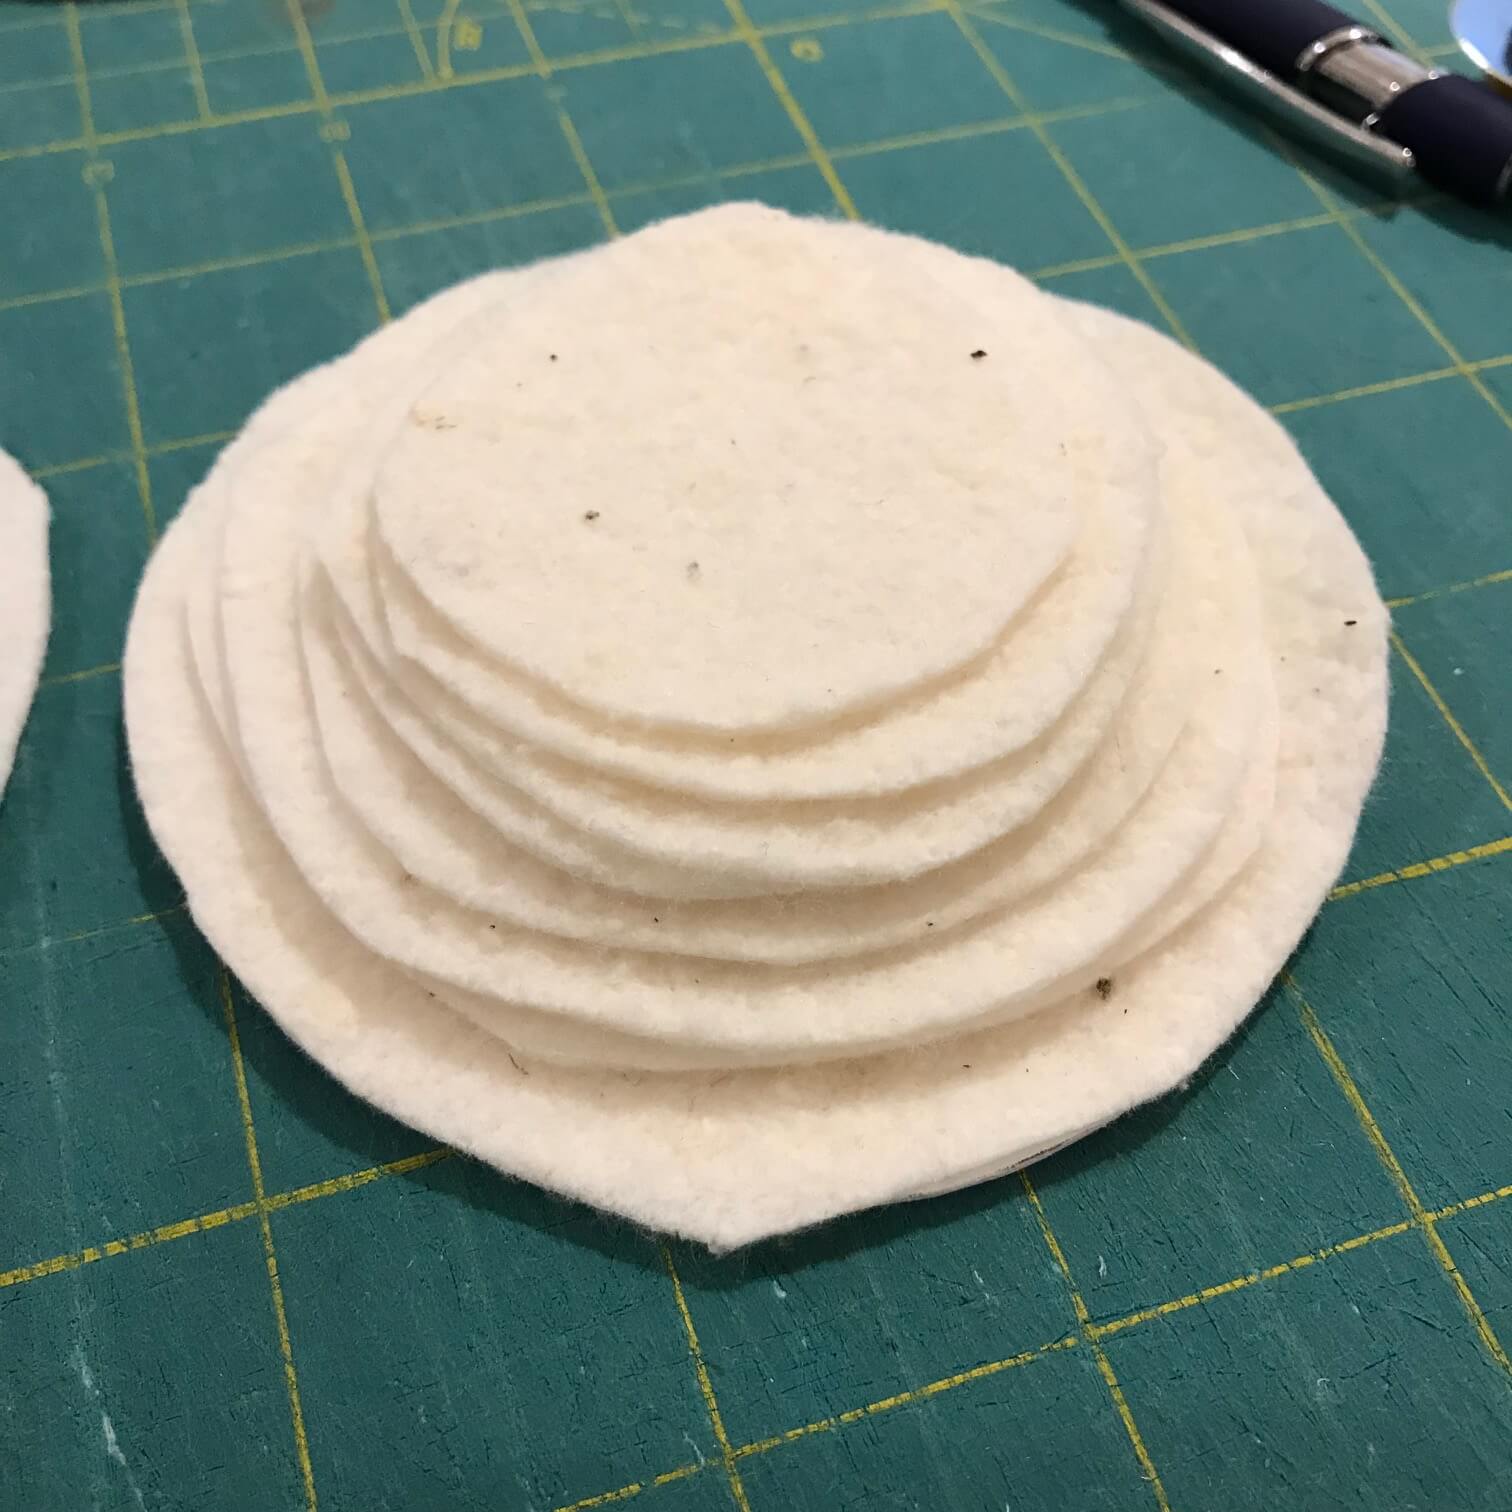 7. Stack the graduated layers of batting on the 1st layer from large to small.
 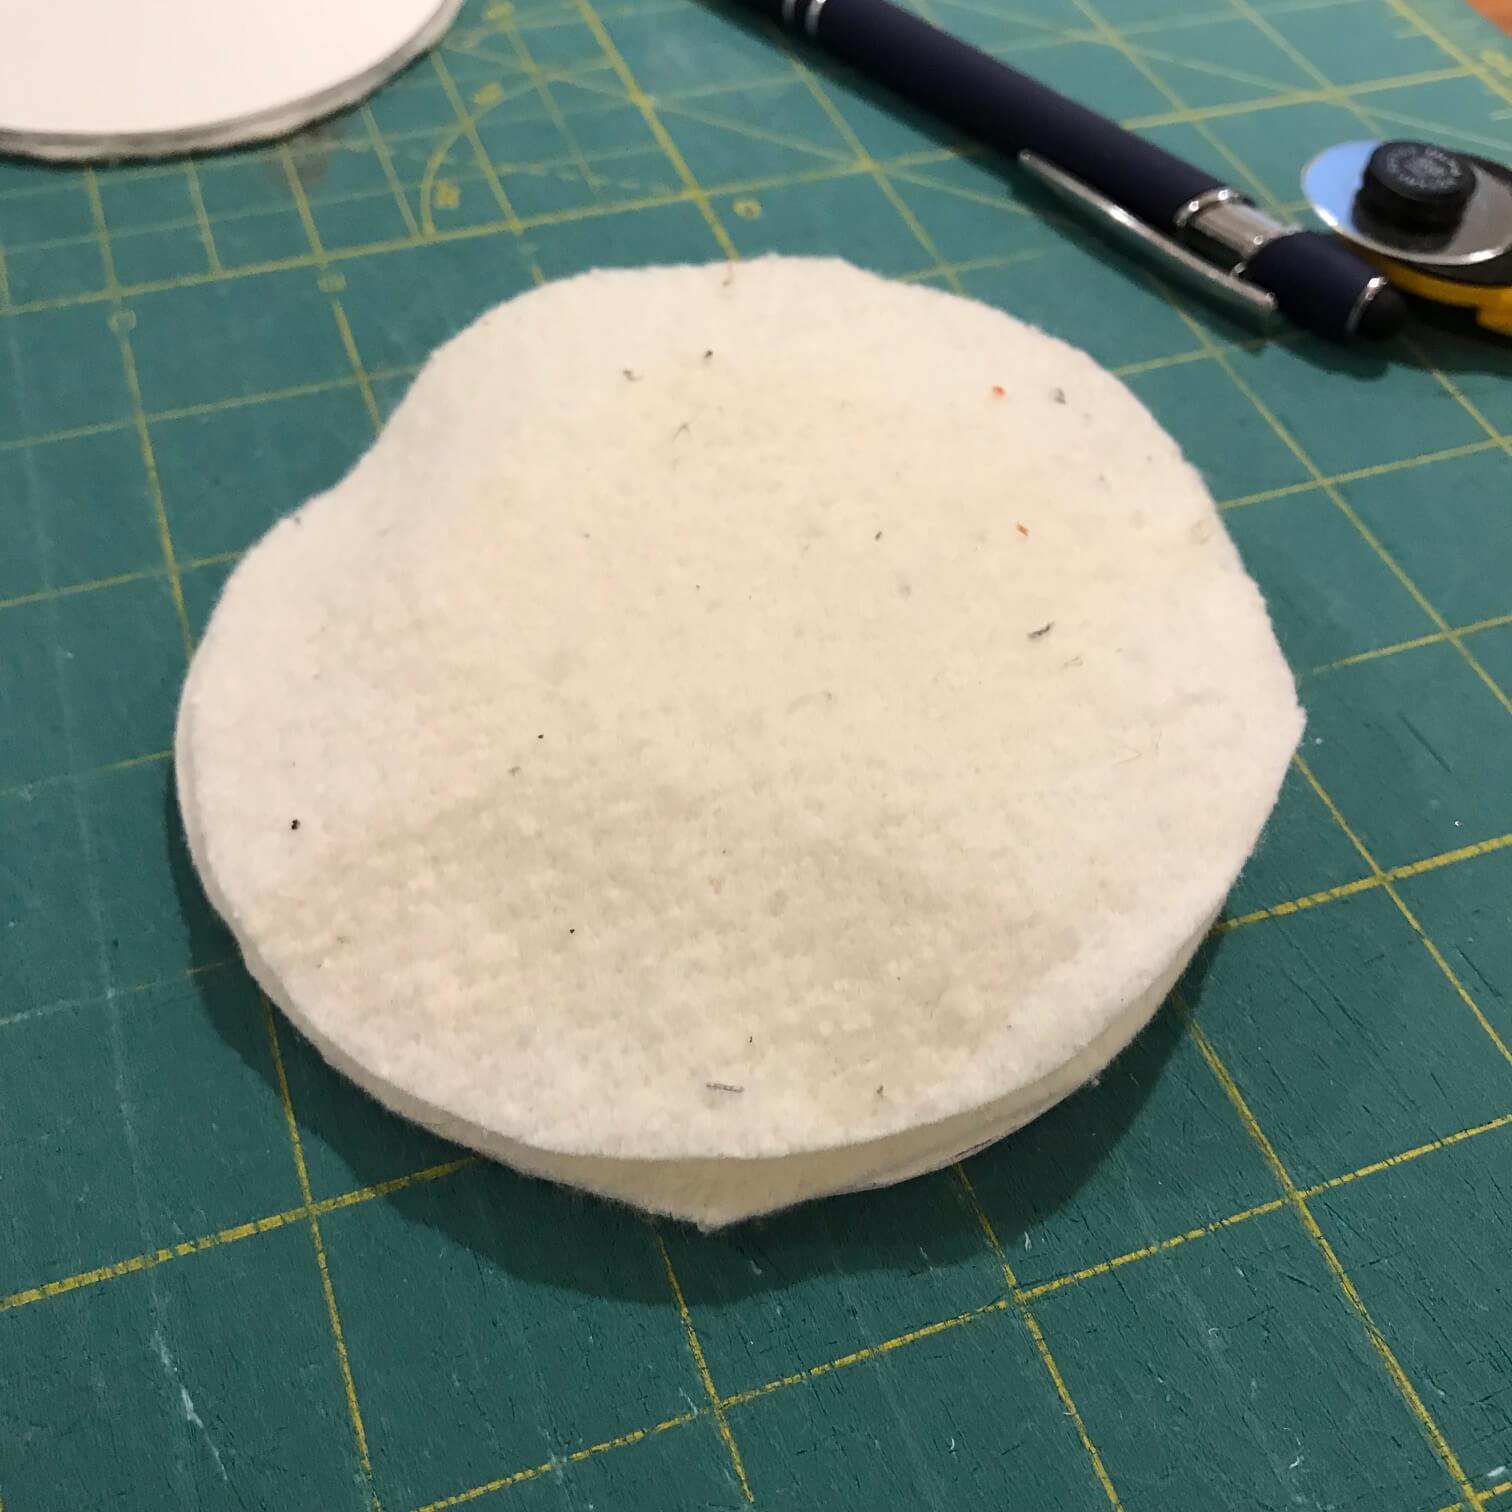 8. Cut 1 last layer of batting to cover the graduated stack. This will smooth out any potential ridges.
- Press the velveteen (always on the backside of the velveteen).
- lay the matboard circles in opposite corners of your velveteen & trim around them with a 1/2”-5/8” allowance.
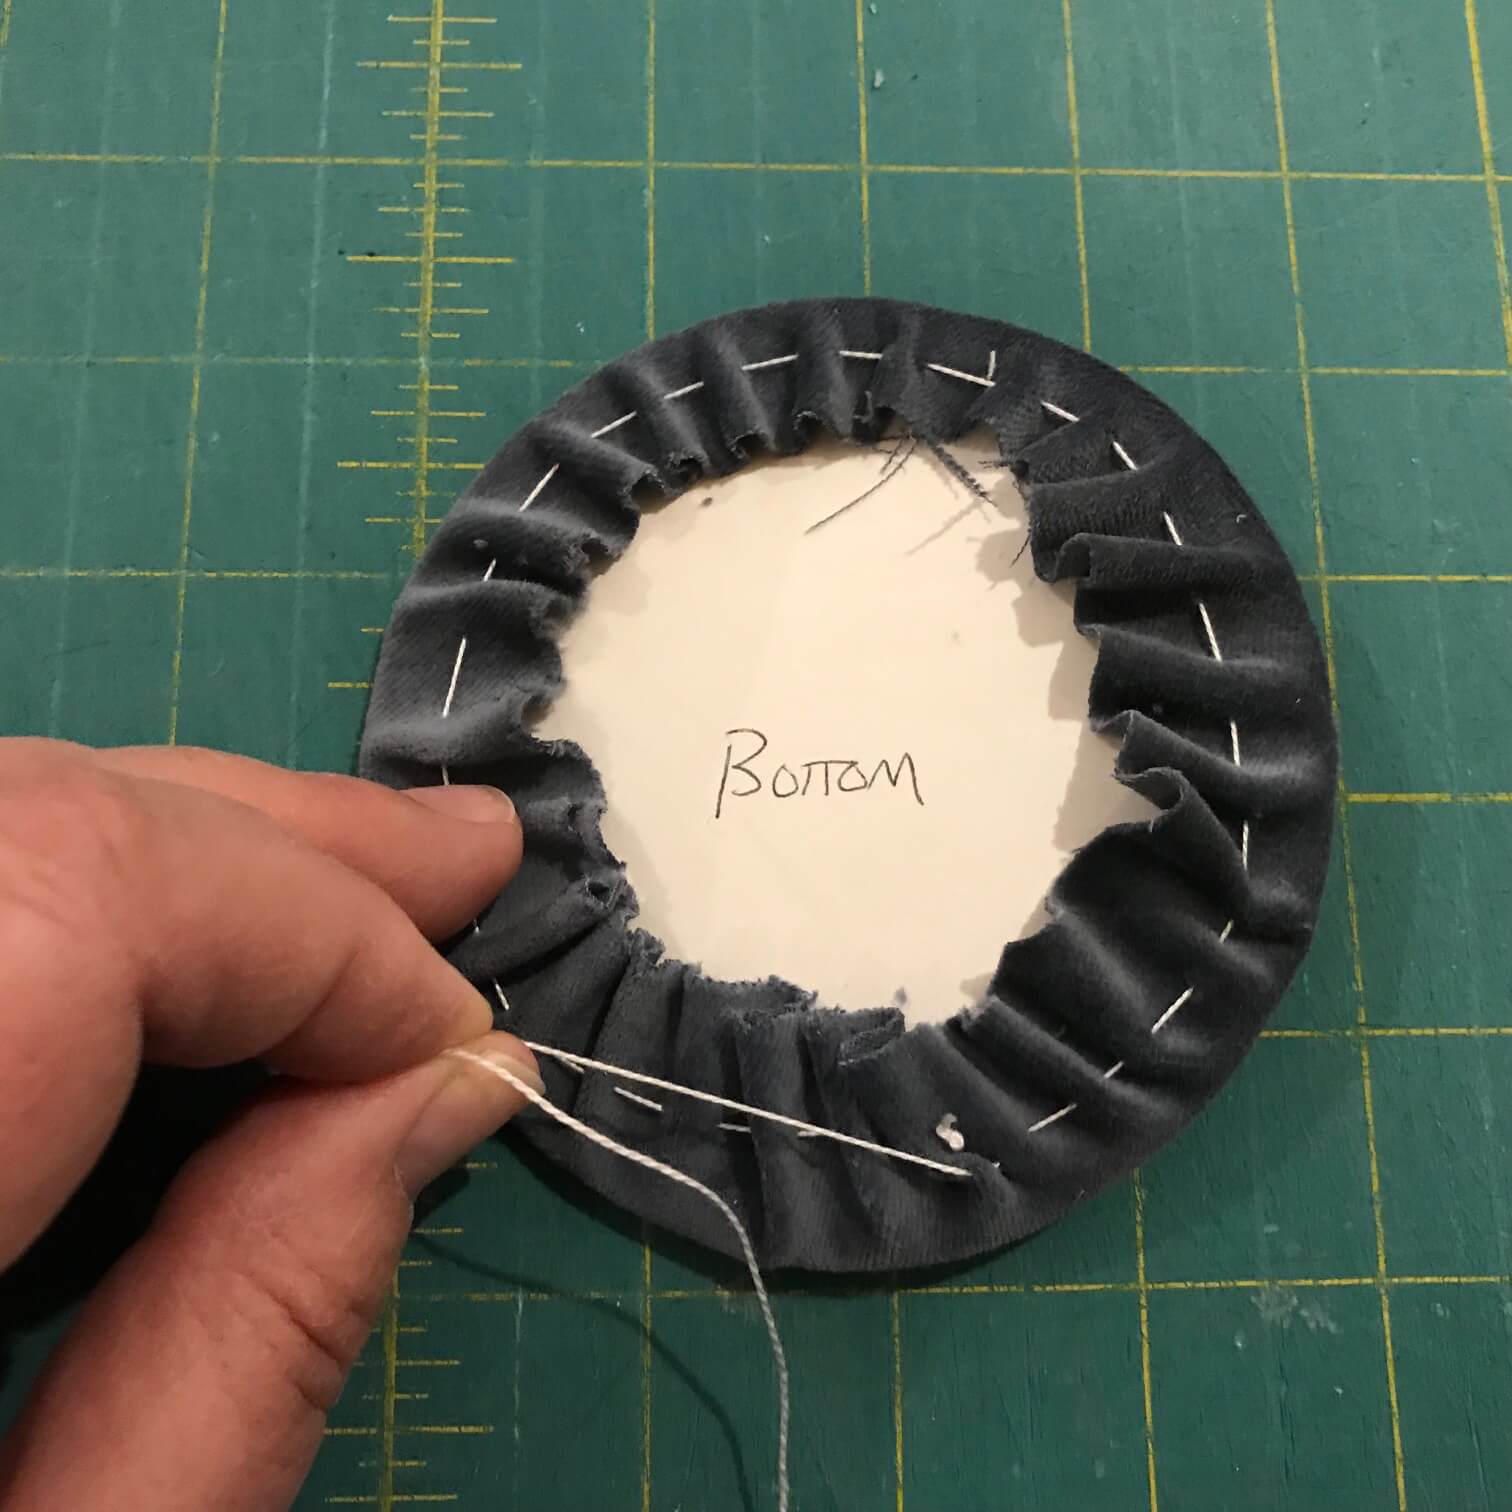
- Thread up a sharp needle with lacing thread. Anchor with a knot & stitch around circle of velveteen with basting stitches—pull as you go to smooth out velveteen.

- I like to knot my thread once I have basted around the circle & pulled tight. Do not cut the thread but take large stitches from one side of the circle across to the other side to pull the fabric taught.
- repeat for the 2nd circle.
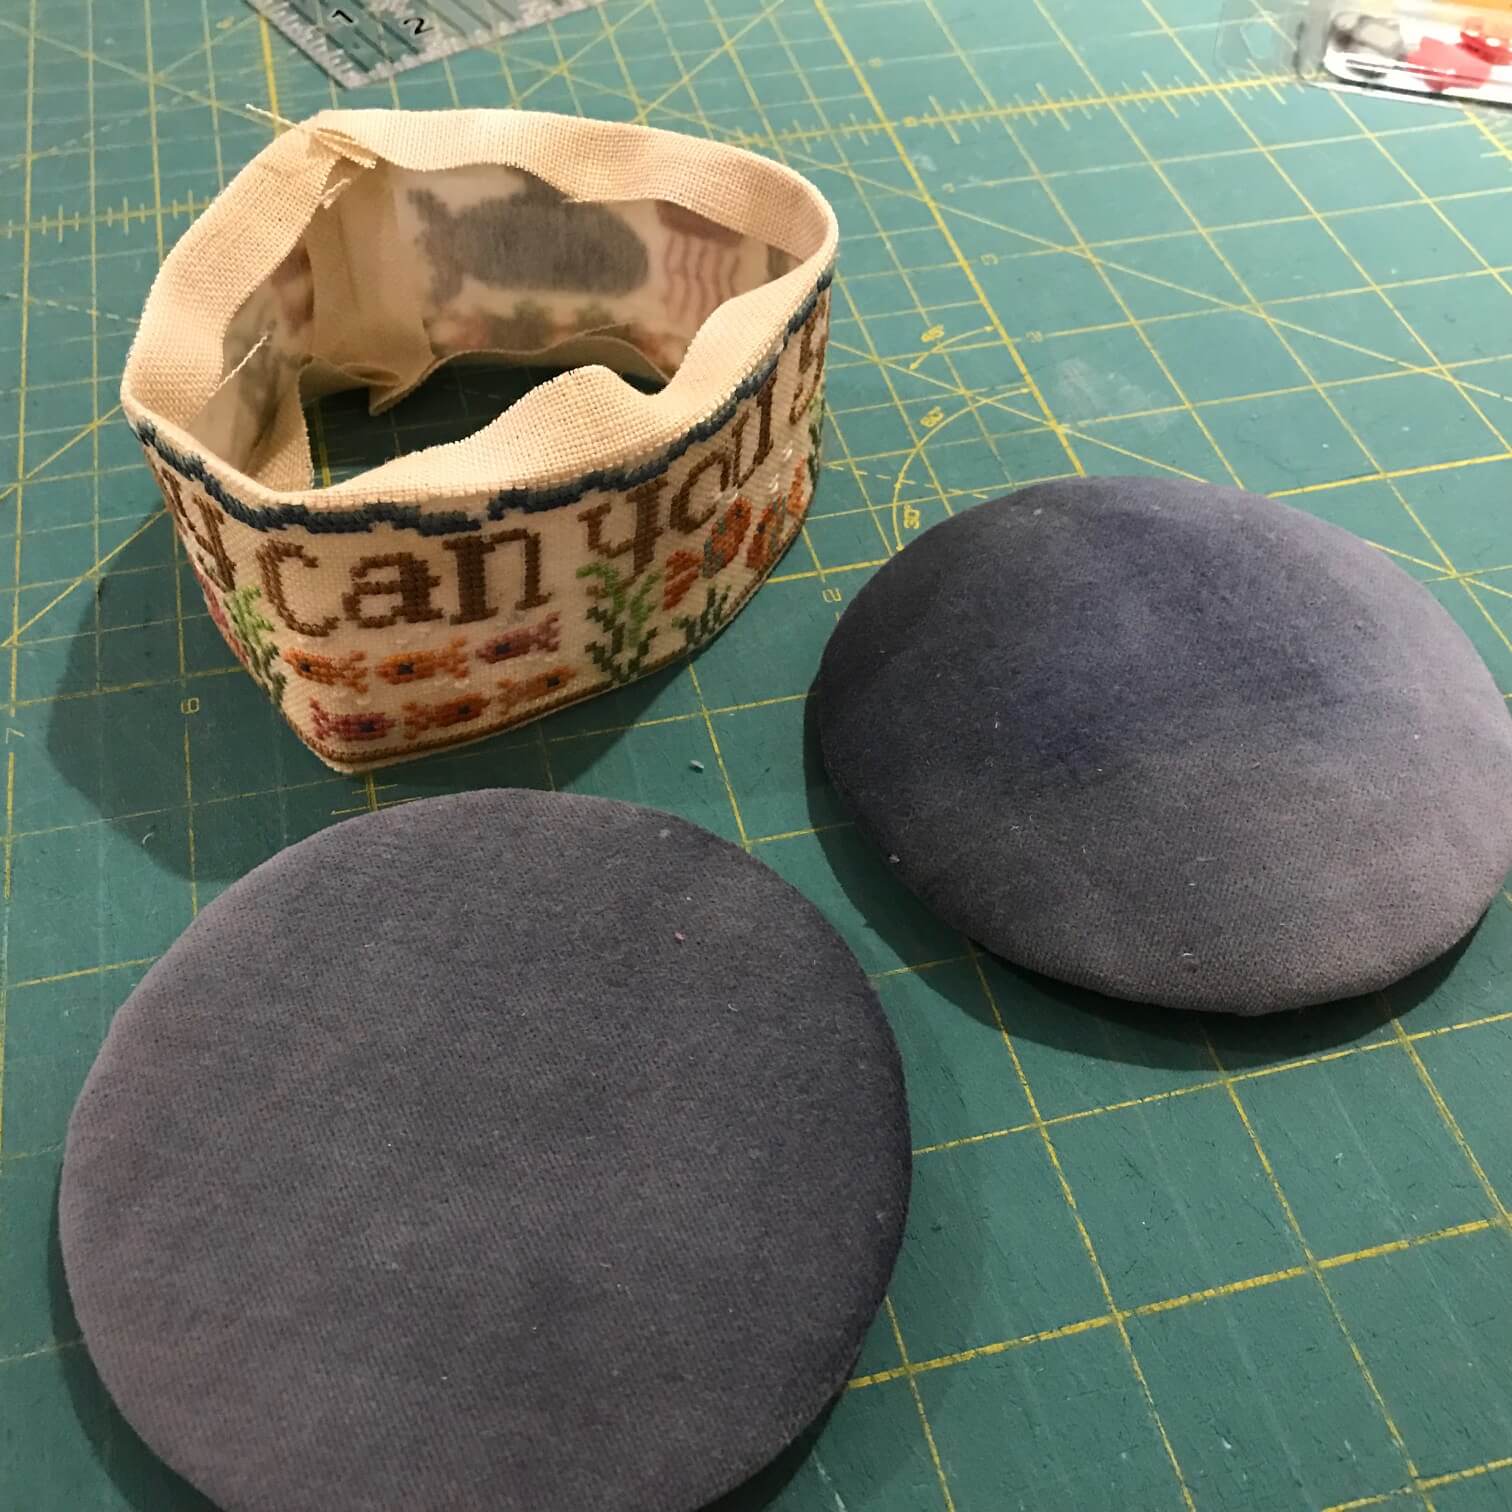 12. Gather your top & bottom velveteen covered circles & stitched piece. The ‘poufy’ circle will be your drum top.
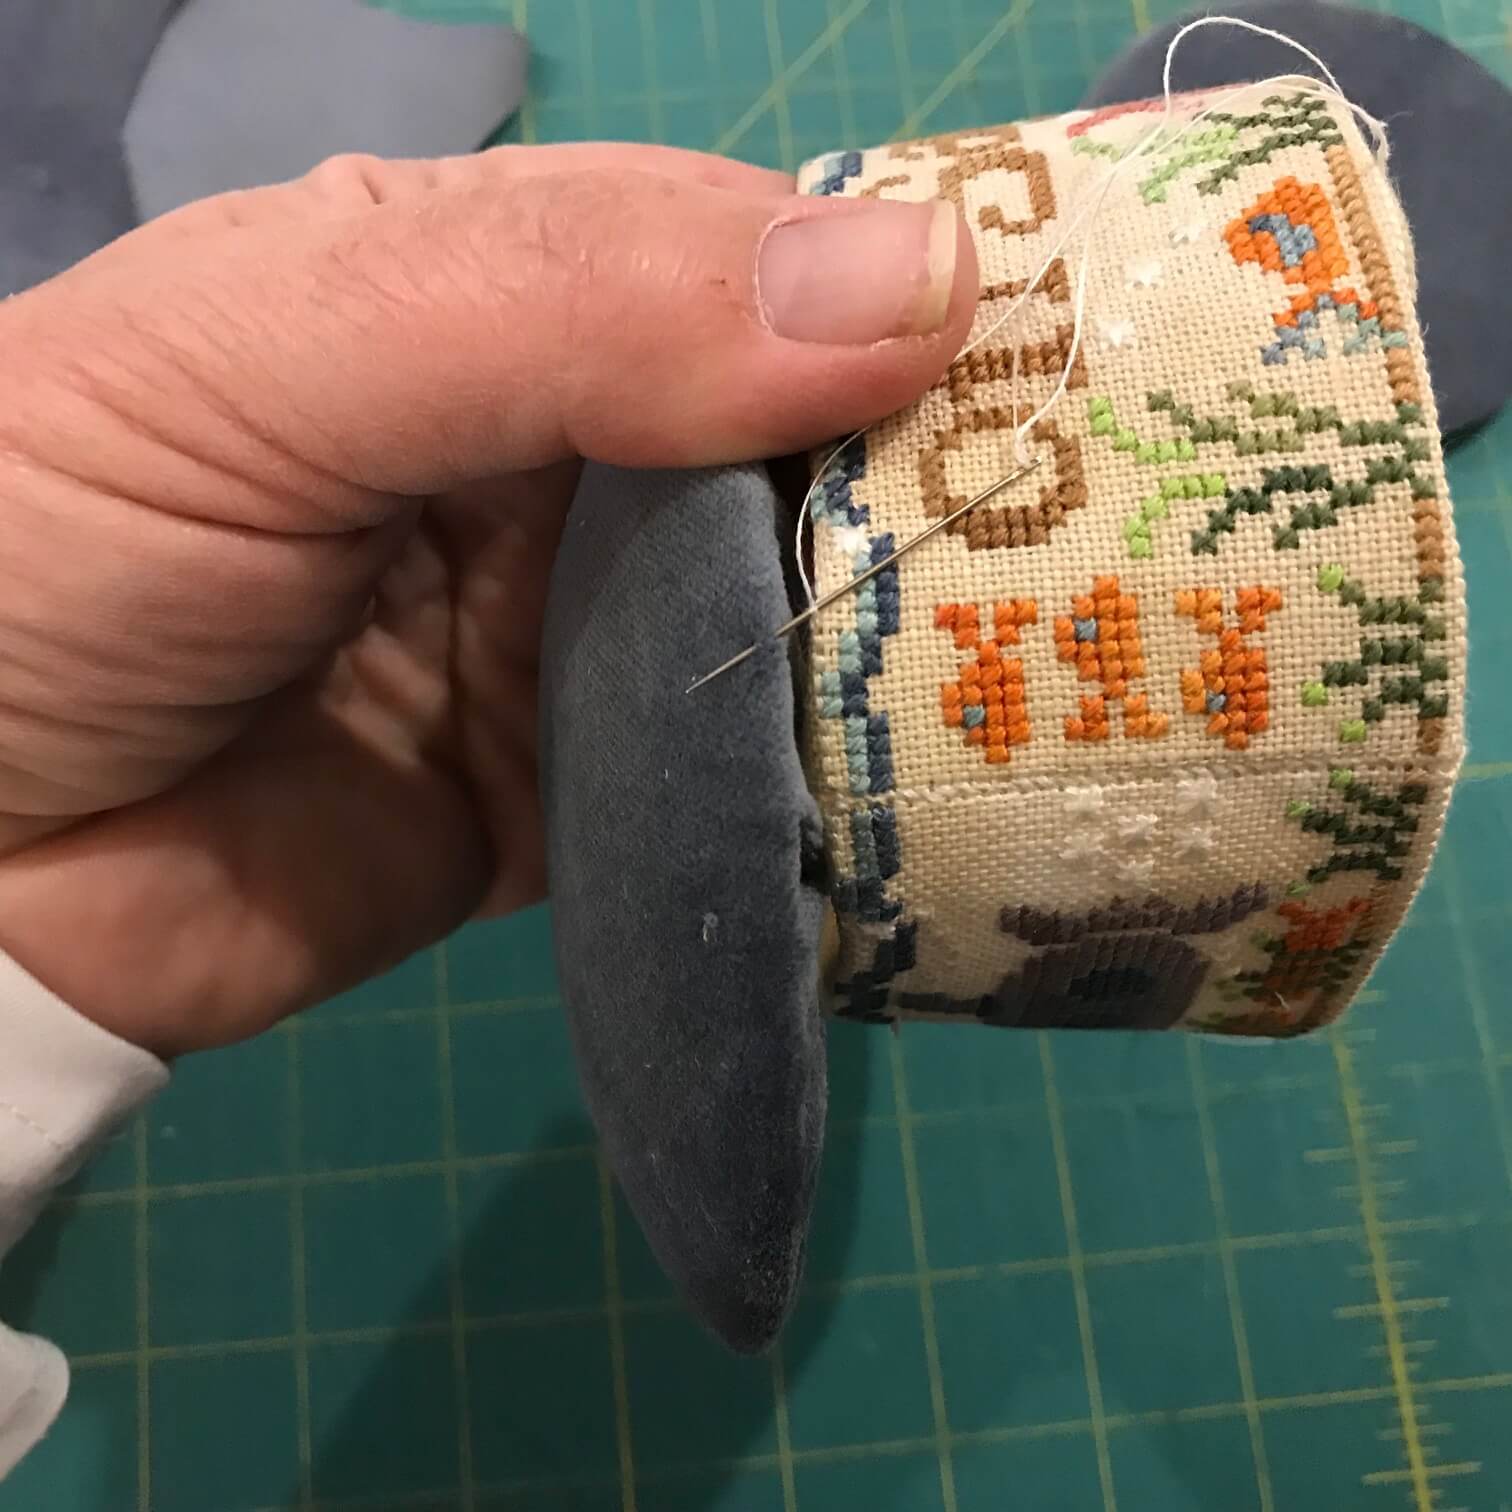 13. Thread up a sharp needle with lacing thread. Here I used a color to match the backstitching. Anchor the thread on the back of the stitching with a knot & bring needle & thread to the front through the backstitching line.
- I attached the drum top first. Whipstitch through the edge of the velveteen through the backstitching line. It is OK to grab a little bit of the linen in your stitching—the backstitch line is there to act as a guide around the drum.
- knot your thread & trim once you have whipstitched around your drum
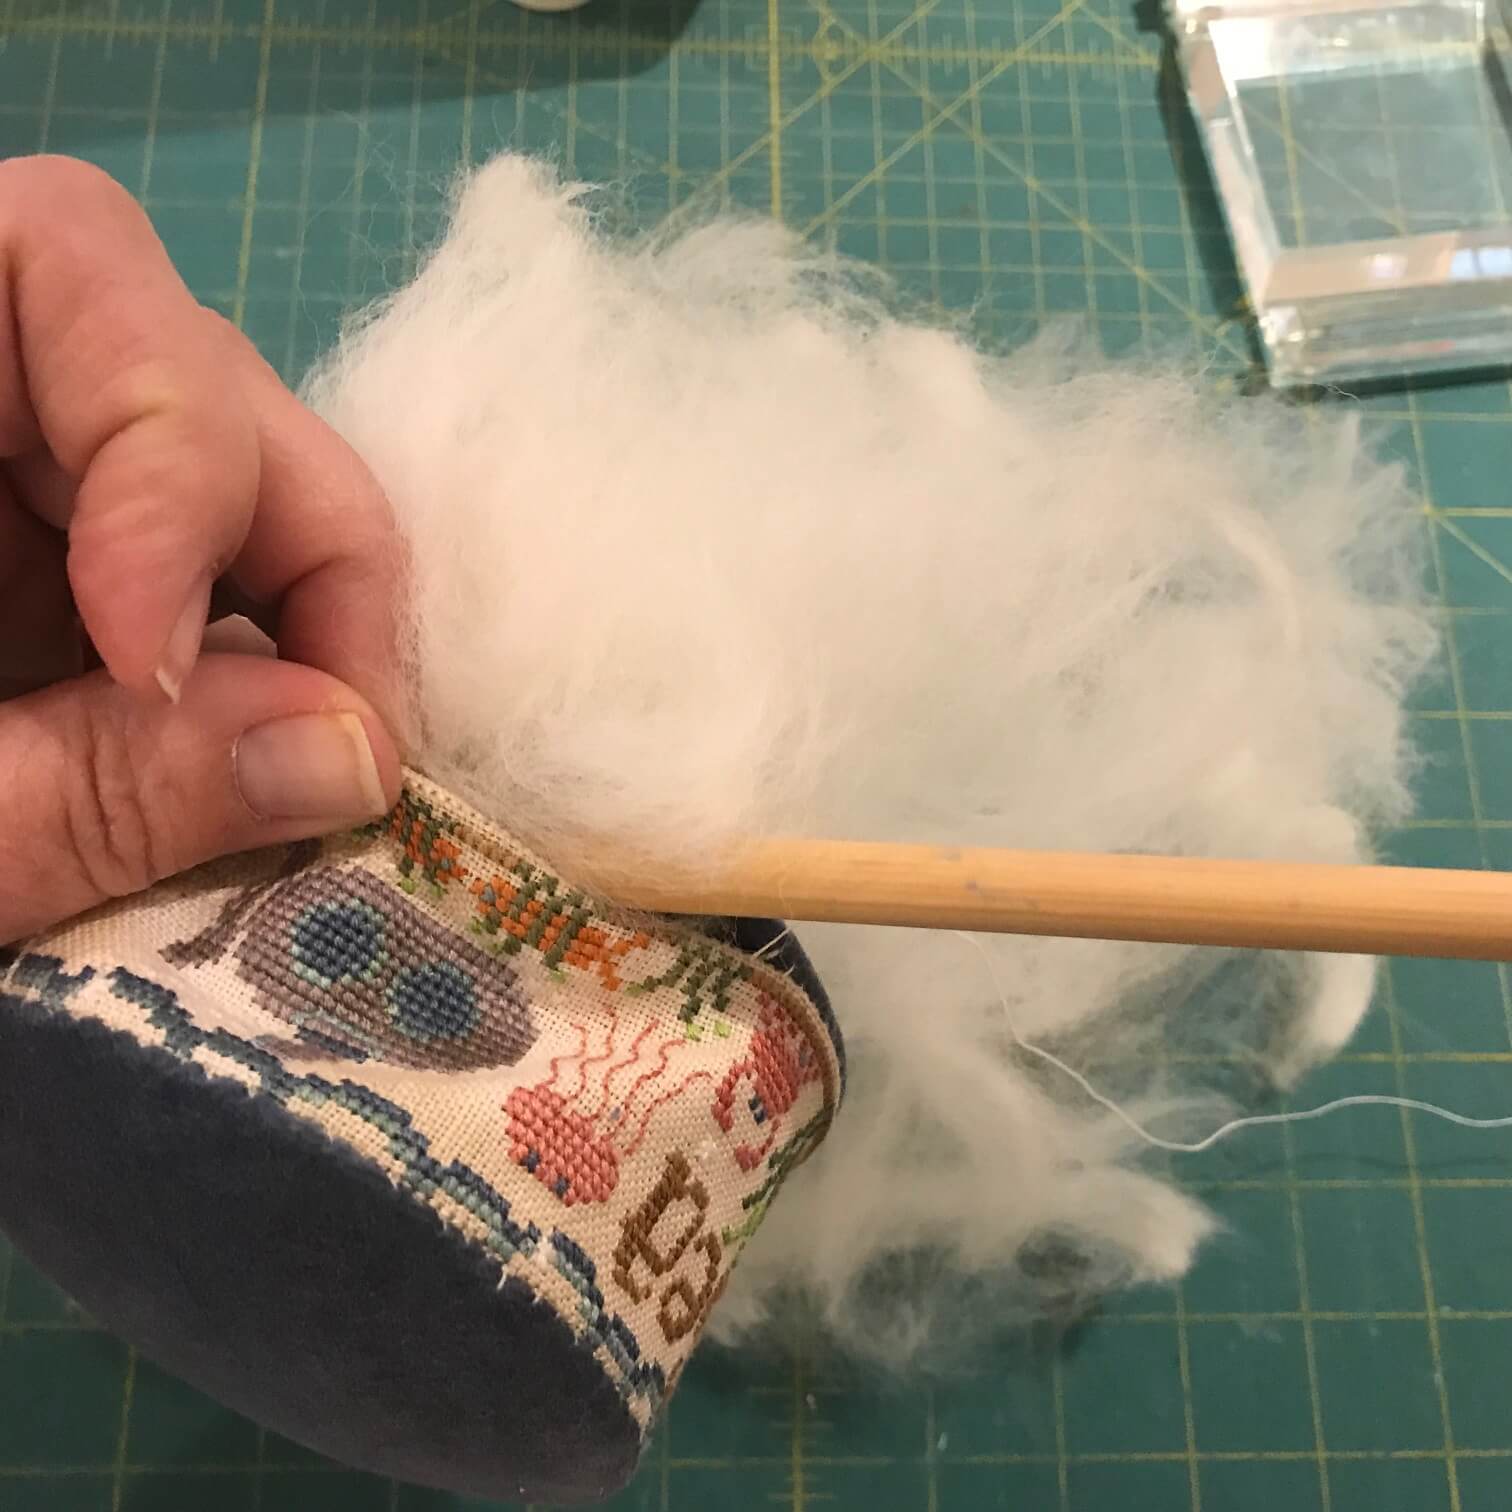
- Repeat step 14 for the bottom of the drum, stopping about 2” before the end.
- shred your wool roving or fiberfill for extra loft
- Stuff your drum—it can be handy to use a needlenose pliers or knitting needle to help push the roving into the drum
- Stuff drum firmly then whipstitch remaining edge closed, knot & trim.
- Place your JABC Pin-Mini’s into the top of the drum & enjoy!
Short Stack Drum Finishing Tutorial ©2018 Hands On Design & Cathy Habermann. Permission is granted for Shops & Stitchers to print & distribute for classes & personal use. Reposting is permitted with proper reference to http://www.handsondesign.biz These instructions are complimentary & not for resale. Images are the property of Hands On Design & Cathy Habermann.


Leave a Reply