I’ve spent the past few weekends working on some of those projects… you know the projects – the ‘I can stitch/quilt this one in a jiff’ projects.
The photos from my IG stories yesterday generated a few questions about how I was making my current table runner project. The photos aren’t the best since I hadn’t planned on a blog post for the project, but I think we can make it work.
I have loved buffalo plaid for years…looong before what seems like a current buffalo plaid-apocalypse. I love my polka dots, my rick-rack, houndstooth, and good old buffalo plaid.
The fabrics were actually purchased, ummm, several years ago. I bought 3 values of Basic Grey Grunge fabric. (I don’t know specific color numbers – choose your fav 3)
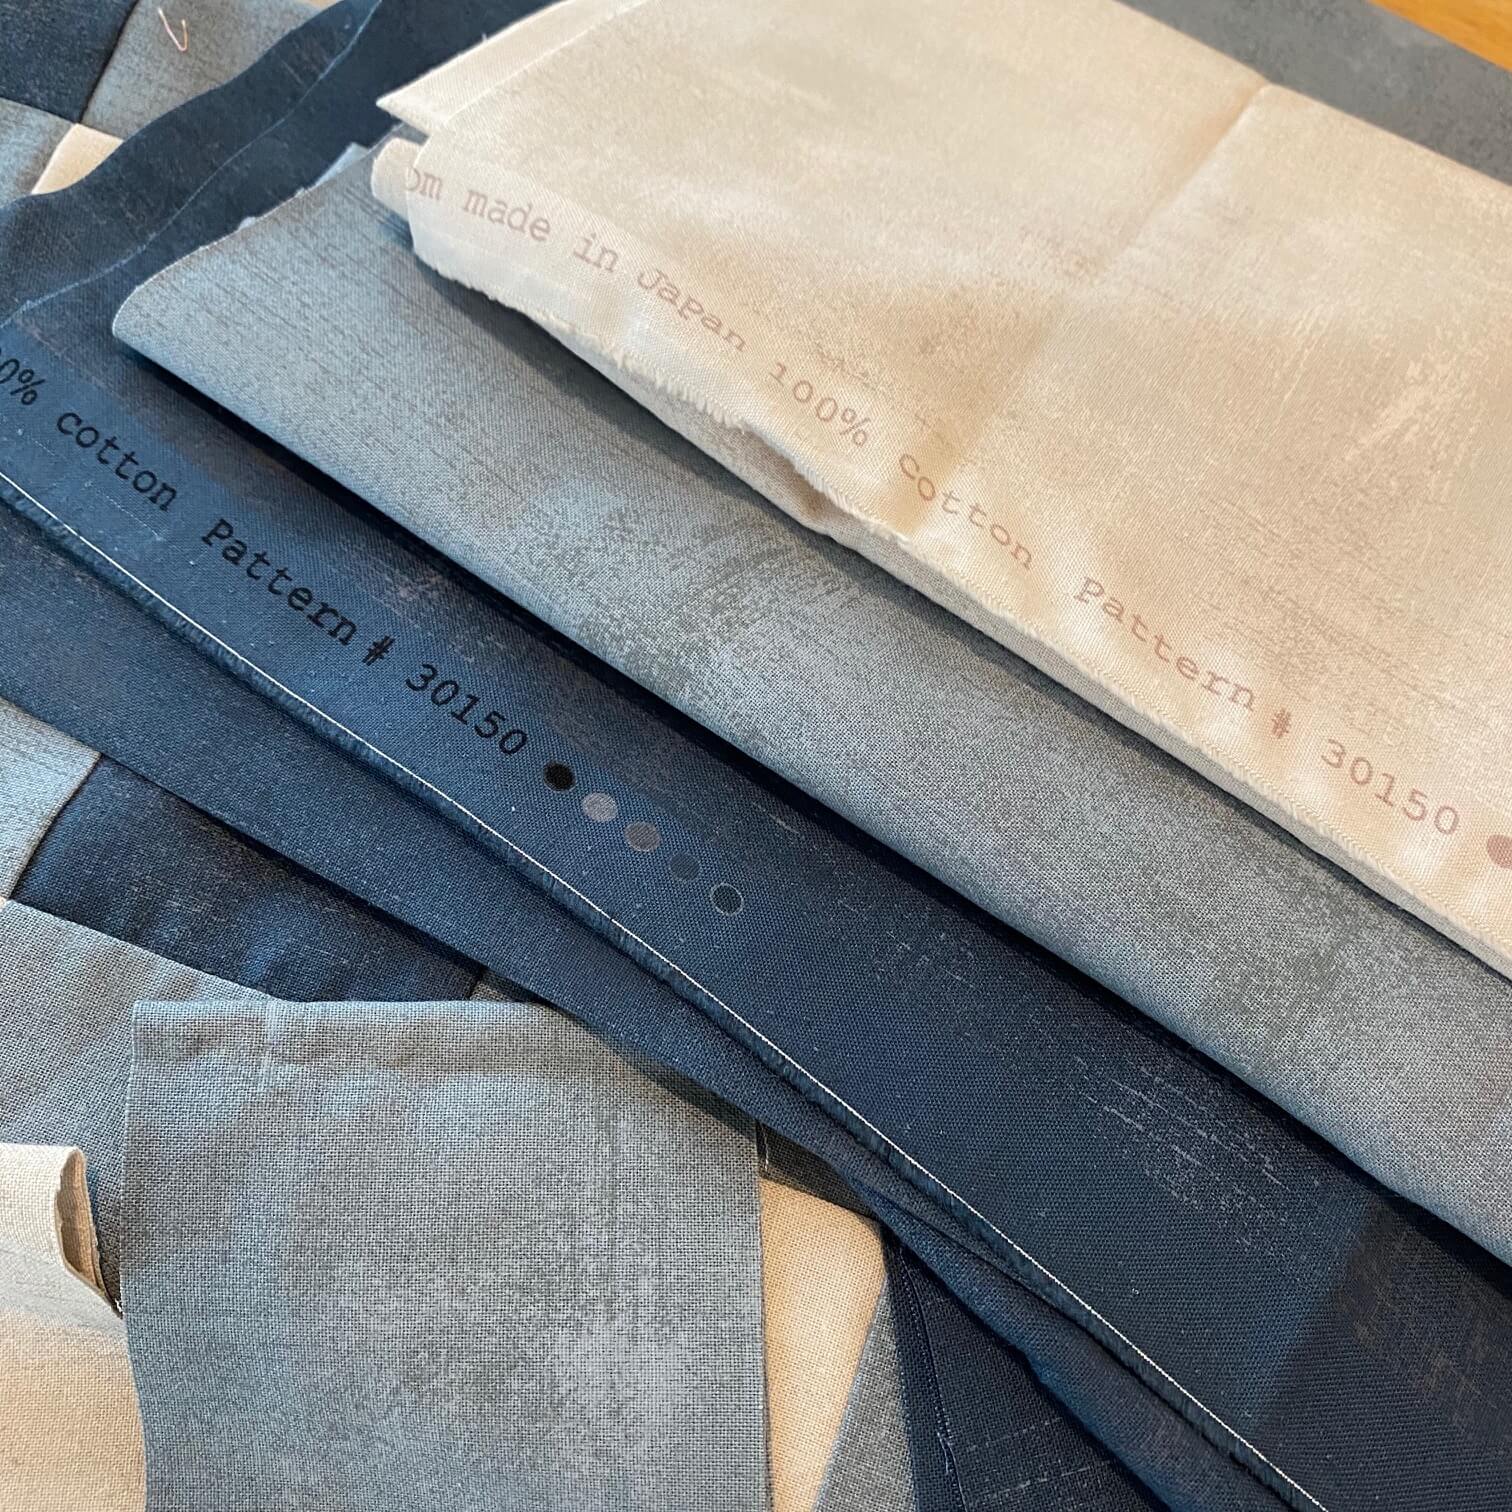
I probably purchased at least a yard of the cream & charcoal & & 2 of the grey – I’m not following any pattern here – just making it up as I go along.
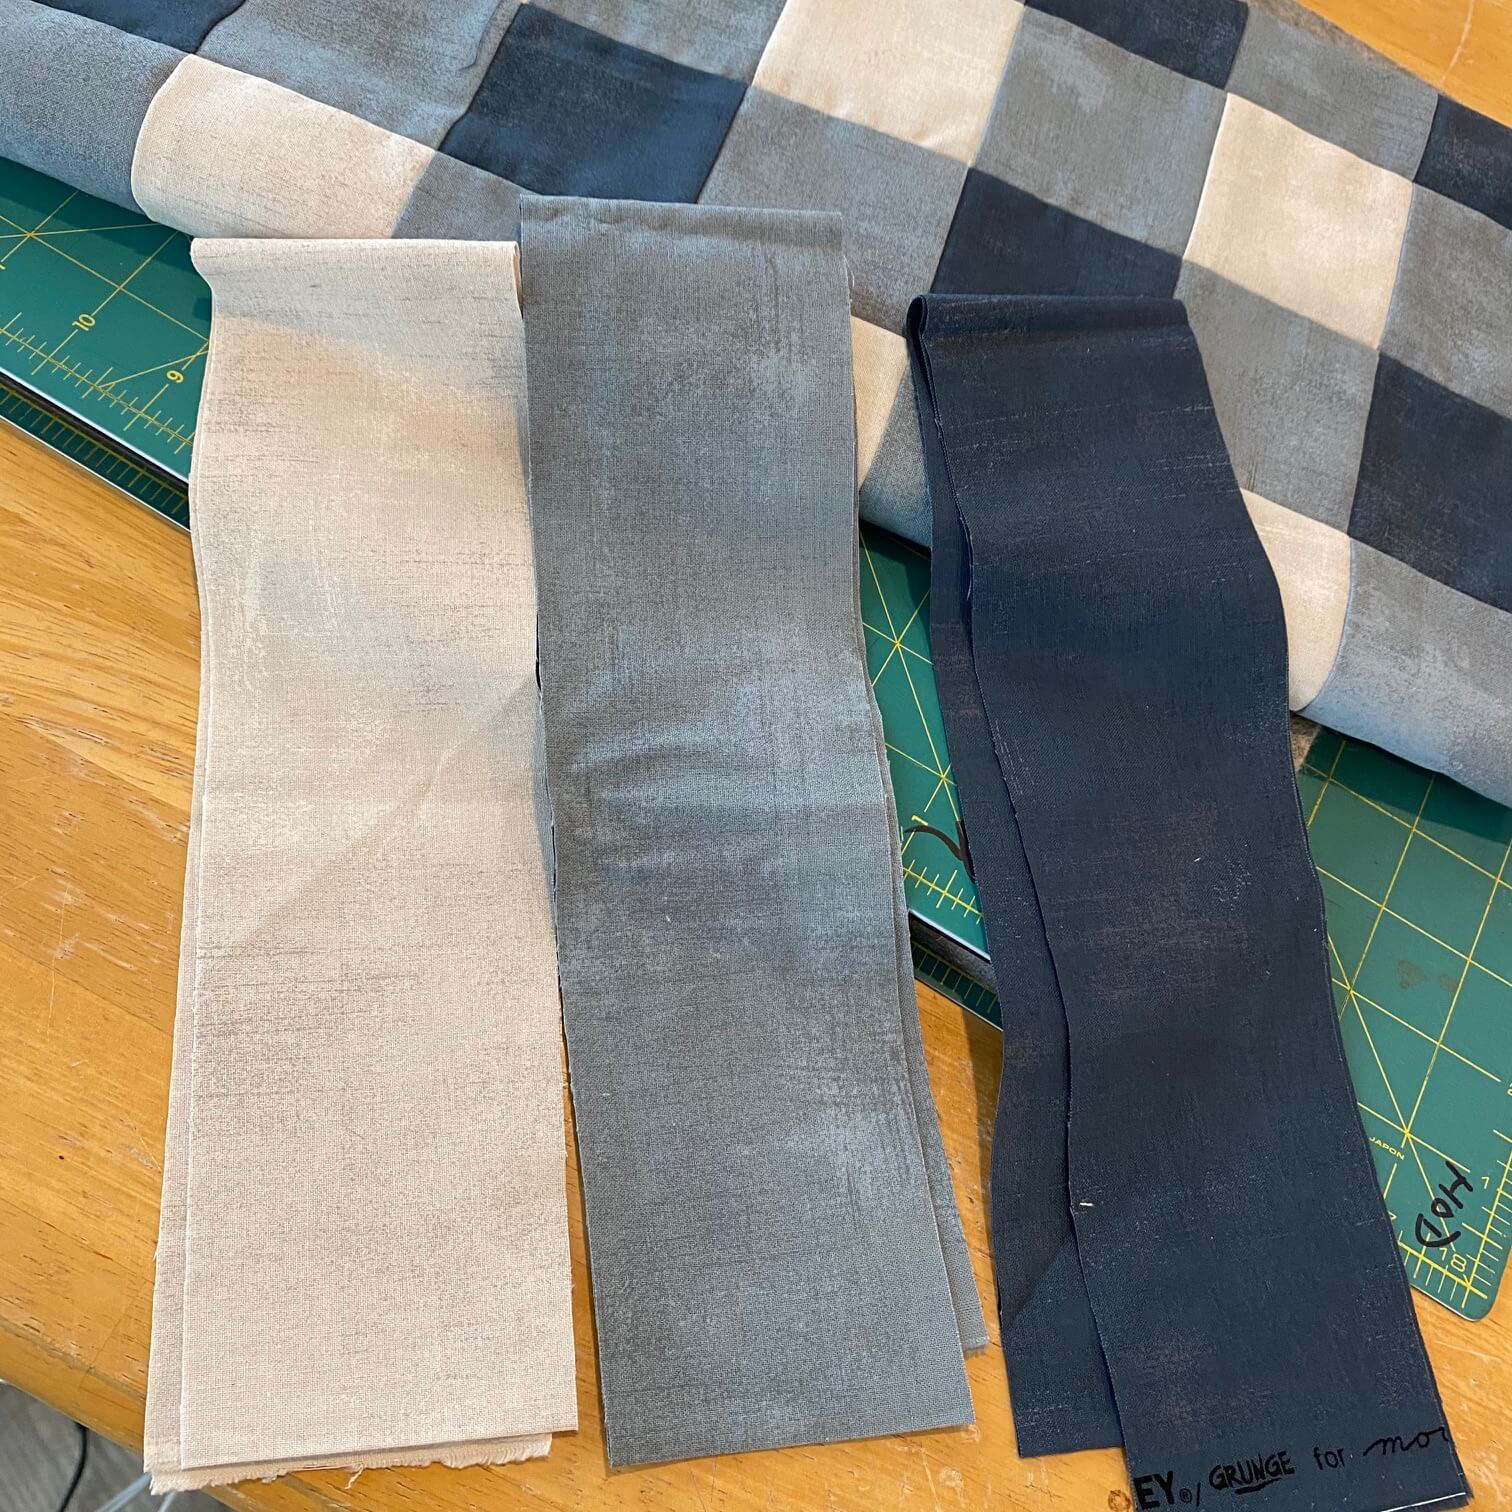
I cut 3″ strips the WOF (width of fabric) – twice as many grey as I did the cream & charcoal. I cut just enough for the 1st 2 groupings of strip piecing – remember – no pattern, not sure how long this is going to be.
I’m missing an in-between step picture here so, this is what I did: I cut my strips in half so they were approx 3 x 22″. I sewed them together the long way alternating charcoal & grey so that I had 7 strips sewn together. I repeated for a grey/cream combo. Ironed my seams to one side & then cut across the strips with 3″ subcuts.
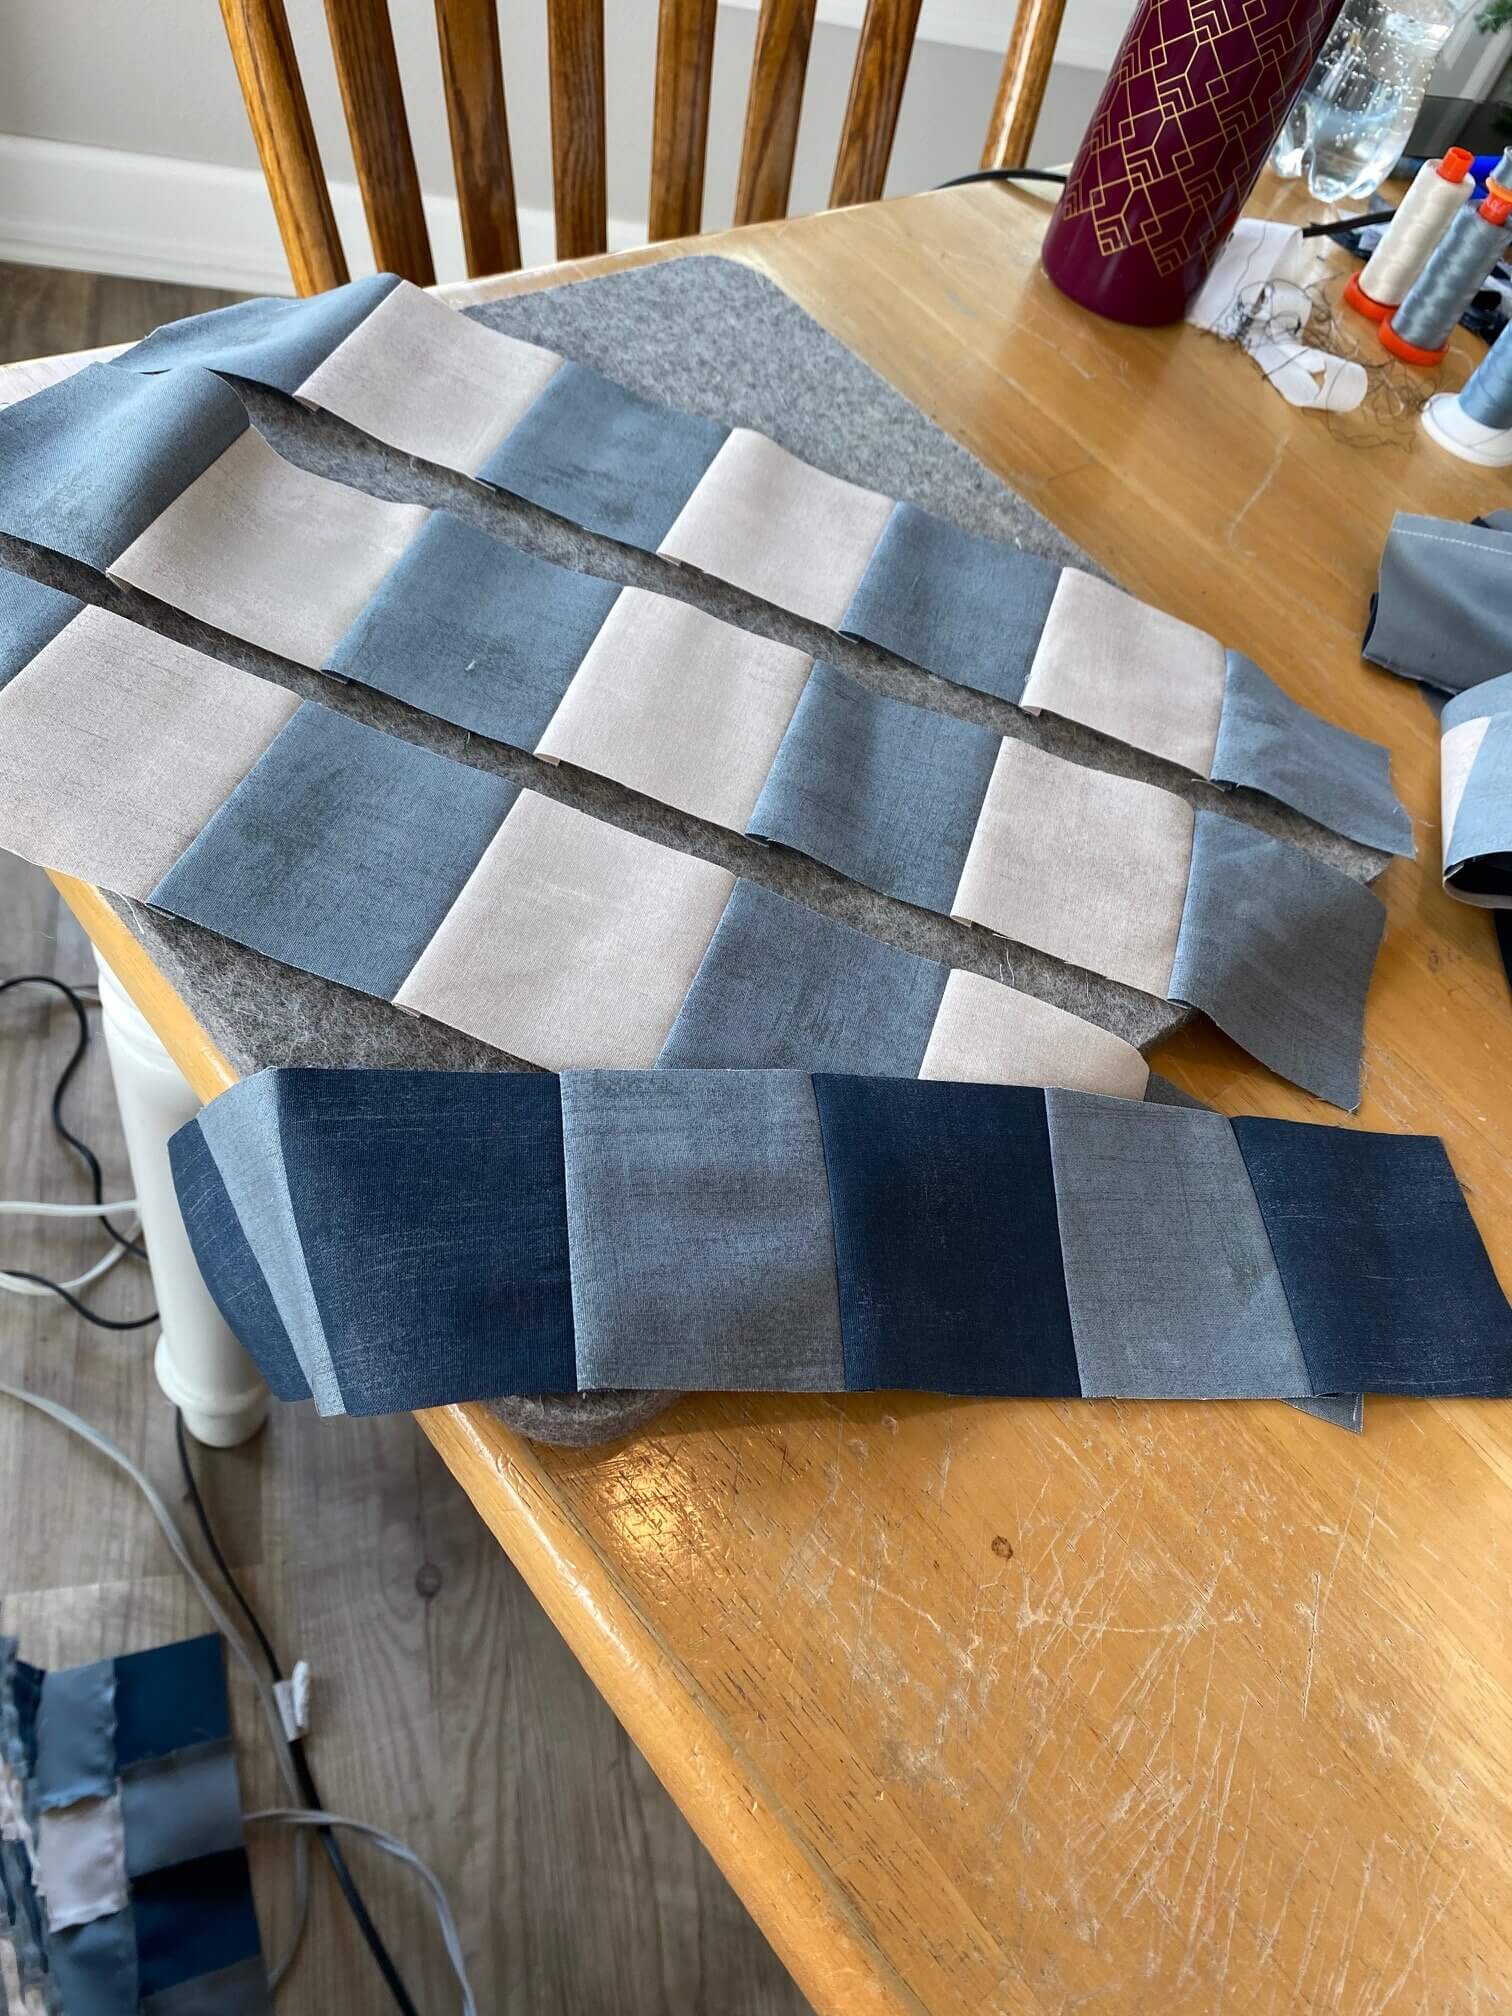
After I pressed my seams, I sewed a charcoal/grey strip to a grey/cream strip. alternating these 2 as I went to create the buffalo plaid look.
 I find quilters fall into 1 of 2 categories, the always ironers & the only when you absolutely have to ironers.
I am an always ironer – I totally know this about myself.
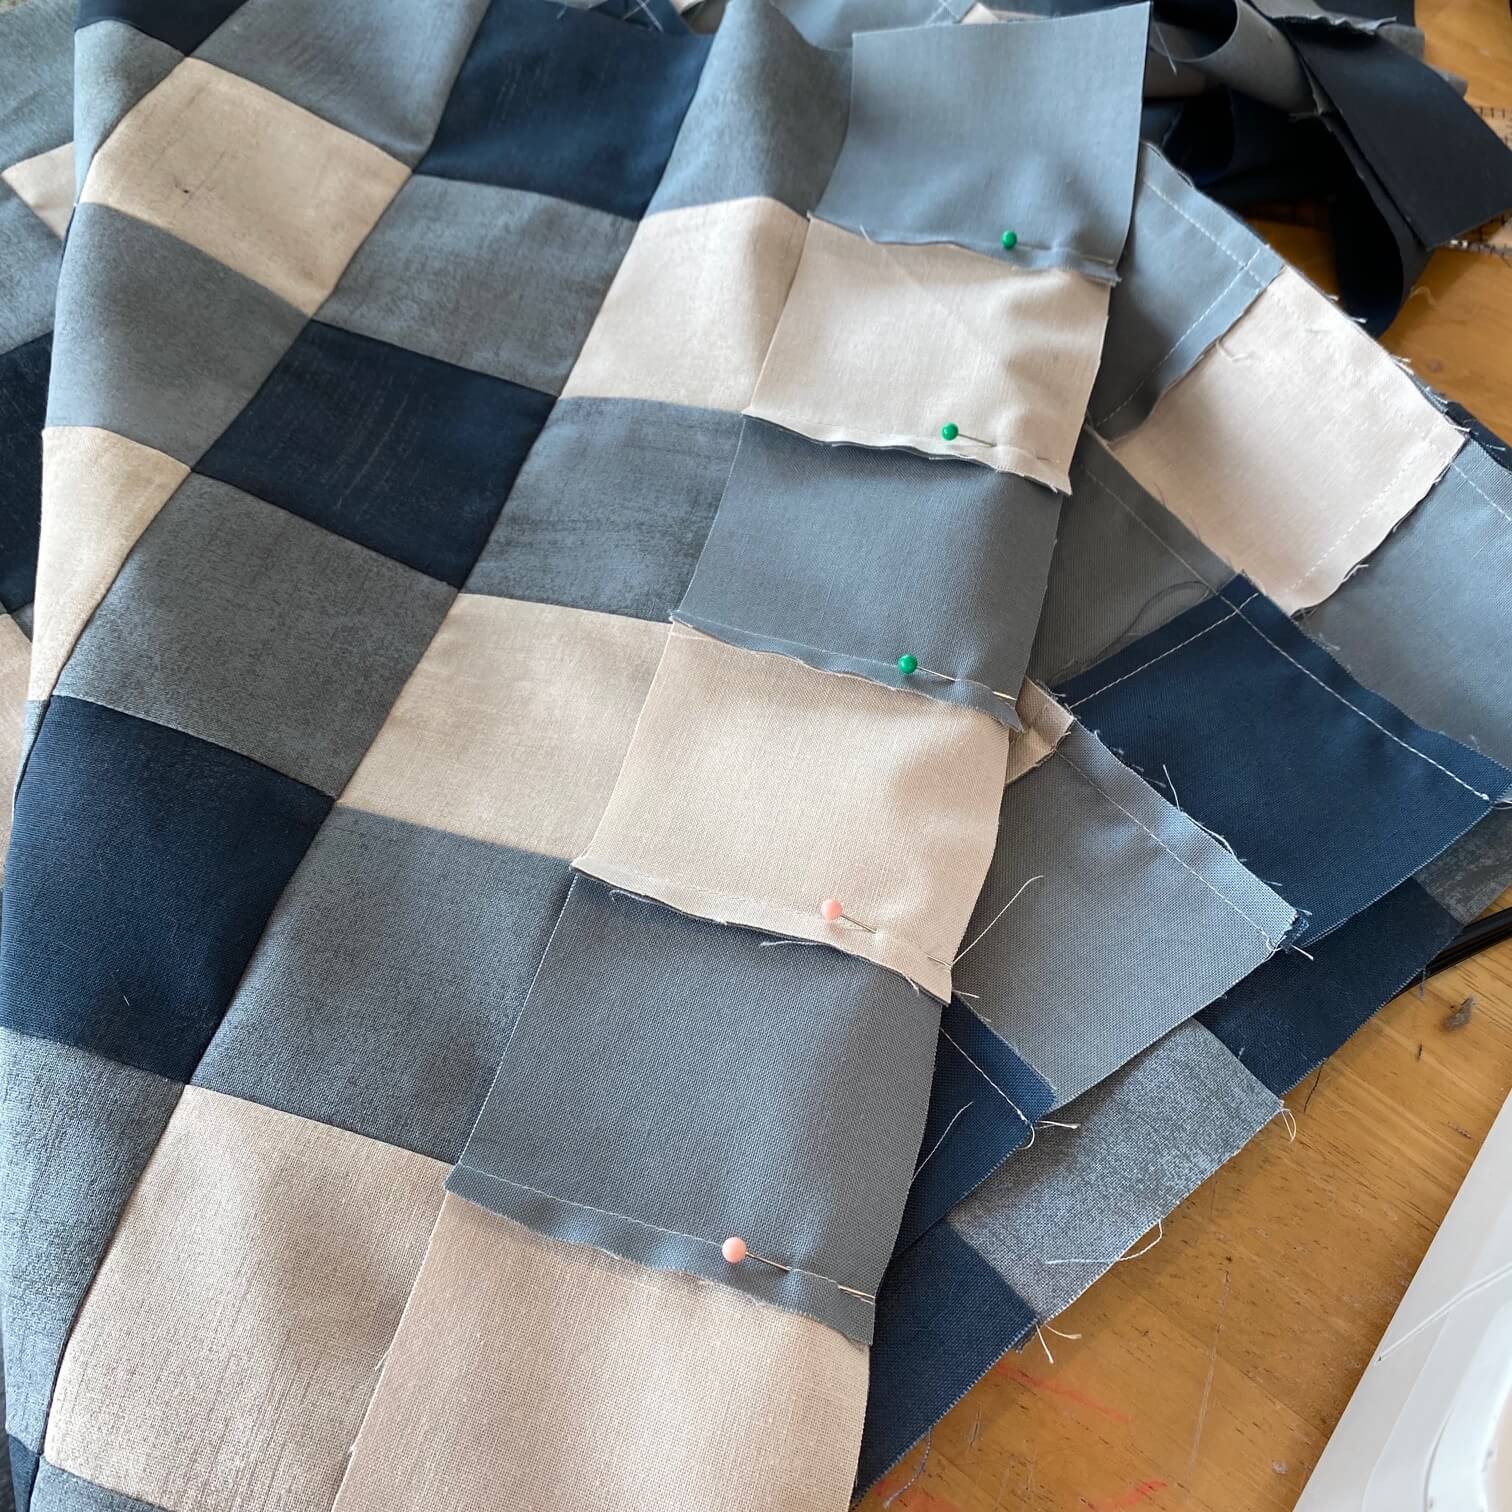
I feel like it helps me to match my seams better. I’m not usually crazed about perfect points & corners, but when you are using solids with bold pattern, I think your eye would be drawn more to badly matched corners. I ironed my stripped pieces in opposite directions so that the seams would nest and meet when I sewed. I did also take time to pin.
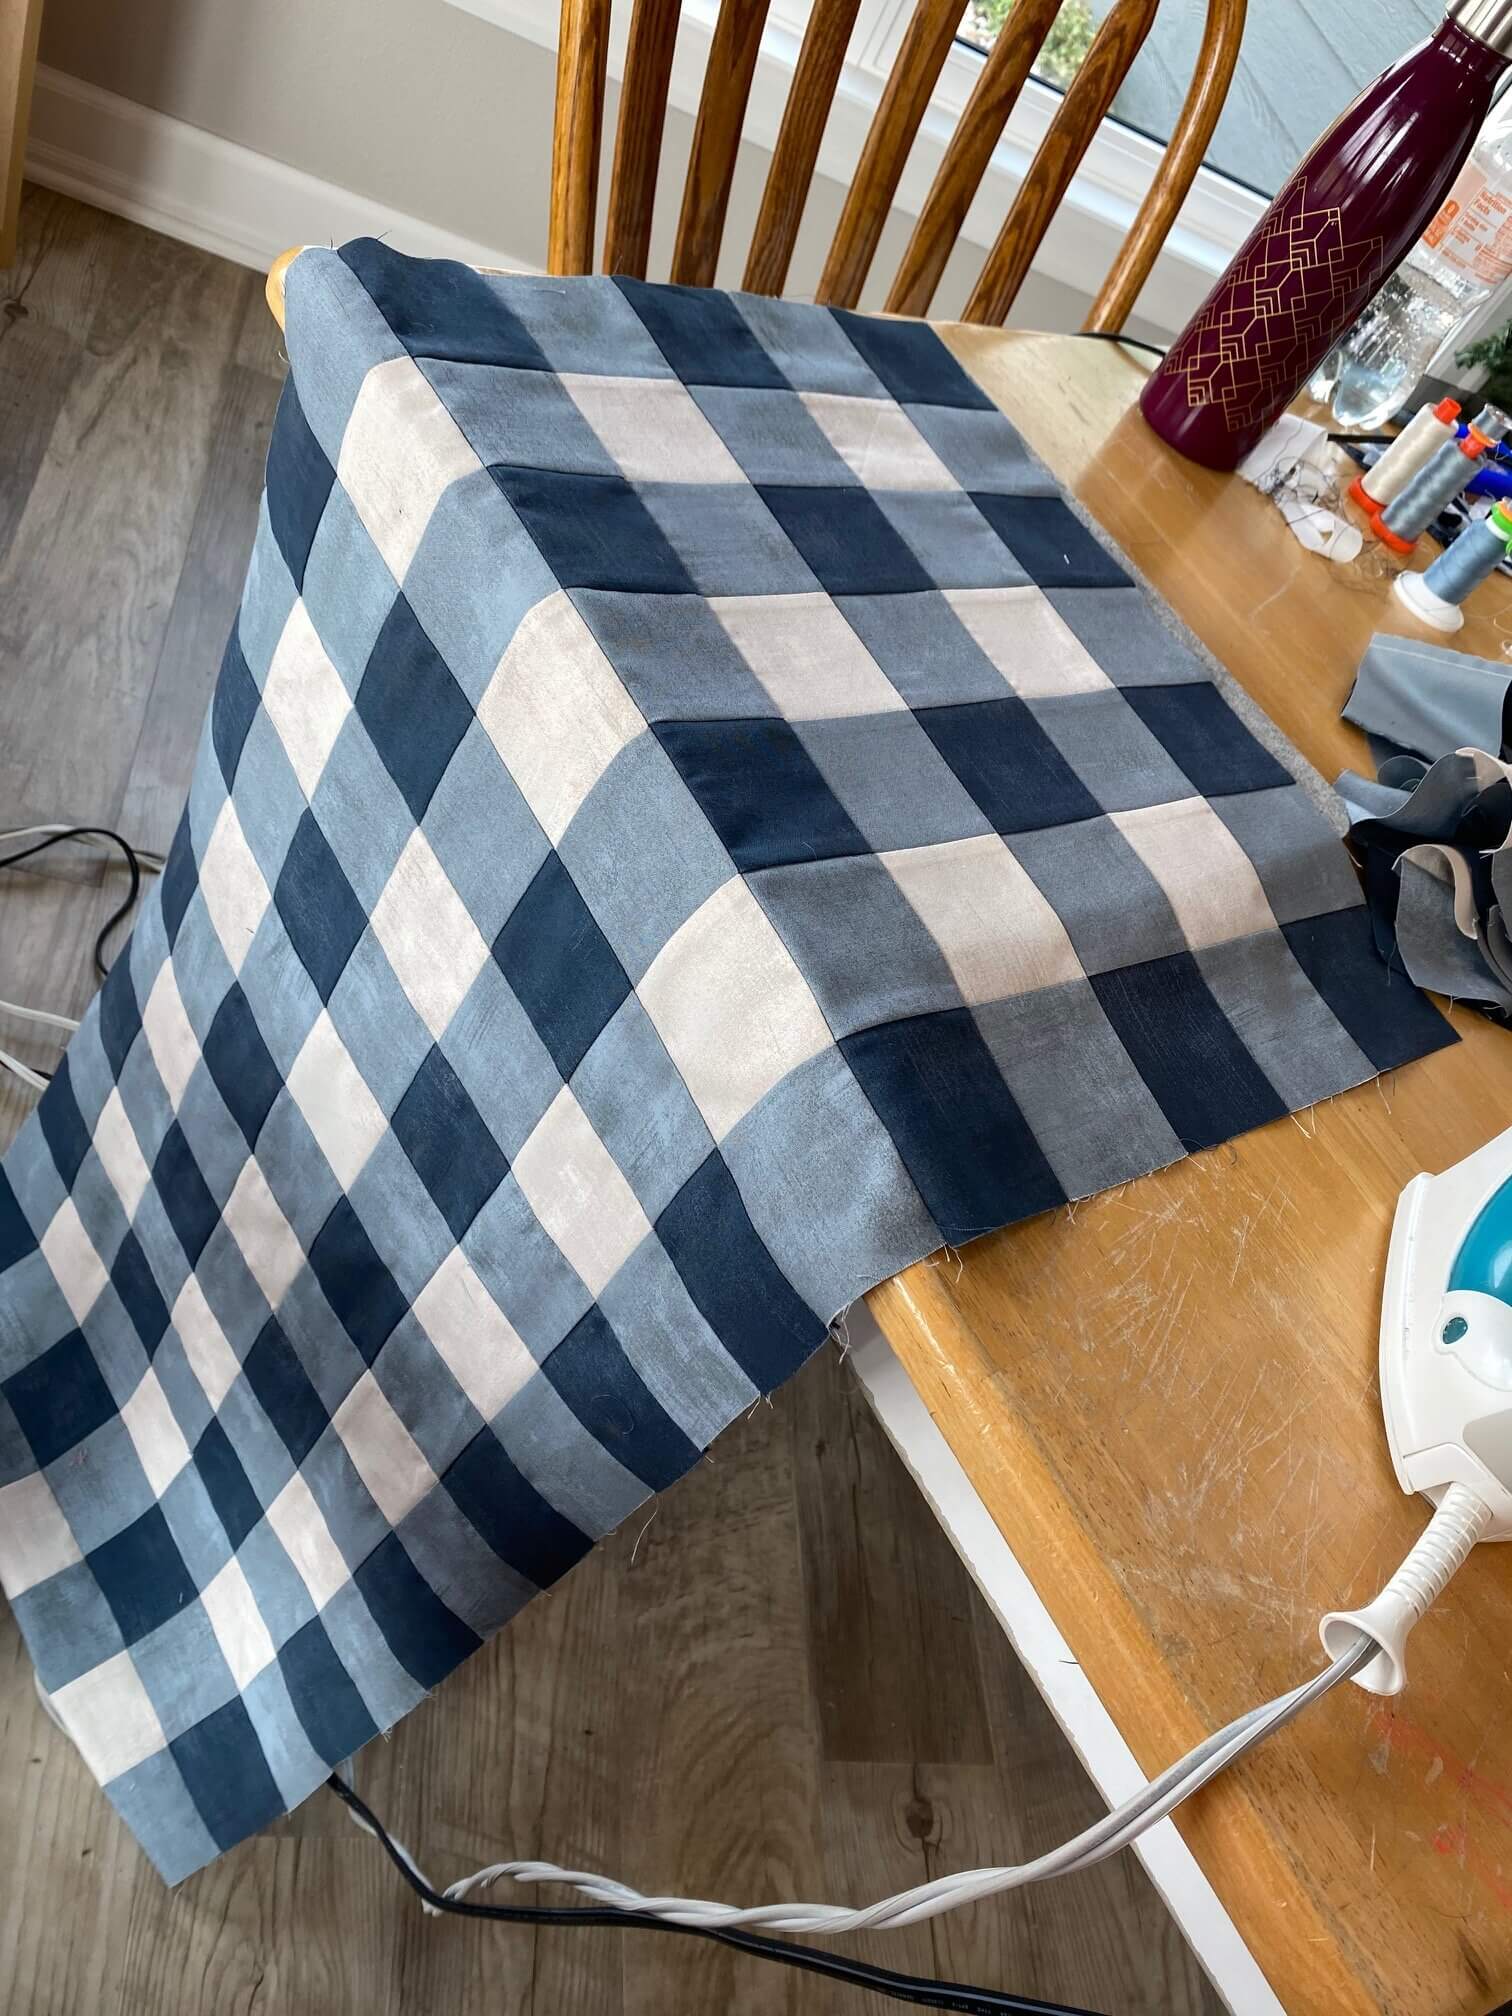
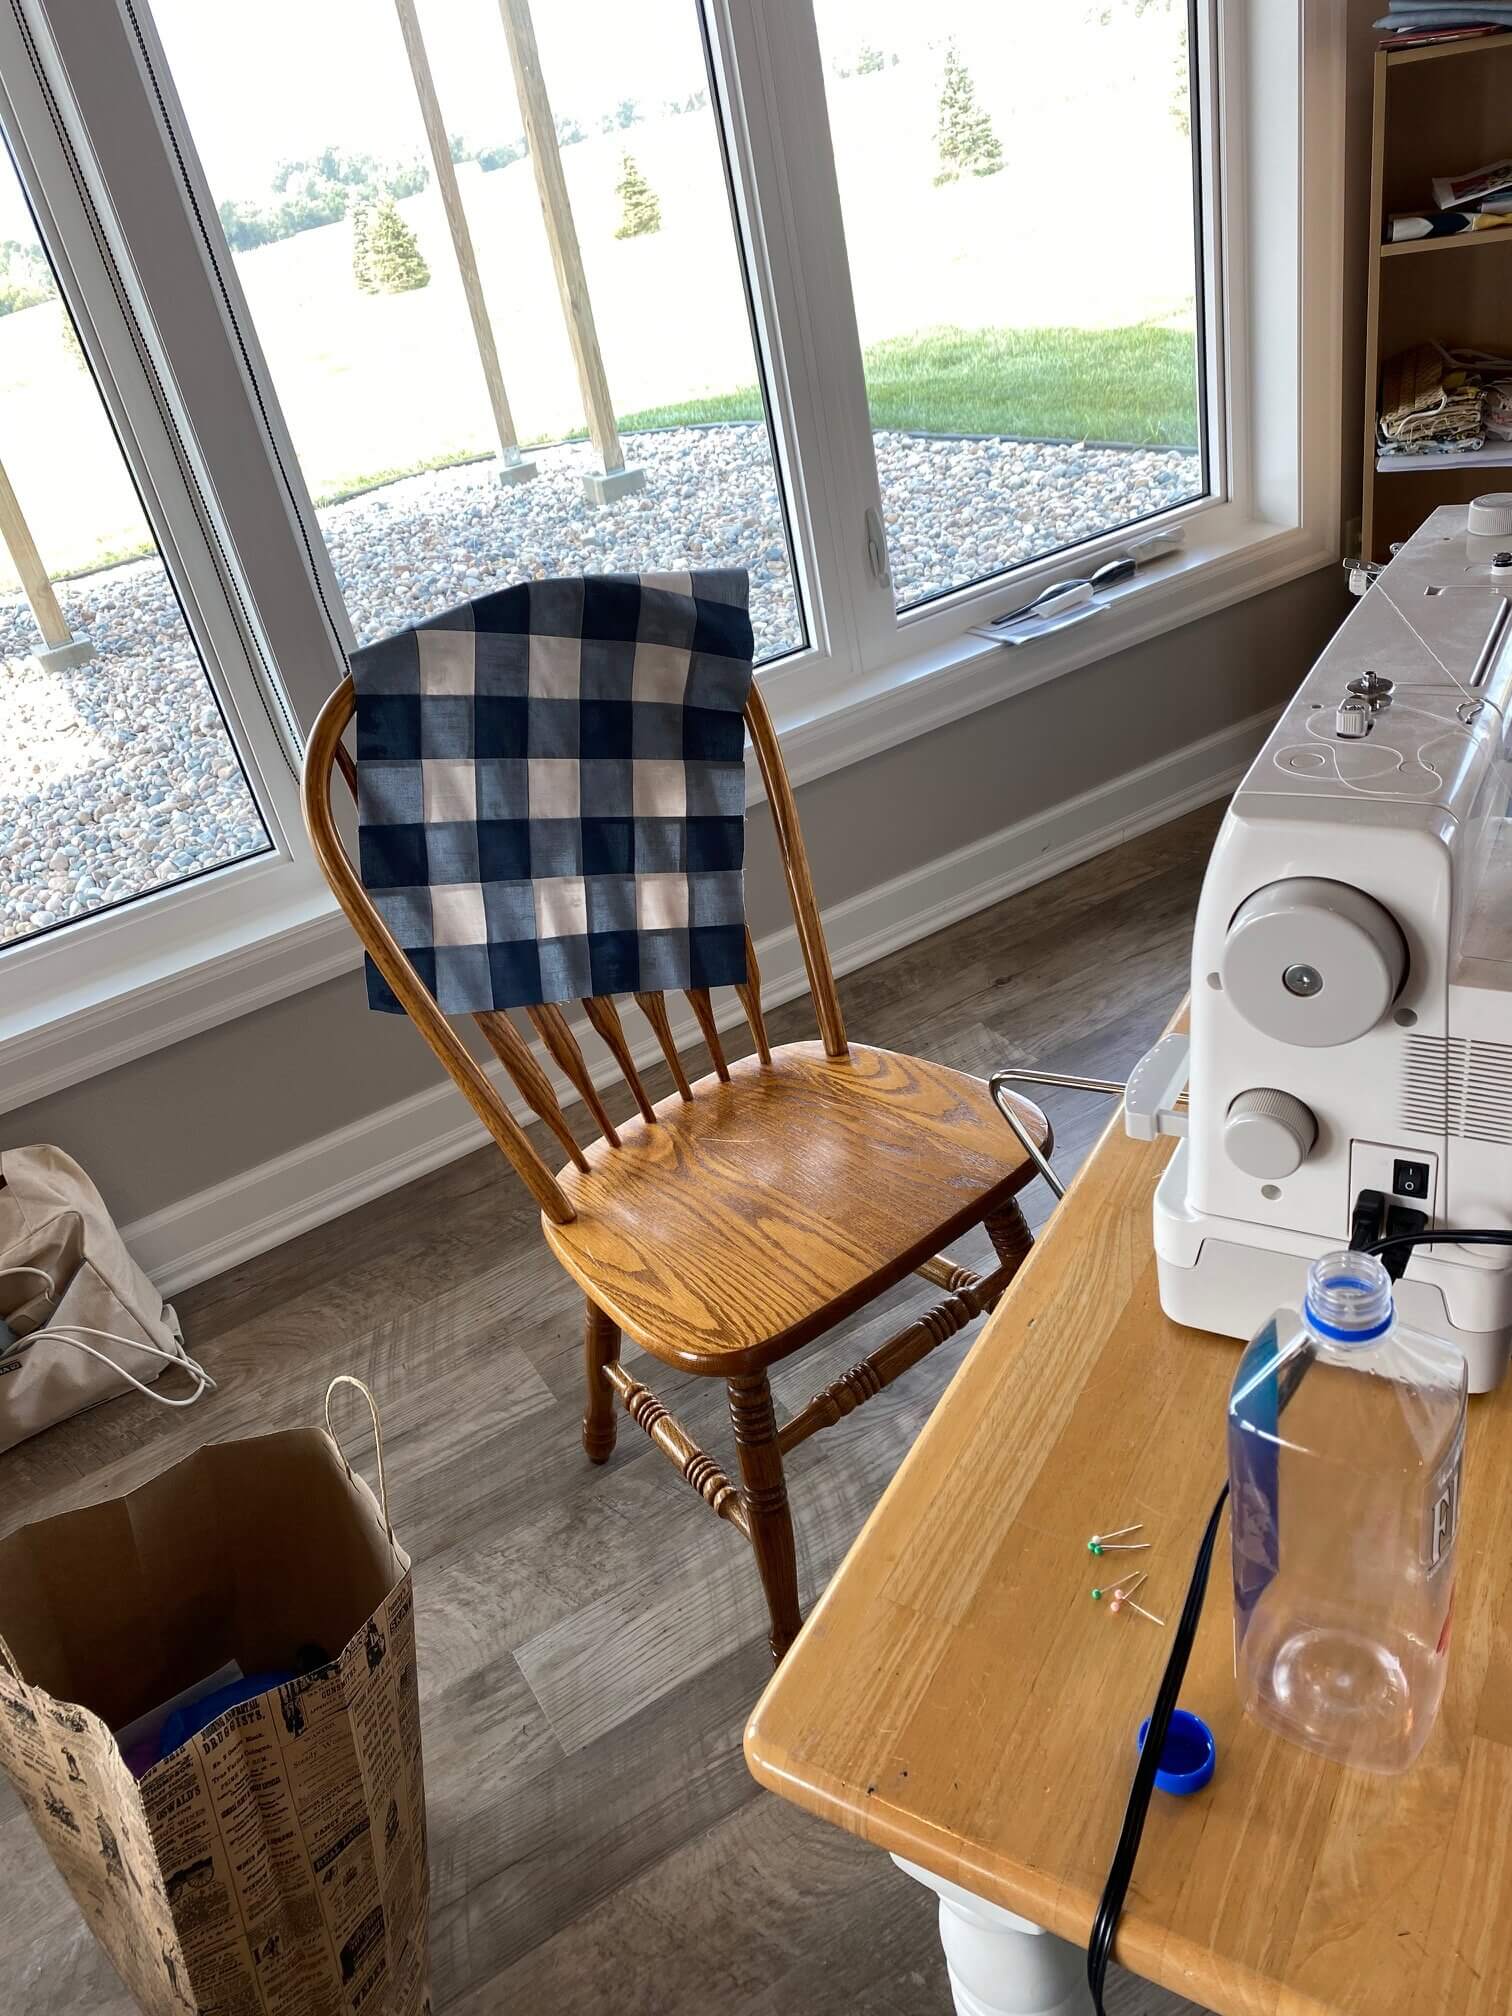
I got this far on Saturday. I hauled it upstairs to lay it on my dining room table (it’s eventual home). I think I need just about 7 more rows & it will be the perfect length. NOTE: I do plan to end it with a charcoal/grey row – it would hurt my symmetrical brain to do it any other way!!
I hope to try this again with some fabric that I might have in my stash – I love the crisp, classic look. Share a photo if you make one & remember to #handsondesign
Enjoy the stitch,
Cathy, Hands On Design


Leave a Reply