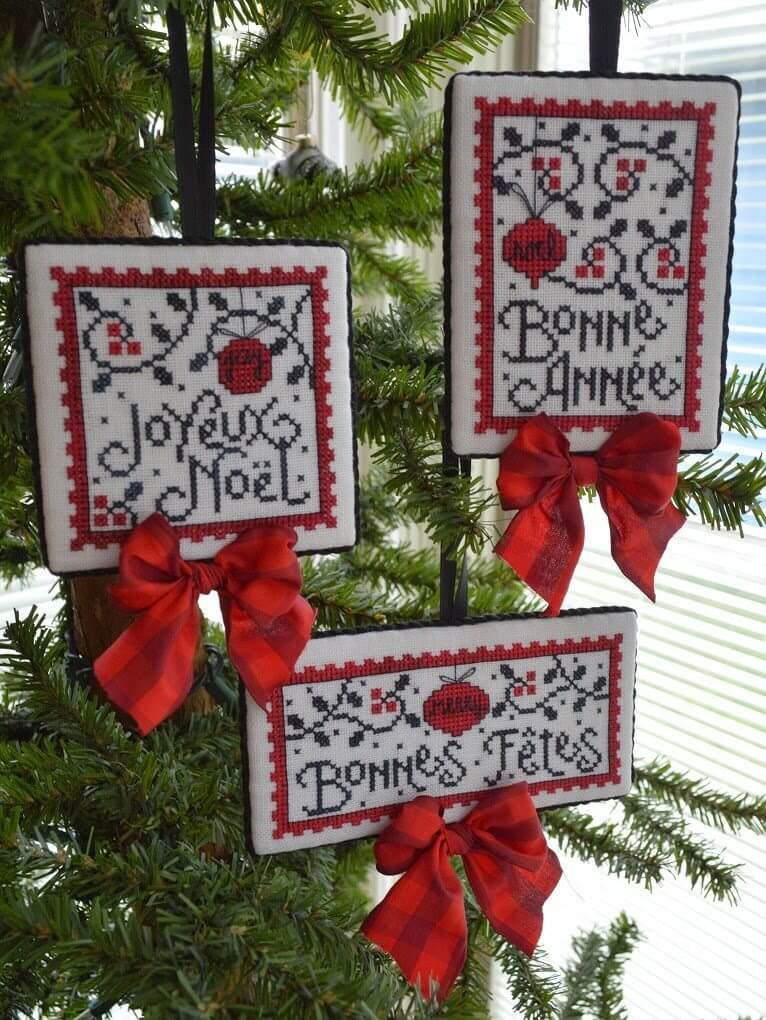
I’m going to walk you through the basic steps of a flat finished ornament. This is Joyeux Noel – the 1st in my Family Tree Series – it was designed for the French branch of my family. This original set was shipped off to them and I managed to take some photos during the finishing process of the 2nd set that I had stitched. Lots of pics!
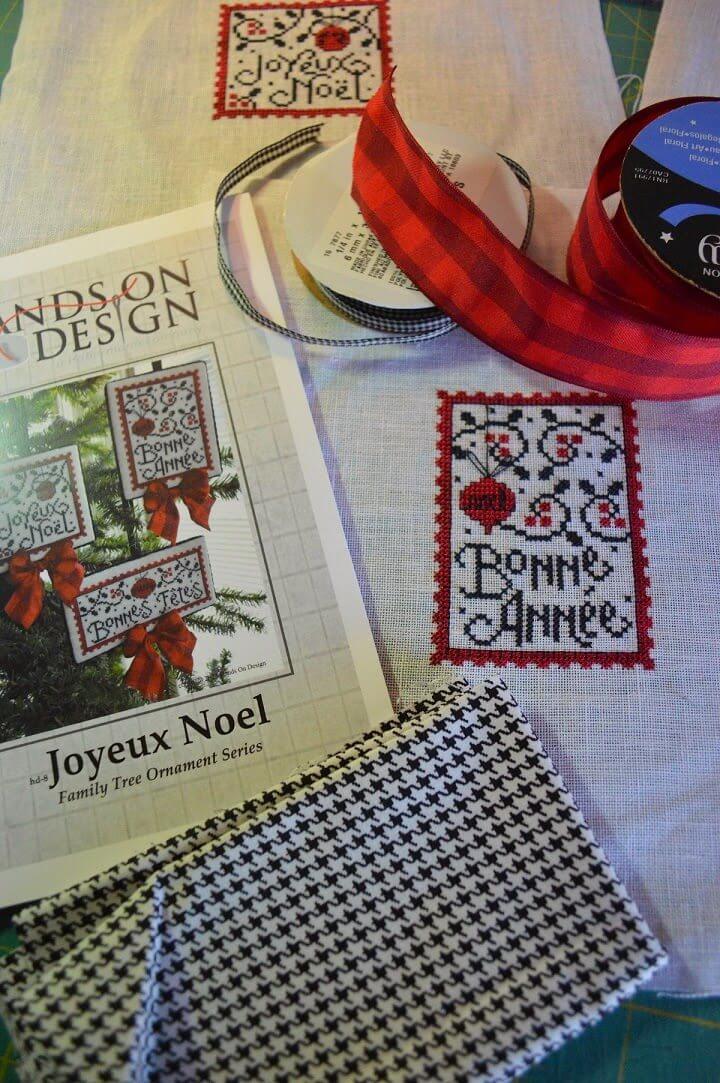
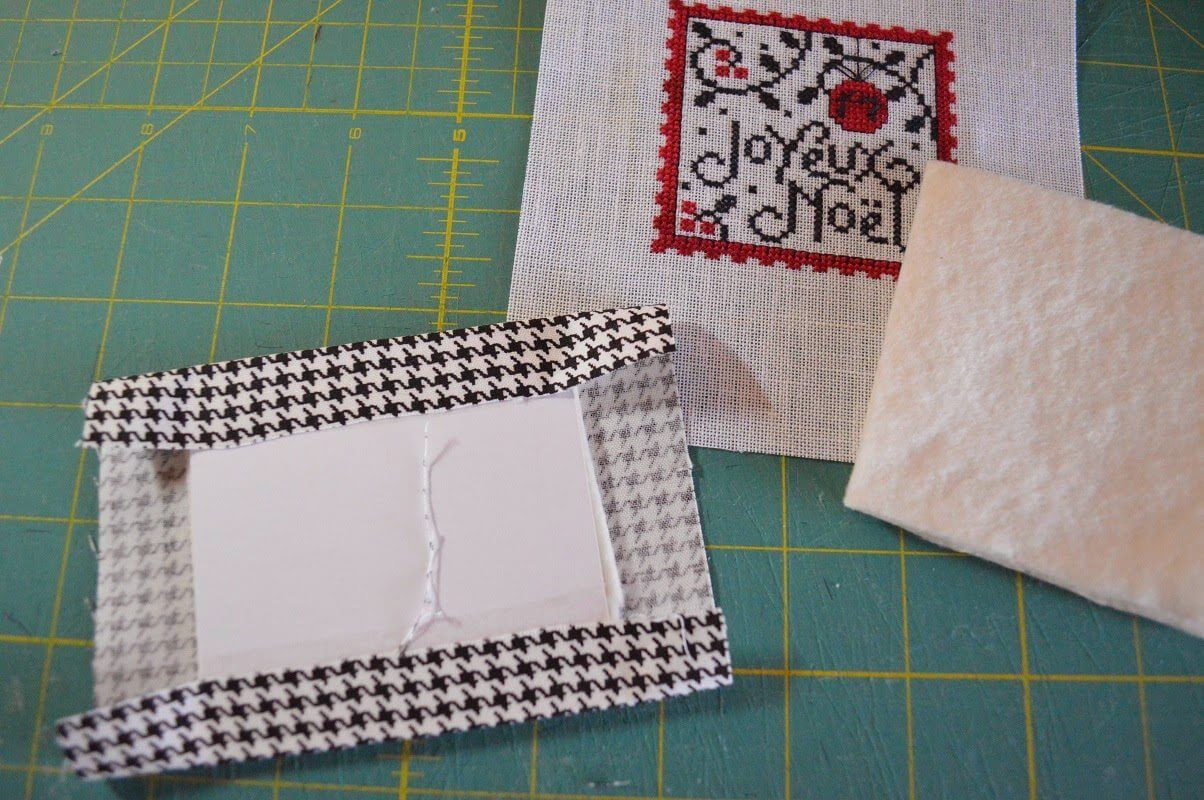
I gathered my supplies: cleaned & pressed stitched pieces, backing fabric, ribbons, cotton batting, mat board, acid free double sided tape, and lacing thread along with the other basics (needle, scissors, & whatnot)
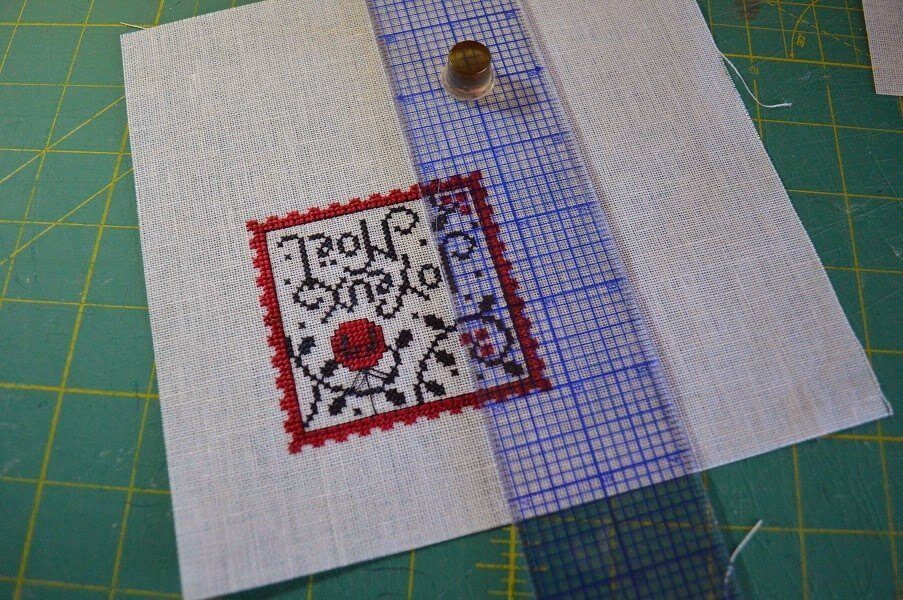
I trim my stitched piece to a more manageable size. Here I was going to show 1/4″ all around the ornament plus include 1″ for turning & lacing. You may need to trim a bit more off later but it’s better to be a little conservative…hard to add that fabric back later! I like to use my quilting ruler on my quilting mat with a rotary cutter – nice clean edges!
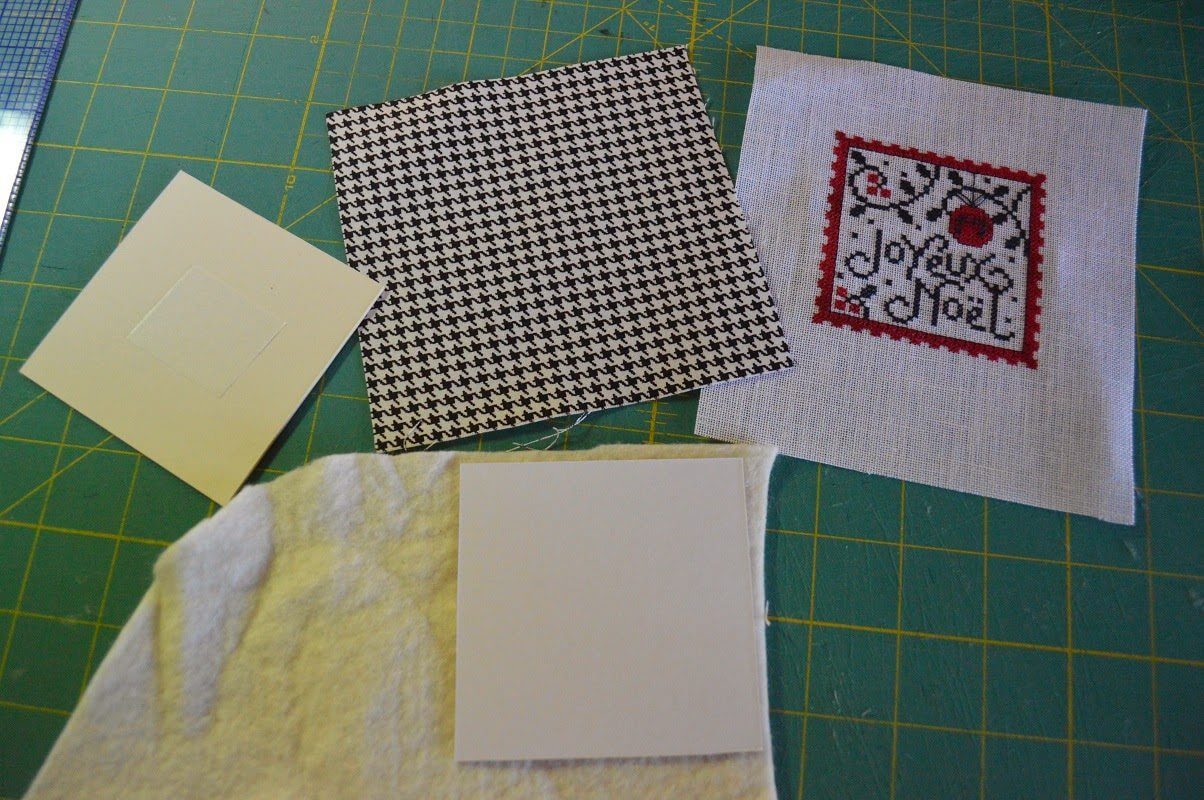
I cut mat boards to the desired size for the front & back of the ornament. I place a small bit of double sided acid free tape on the boards & attach cotton batting. The tape helps to stabilize the batting – it won’t move around when you are centering your fabrics.
I like to place 2 layers of thin batting on the front side (under the stitching) & 1 layer on the back side (under cotton fabric).
I used to lace the back fabric but have recently switched to holding it in place with the acid free double sided tape. I am not patient enough for glue although that would work too. Tape opposite sides – be sure to adjust fabric that has patterns or straight lines. Tape remaining sides & attach fabric – (you may have to trim out your corners a bit in case you have a thicker or stiff cotton)
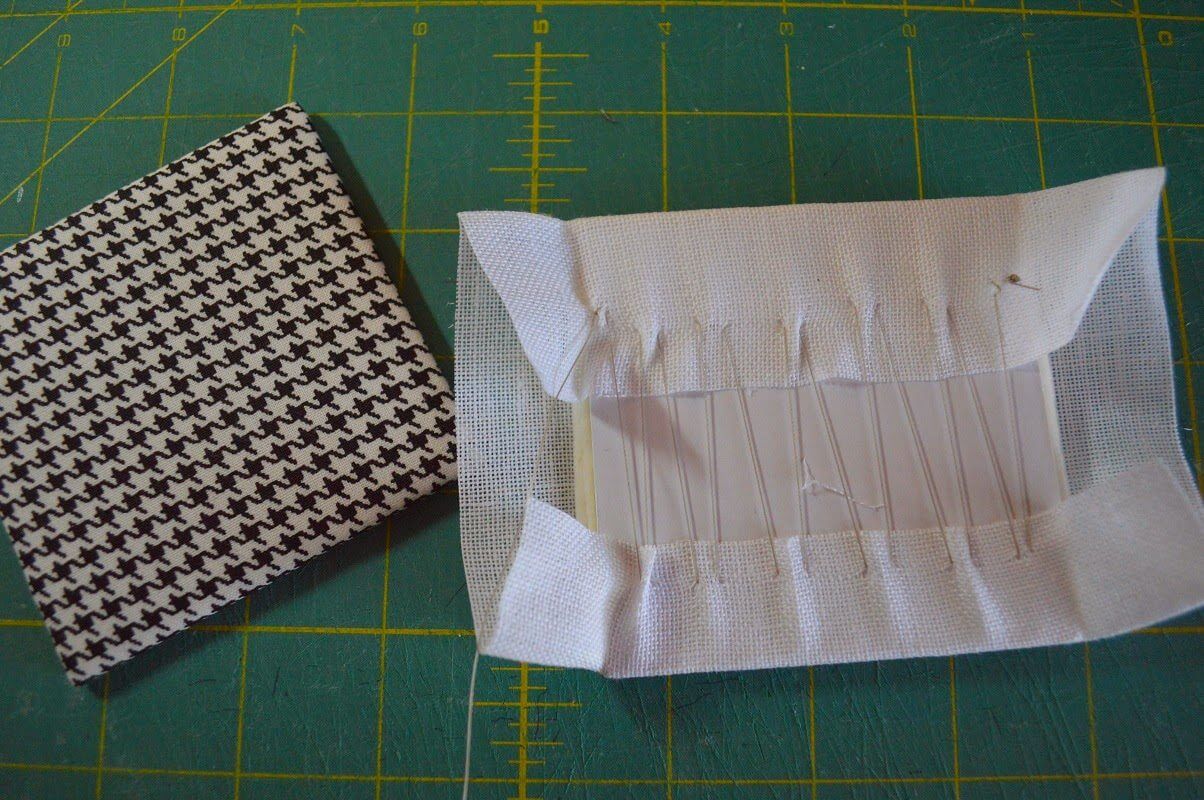
Now to lace your stitching. I do a side to side scooping motion with a heavy duty cotton/poly thread. After you lace the 1st two sides, be sure to check the front & make necessary adjustments to stitching. Once you turn & lace the other direction – you are locked into place. Again, I usually trim out my corners a bit -they get pretty packed!
A word about the side to side scooping motion: the needle goes through the linen – in & out on the same side running parallel to the edge. This way you won’t get stretching marks on the front where you really pull your stitches tight. (even our needlework can get stretch marks!!!)
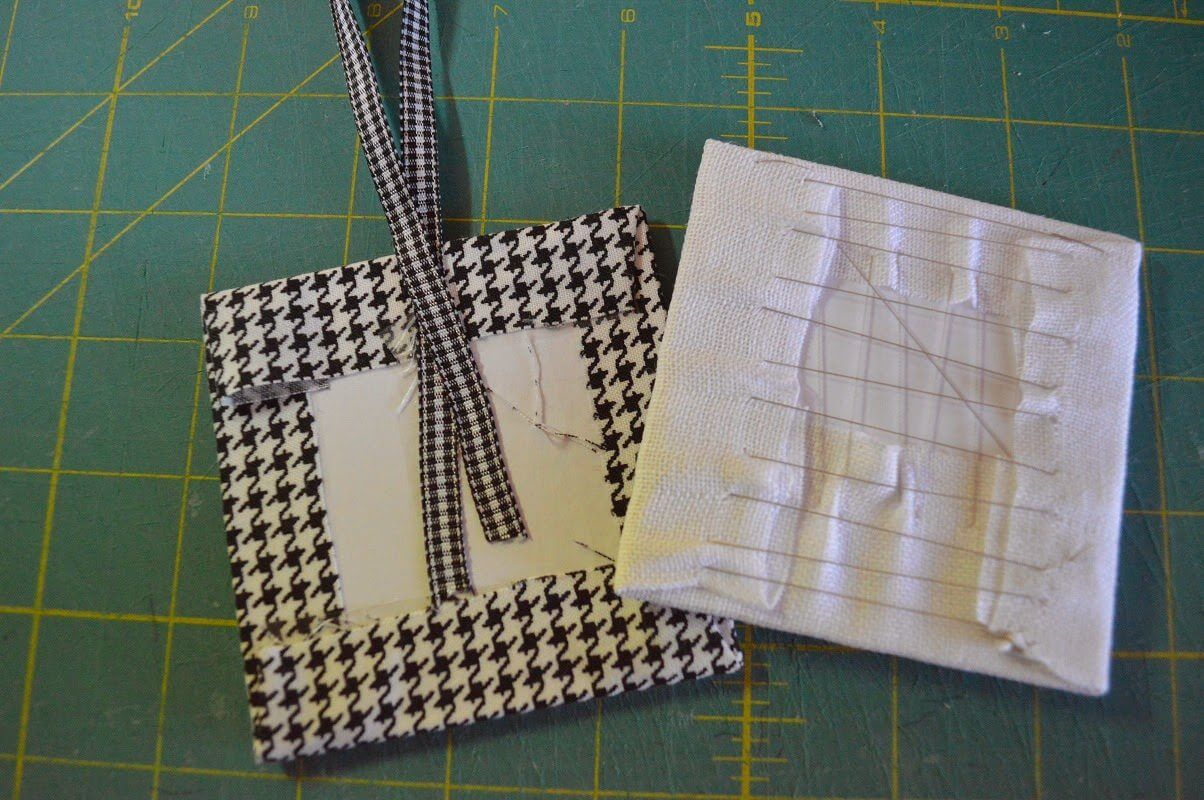
Now that front & back are taped or laced you want to attach them together. First, I opted to include a little ribbon for my hanger. That is being held in place with the double sided tape again. You don’t have to use ribbon – you may wish to use your cording for the hanger.
You will notice that I stretched my cotton & linen in 2 different directions – this also helps the “bulk” factor when stitching them together – you won’t get fat corners. (This means I folded vertical sides on one first & horizontal sides on the other first)
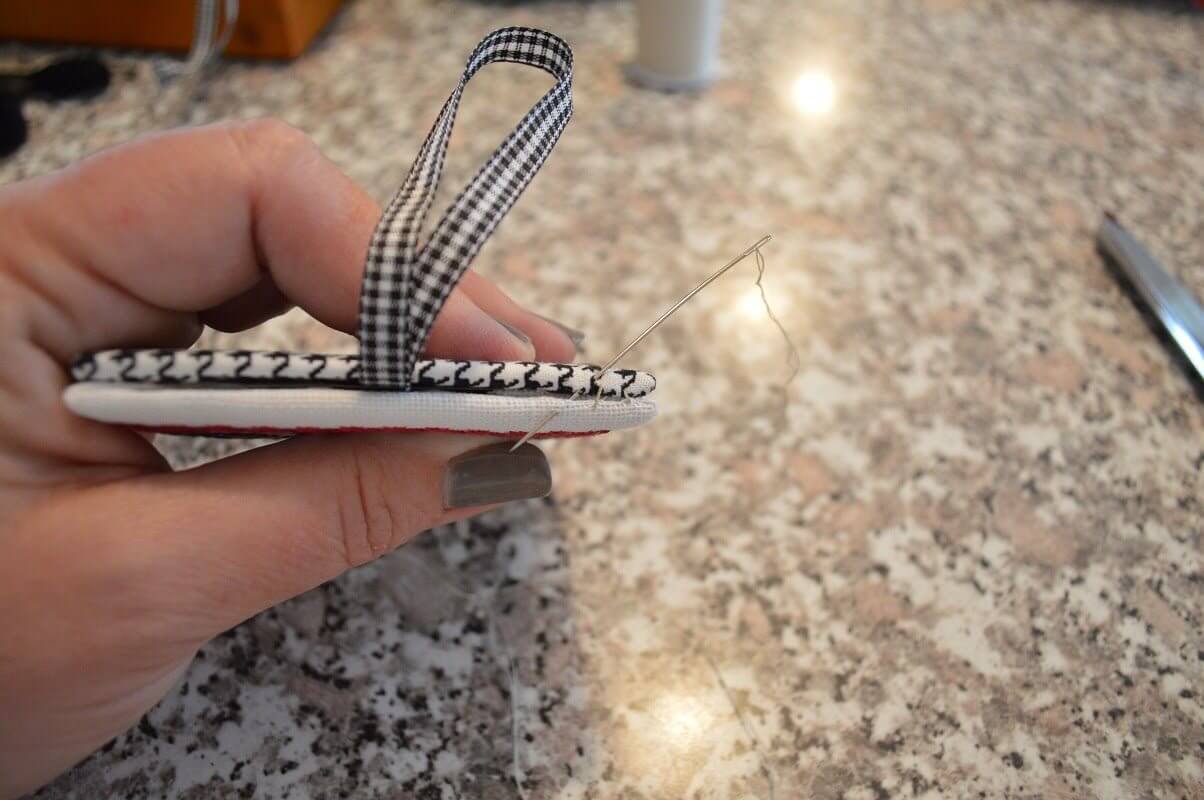
I lace the front to the back using a color coordinating thread. After that…it is down to the fun part! trim, cording, buttons, bells, and all the doodads! I chose a simple black cording & a fun bow for the bottom. (attaching the cording will be a lesson for another day!)
You may have already received the May issue of Cross Stitch & Needlework magazine. The 3rd installment of my series is in it & once again, I am giving you some DMC alternatives. Yours won’t look exactly like mine, but pretty darn close.
Thanks for all of the great feedback on this series. I was a little nervous when the editors approached me about doing such a long series but it has been a lot of fun! As I write this, I have turned in all but the last 2 – October & November. I know it sounds kind of weird, but I will be a little emotional when they are all complete!
April: blanc, 519, 703, 741, 319, 3746, 3832
May: 554, 369, 367, 3802, 3713, 961, 722, 433, 437

Have an awesome weekend! I will be painting my son’s room. His was the 1st room we did when we moved in 10 years ago & now we are updating a bit in hopes to sell and maybe build after the college years!
Cathy

Very pretty stitching and such a sweet way to finish it..I will try this method too..thank you
Huge hugs x
Thank you for the tutorial, I have always used glue but think I will switch to the dbl sided tape seems much easier and less messy 🙂 I have never laced anything, I guess I will try it on my next ornamnet finish
Thanks for sharing this technique. It's such a great way to do a finish. Love your blog.
Great finishes! Your tutorial is super… I often do this type of finish. But instead of lacing the back and front together, I often glue them. Might have to try lacing one day.
What a great post with beautiful finishes. Very pretty and thank you for walking us through the process. You have a wonderful week.
What lovely finishes and I really appreciate your tutorial. Even though I've done this type of finish before I picked up several tips to try in the future to improve my ornament finishing 🙂 Thanks so much!
I love this series. I just ran, well drove (!), to my LNS on Saturday to buy the May CS&N issue. Trying to decide whether to stitch all of them together, or as individual ornies.
Carolyn
I just found your series the other day in the may issue but haven't been able to track down the first (January) issue – where can I find it so I have the complete set?
So excited to stitch these – so cute!