Today we’re bringing you a cross stitch finishing tutorial for finishing [bloom.bit] as a fob like the one pictured on the cover of the chart. If you’re unfamiliar with the [square.ology] series, read about it here. If you are familiar with it, then read on and enjoy this step-by-step tutorial for making a fabulously-fun fob!
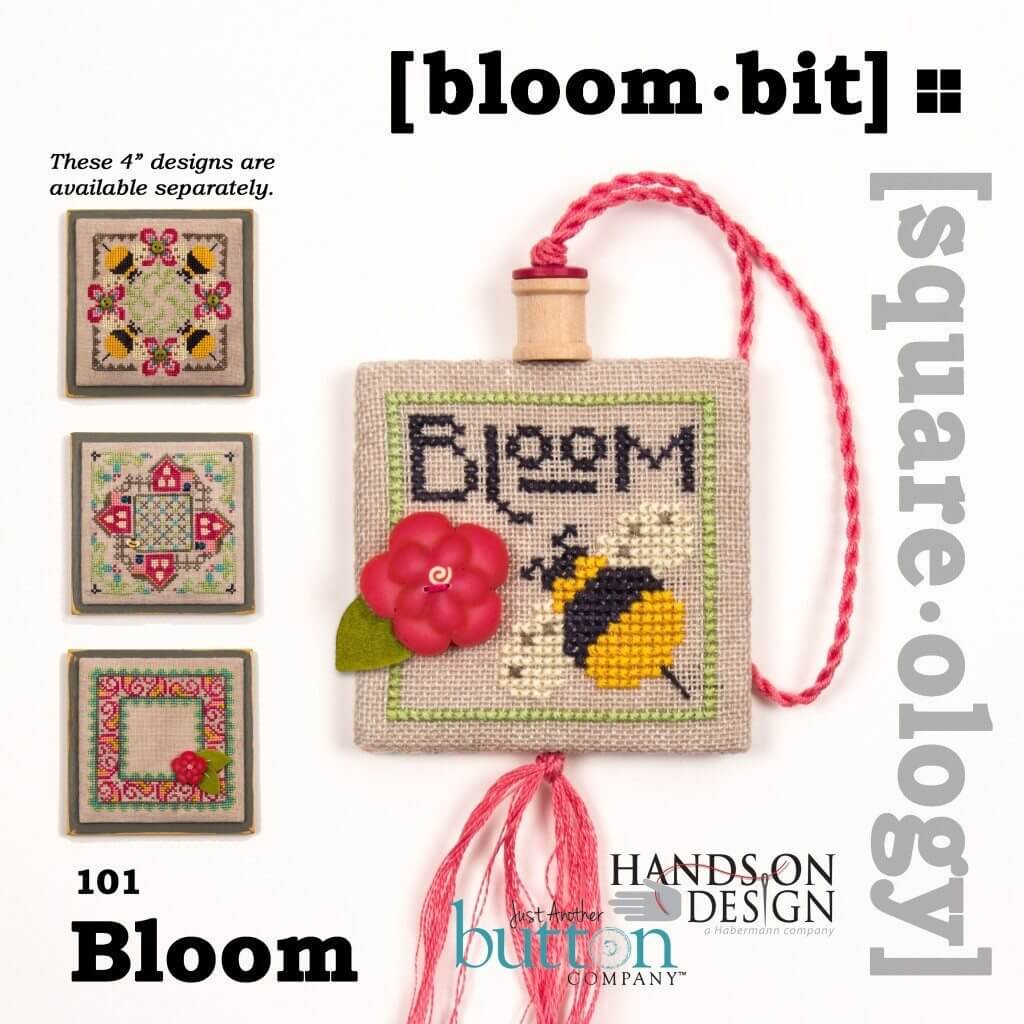
The full cross stitch finishing tutorial is shown below but you can also download the PDF here.
Materials:
[bloom.bit] design stitched on 30 count linen
4 ½” square of cotton print fabric for back
Matboard (enough for 2 – 2 1/2” squares)
Batting (enough for 2 – 2 1/2” squares)
Lacing thread (hand quilting thread or pearl cotton #8)
Stitchery tape (double-sided, acid free)
120” of 6-strand floss: pink
Light gray sewing thread
JABC [square.parts] pack #10001
Supplies:
Sharp sewing needles
Rotary cutter
Quilter’s ruler
Cutting mat
Box cutter
Iron & pressing surface
[square.ology] flat-finish tutorial
Clover clips (or bull dog clips)
Scotch tape
Twisted cord maker (optional)
 Prepare the Flat-Finished Squares:
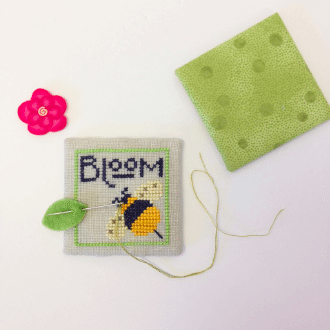
1. Using the complimentary [square.ology] Flat-Finish Tutorial, flat finish your [bloom.bit] stitching.
2. Using the same instructions, flat-finish the square of cotton fabric.
3. Use a sharp needle and matching floss to tack the felted-wool leaf from the [square.parts] pack to the stitched square to match the placement shown on the cover of the [bloom.bit] chart.
4. Sew the pink peony button from the [square.parts] over the end of the leaf.

Prepare The Twisted Cord:
1. Fold the full length of the floss in half and tie the ends together with a double overhand knot near the cut ends.
2. Loop the knot over a doorknob and stand far enough back so the floss drapes without touching the floor.
3. Hold the folded end of the floss loosely about an inch from the loop. Slip a pencil into the loop (or a twisted cord maker, if you have one). Spin the pencil to twist the floss until it is very taut, moving toward the doorknob as you work.
4. Holding the length taut with one hand, reach forward with the other hand and pinch the twisted threads at a point midway to the knob. Hold the pinched spot taut away from the knob and bring the looped end of the floss near the knotted end at the knob.
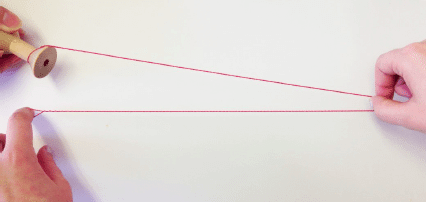
5. Hold the two ends together at the knob and let go of the pinched end. The cord will twist on itself between the midpoint and the doorknob. Smooth with your fingers if necessary so the twist forms evenly. When the floss is twisted all the way to the knob, slip the cord off the knob.
6. At the loose end, wrap a small piece of Scotch tape around the tail to keep it from unraveling. Wrap the tape tightly, like the end of a shoelace. Trim the taped end at an angle for easier threading later.
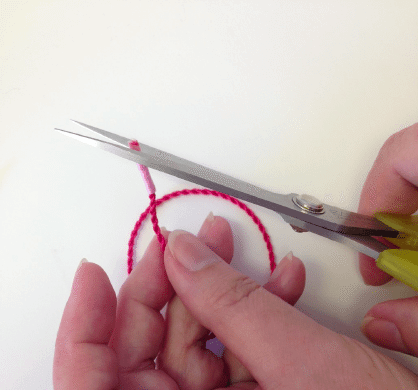
Make The Twisted Cord Hanger:
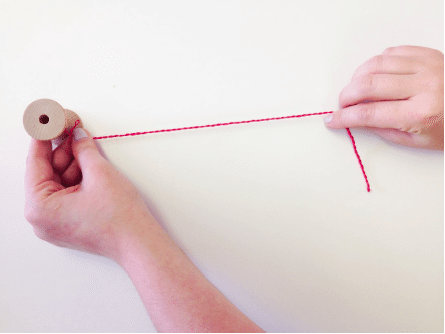
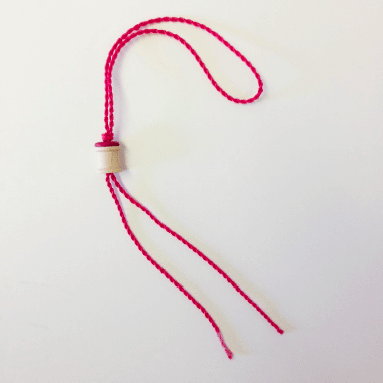 1. Fold the prepared twisted cord in half.
2. Tie a double overhand knot 5” from the loop of the cord.
3. Using the ½” button (from the [square.parts] pack) thread the two tails of the cord through the button holes, one tail in each hole. Push the button tight against the knot in the cord. The curved side of the button should touch the knot in the cord.
4. Now string the ½” spool on the cord, below the button, threading both tails through the hole. The spool should fit snugly below the ½” button.
Assemble The Fob:
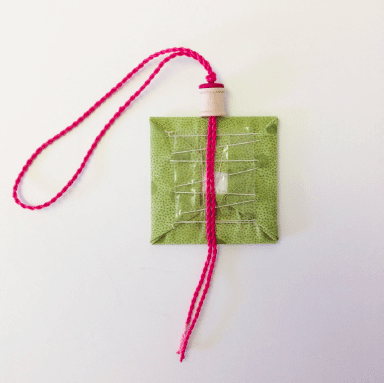 1. Place the flat-finished cotton fabric square face-down.
2. Put a 2” strip of stitchery tape along the center line, top to bottom.
3. Center the twisted cord on the cotton fabric square, with the spool snug against the top edge of the square. Press the cord to the stitchery tape to hold it in place.
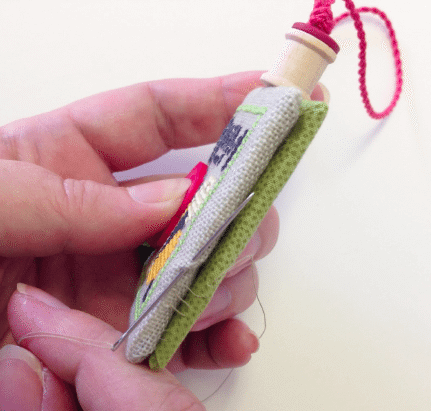
4. Sandwich the twisted cord hanger between the two flat-finished squares. The cord tails should extend at the bottom center position. Use clips to hold the squares together.
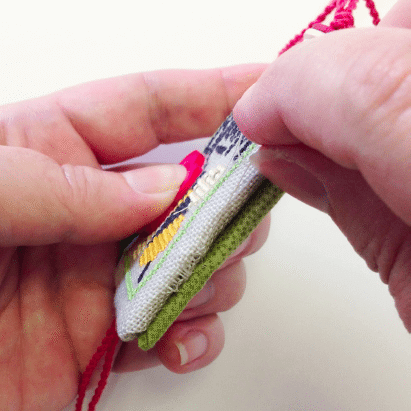
5. Using sewing thread and a sharp needle, ladder stitch around the four edges of the squares, joining the two layers. When finished, remove clips.
6. Tie three overhand knots with the tails of the cord. Pull the knots tight so they fit snugly against the bottom of the layered squares.
7. Trim the ends of the cord (removing the tape) and unravel to create a tassel. Trim the tassel to your preference.
Enjoy your [bloom.bit] fob!


I’m imedesspr. You’ve really raised the bar with that.