• My Account
  • Lost Password
  • About
  • Wholesale
  • Store Locator
  • Classes
  • Events
  • OOPSIE

Hands On Design

Needlework and Cross Stitch Designs by Cathy Habermann

  • Shop
  • Tutorials
  • Floss Tube
  • Blog
  • Contact
  • 0 items$0.00

Ahoy Frame Finishing Tutorial

May 26, 2016 By Cathy Habermann Leave a Comment

Ahoy_Tutorial Pic_Main

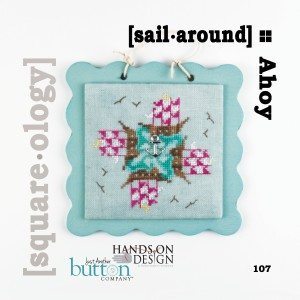
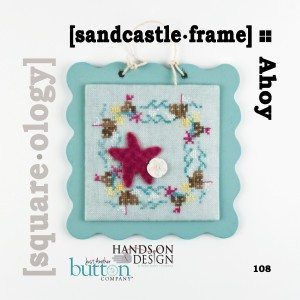
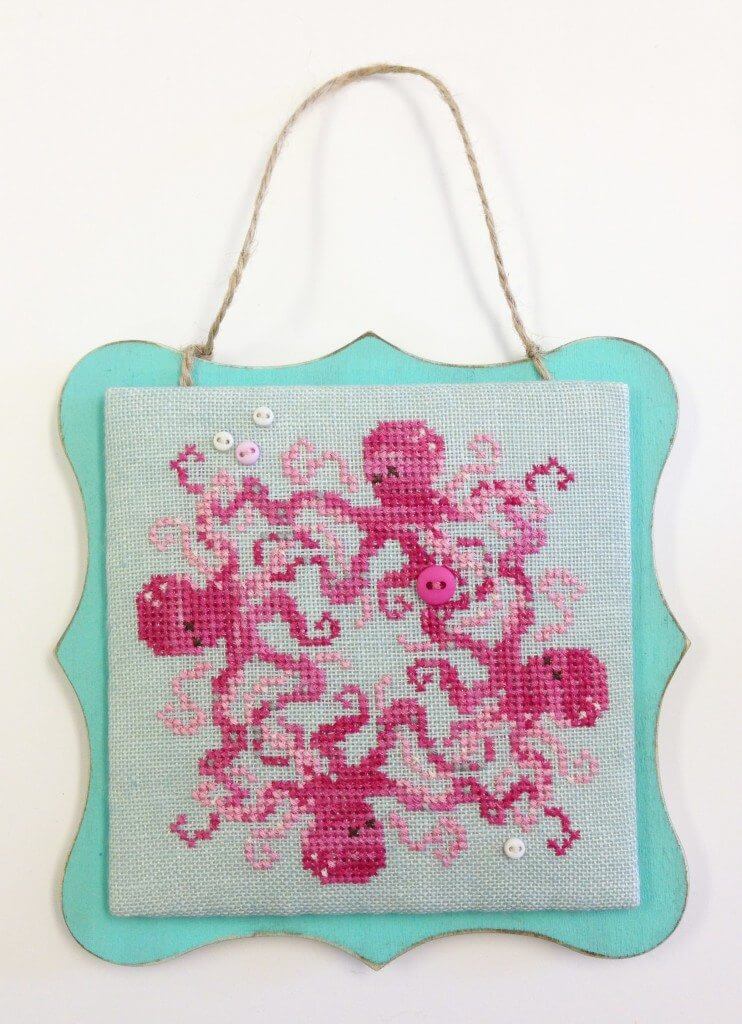
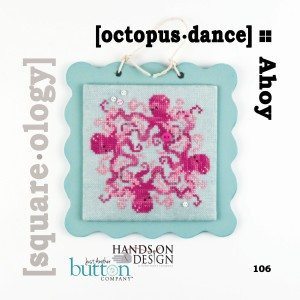
We’ve had lots of button fans ask about the frames we used to finish [square.ology] Ahoy. Today’s cross stitch finishing tutorial will share where to find them and how to finish them for your own Ahoy pieces. Before you start, you’ll want to read our Flat Finish Tutorial, it is the basis for all of our [square.ology] finishes and is a great finishing technique to have under your belt.

Now that you’ve read the Flat Finish Tutorial you’re ready to start finishing Ahoy! This cross stitch finishing tutorial shows how to finish the three 4″ x 4″ designs from Ahoy (Octopus Dance, Sail Around and Sandcastle Frame), however this will also work with any 4″ x 4″ [square.ology] design!

Follow the full tutorial below or download a PDF here.
Ahoy Frame Tutorial_Pic 2Ahoy Frame Tutorial_Pic_3Ahoy Frame Tutorial_Pic_4


Ready, Set, Finish!


Materials:

Any of the 4” designs from Ahoy stitched on 30 count linen

Matboard

Batting

Lacing thread (hand quilting thread or pearl cotton #8)

Stitchery tape (double-sided, acid free)

Acrylic paint

Tim Holtz Distress Ink

Art Minds 5 1/2” unfinished wood frame—from craft stores


Supplies:

Sharp sewing needles

Rotary cutter

Quilter’s ruler

Cutting mat

Box cutter

Iron & pressing surface

Scissors

[square.ology] flat-finish tutorial

Foam brush

Sandpaper


Instructions:

Prepare the Flat-Finished Squares:

  • Using the complimentary [square.ology] Flat-Finish Tutorial, flat finish your Octopus Dance, Sandcastle Frame or Sail Around stitching.
  • Sew any embellishments to your stitching with a sharp needle and matching thread.

Pick a Frame:

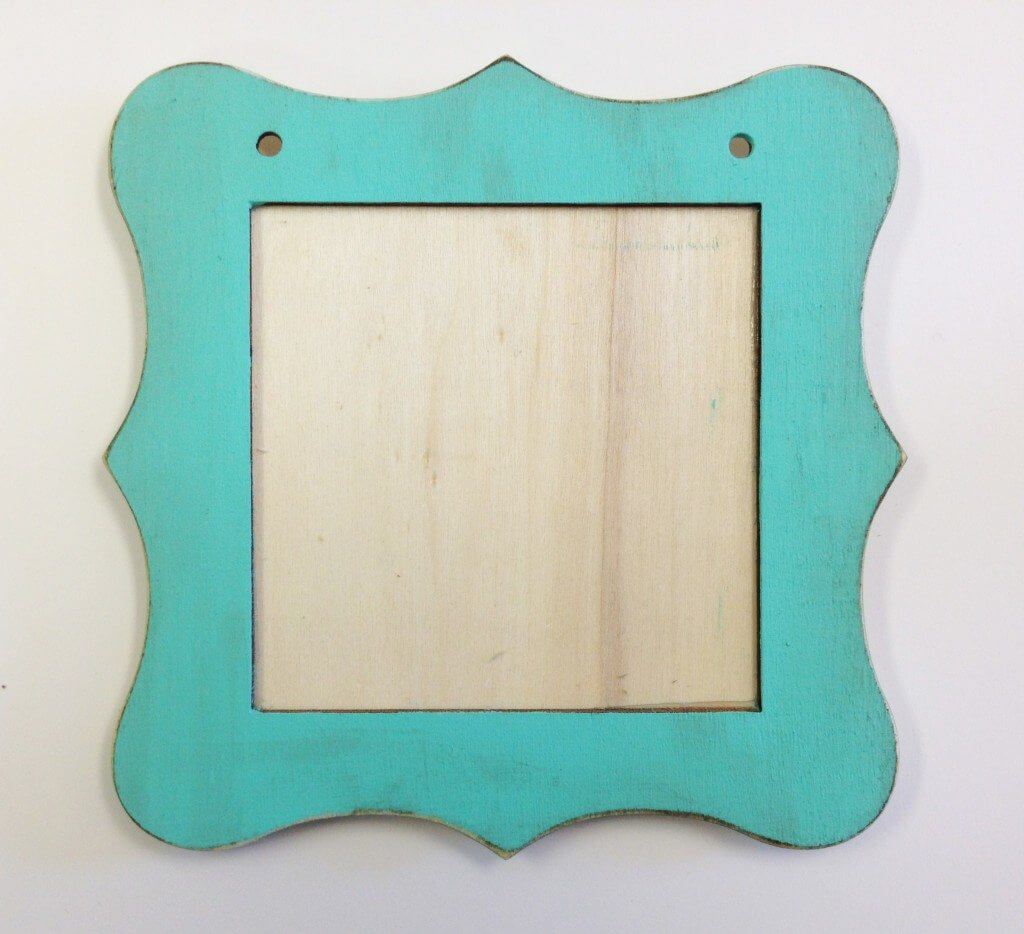
The original frames that are pictured on the chart were purchased from Hobby Lobby. The frame pictured at the beginning of this tutorial is from Michaels. Either of these frames (or others too!) will work, just be sure the wood is unfinished. When picking a frame, take your flat finished stitching along so you can be sure the frame is big enough. Lay the flat finished piece on top of the frame to check that the edges of the frame show around the linen.

Paint the Frame:

Now comes the fun part —let’s play with paint! I used Sea Breeze Americana acrylic paint plus a few drops of white to achieve the color I wanted.
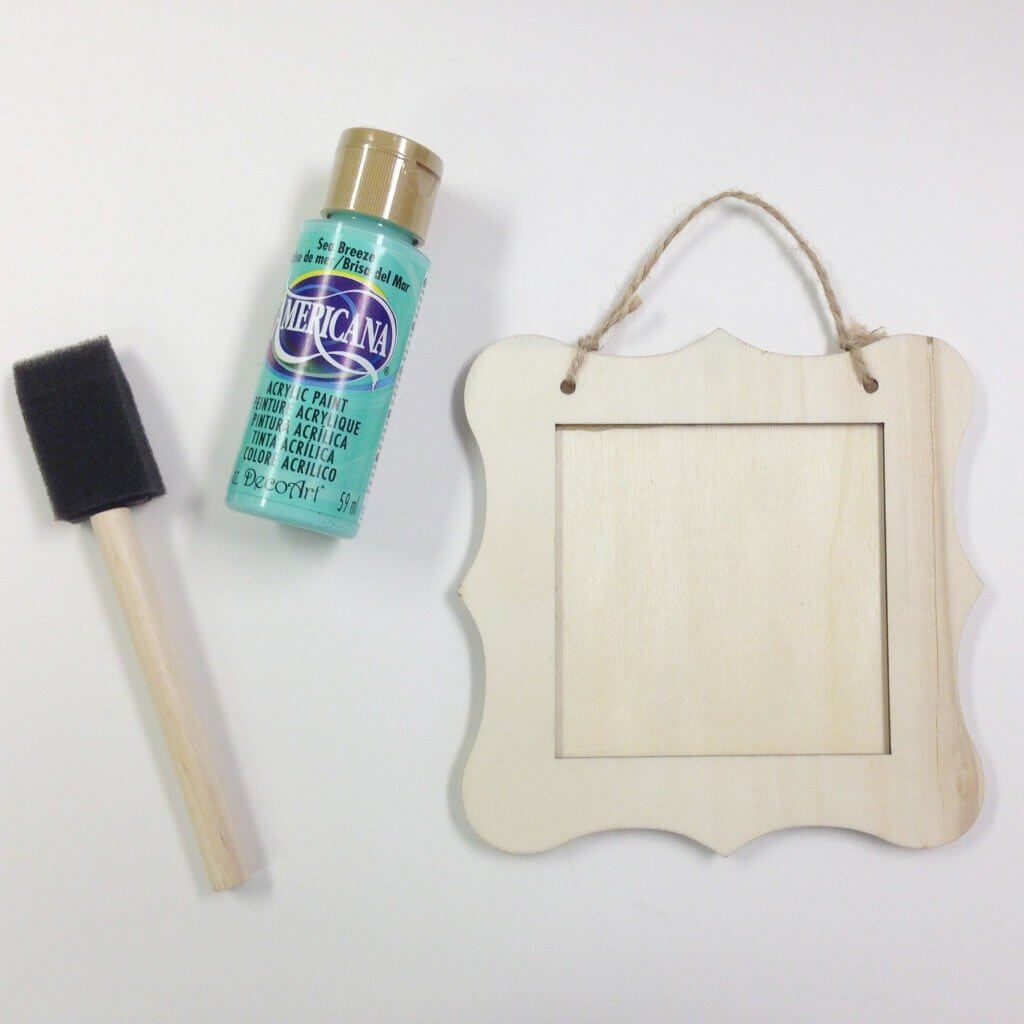
Ahoy Frame Tutorial_Paint Frame

  • Cut the twine hanger off of the frame at the knots. Cut carefully so you can tie this piece back on at the end.
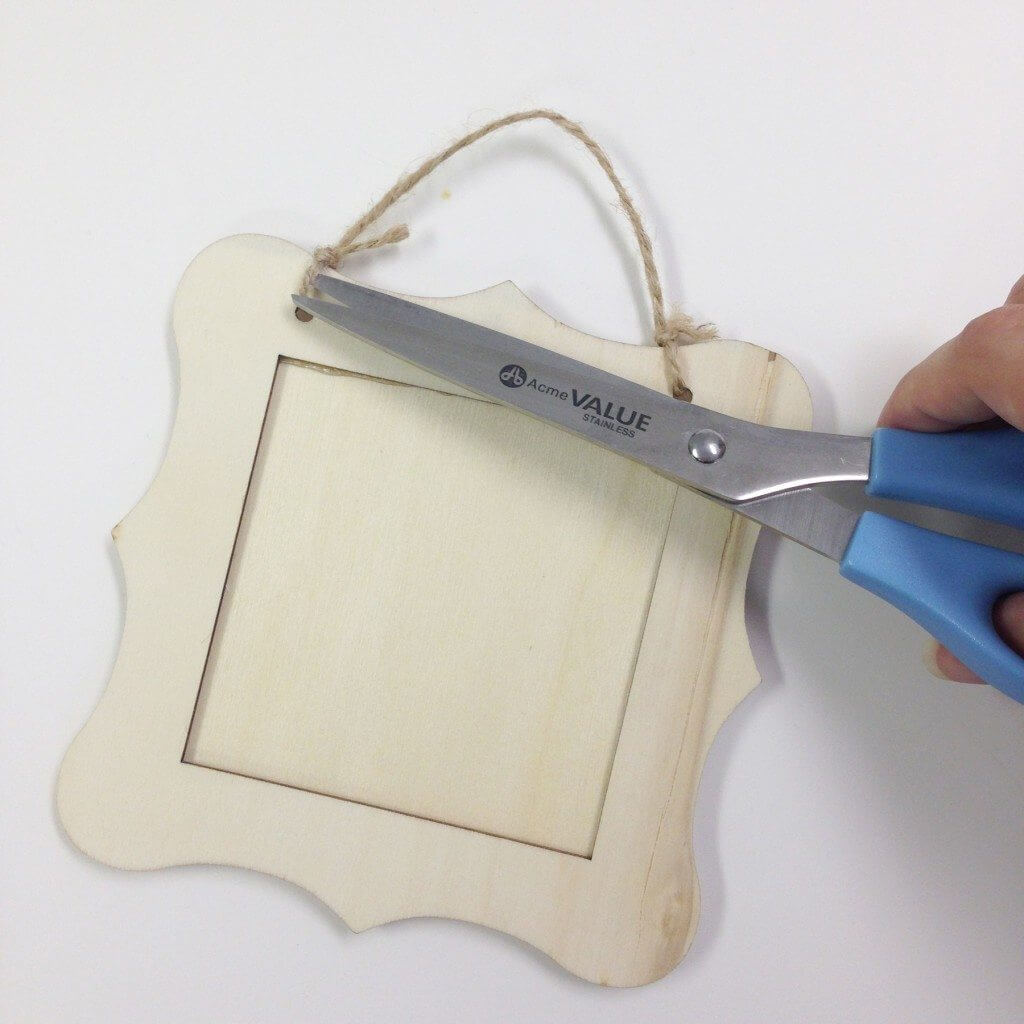
Ahoy Frame Tutorial_Cut Twine

  • Use the foam brush to apply paint evenly to all of the frame’s edges, like the photo below. The  unfinished wood will absorb the paint.  There is no need to paint the middle section because it will be covered.
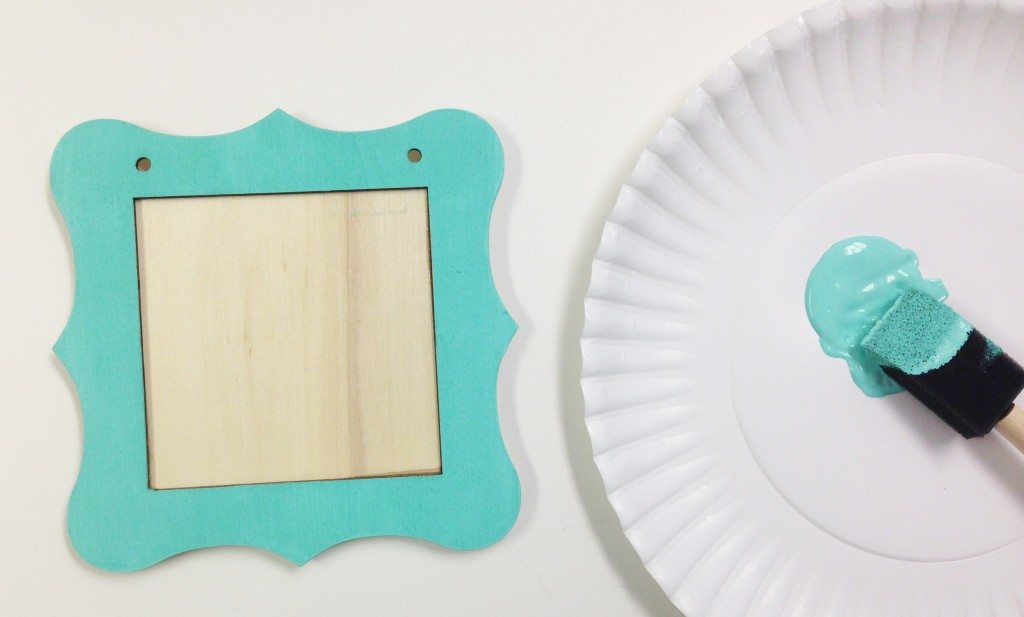
Ahoy Frame Tutorial_Paint Frame_2

  • Let the paint dry for about 15 minutes. Touch lightly with your finger to test dryness. If dry, apply a second coat of paint. This coat will take approximately 30 minutes to dry.

Distress the Frame:

  • Test the paint again with your finger to make sure it’s dry. If it is, then it’s time to sand the edges. Rub the edges with a small piece of sand paper to remove some of the paint from the curves to get a distressed look.
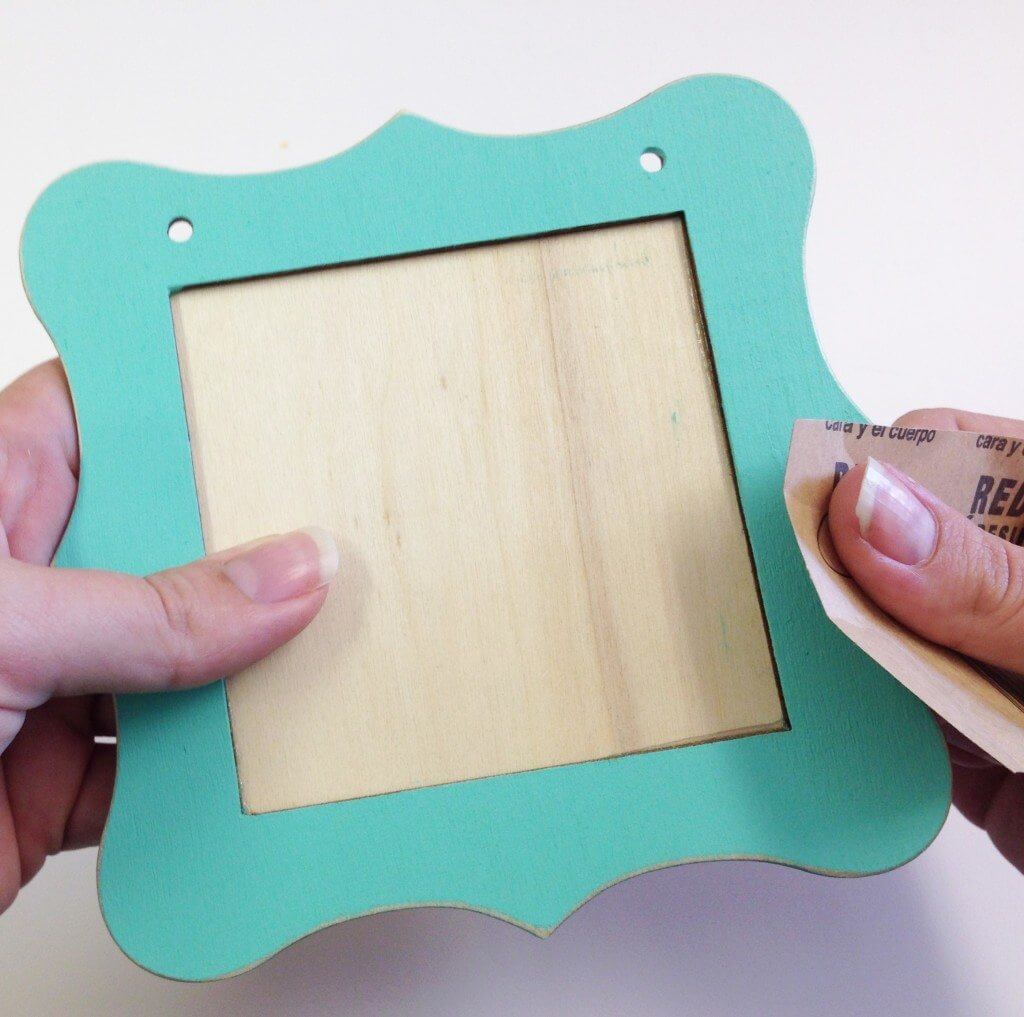
Ahoy Frame Tutorial_Distressed Pic_1

  • Now we’ll distress the paint. I used Tim Holtz  Distress Ink—Frayed Burlap color.
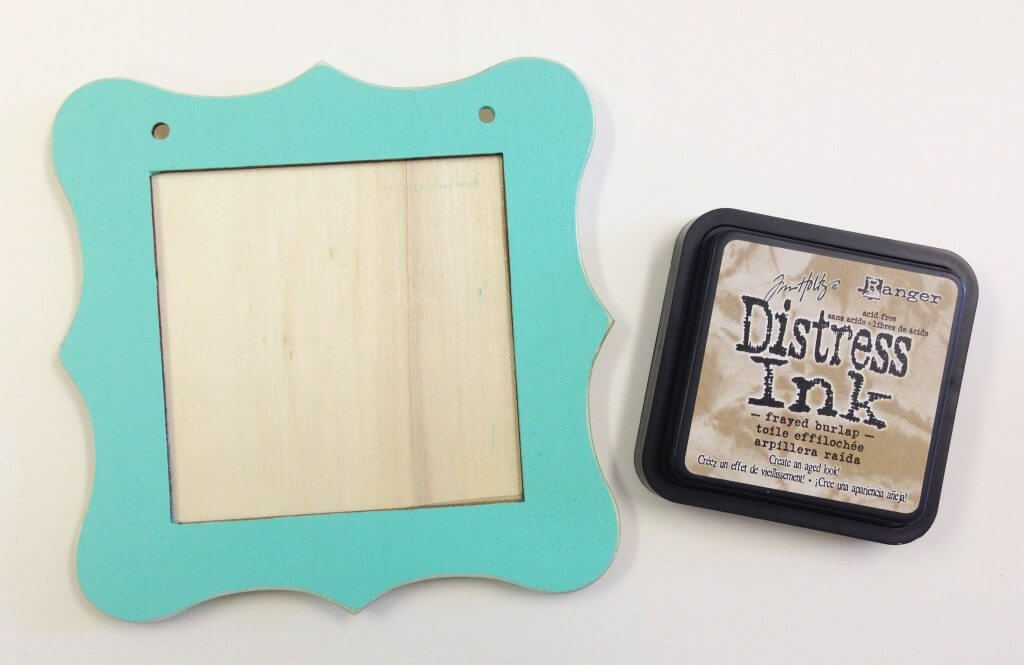
Ahoy Frame Tutorial_Distressed Pic_2

  • Take the ink pad and lightly sweep it across the paint. Don’t press it into the paint, just draw it across the surface so it brushes the frame.  It will look like this.
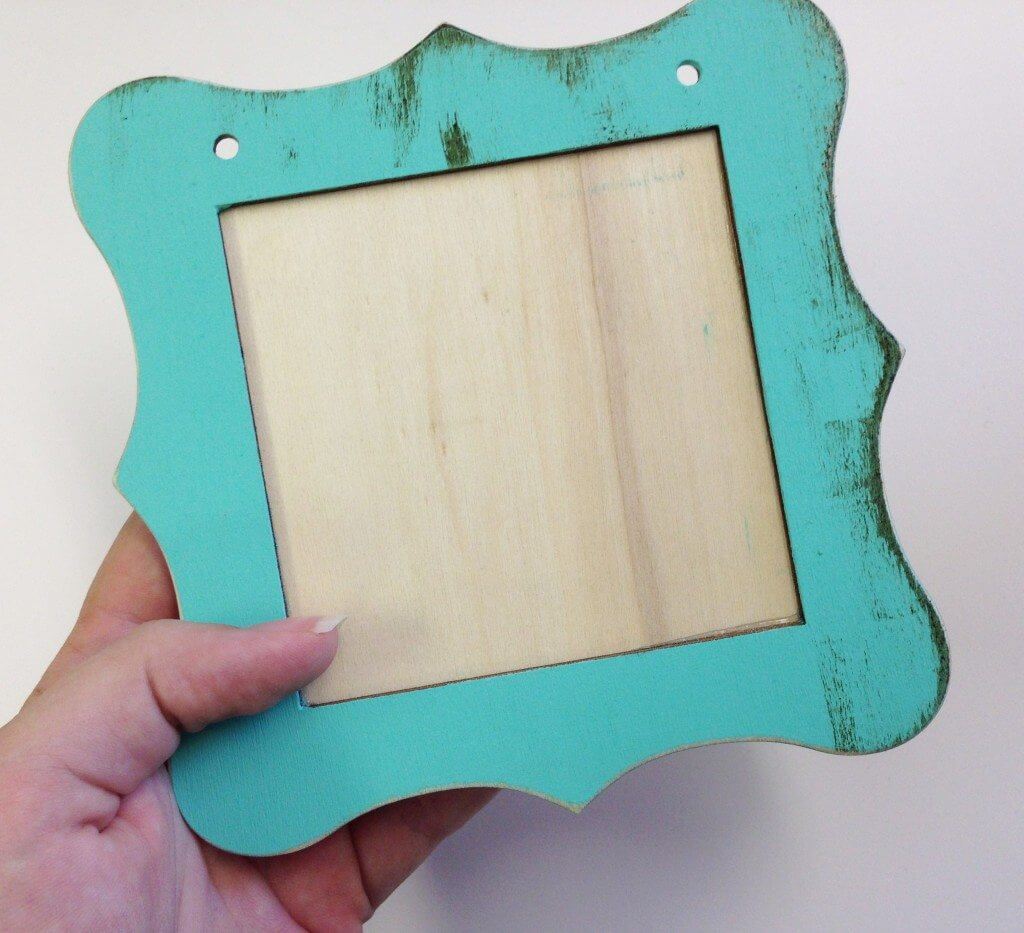
Ahoy Frame Tutorial_Distressed Pic_3

  • Using  a Kleenex and moderate pressure with your fingertip, smudge the ink so that it is absorbed into the paint.
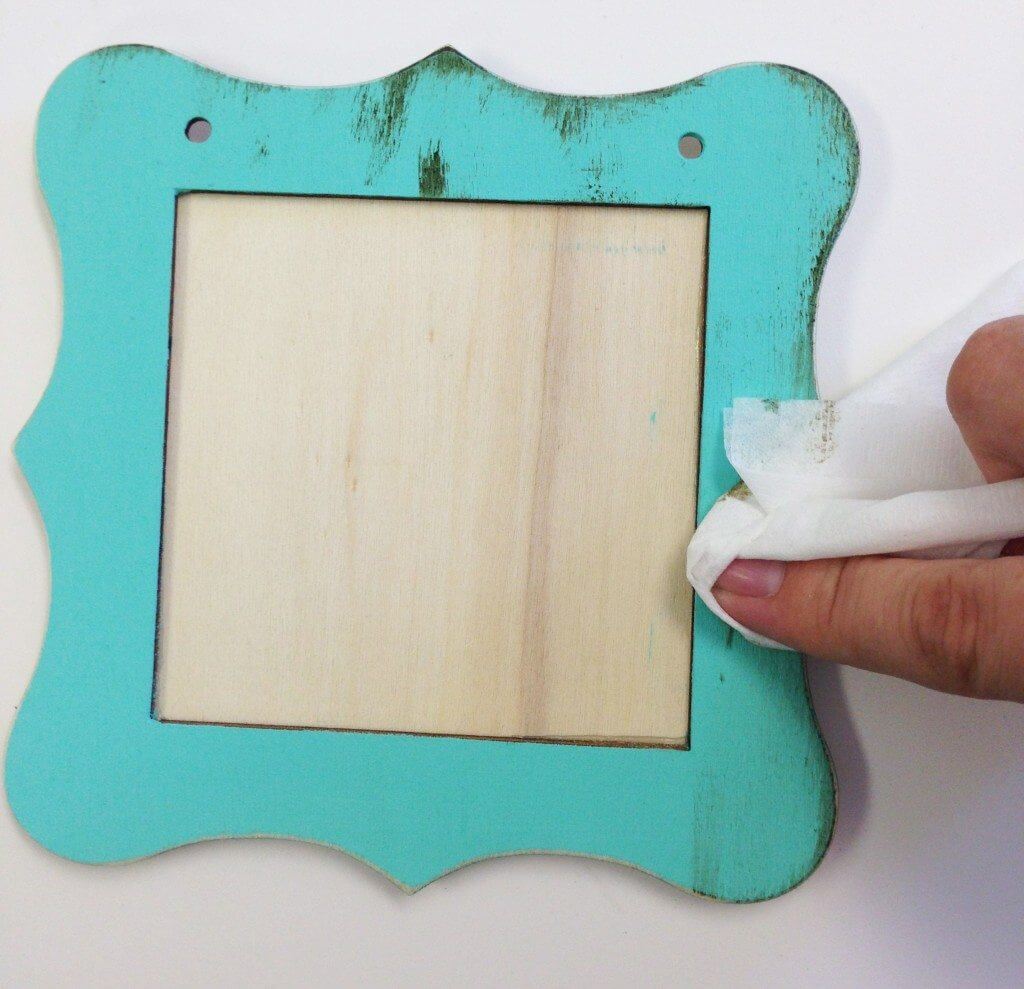
Ahoy Frame Tutorial_Distressed Pic_4

Now it will look like this!

Ahoy Frame Tutorial_Distressed Pic_5

Finish the Frame:

  • Retie the twine hanger onto the frame.
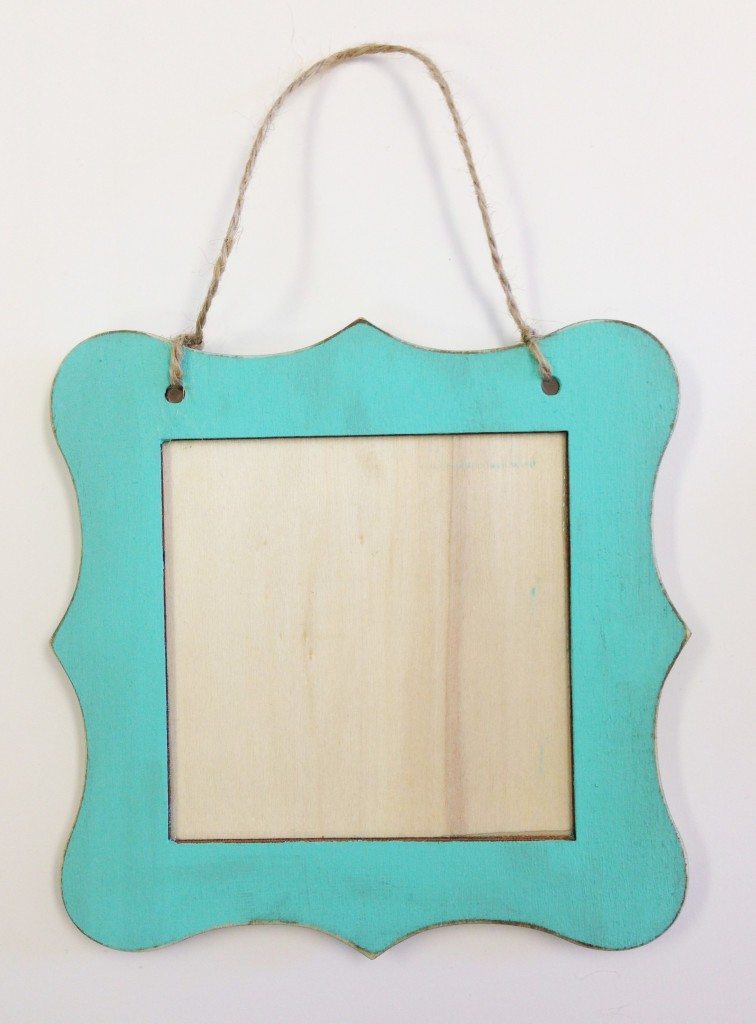
Ahoy Frame Tutorial_Finish Frame_Pic_1

  • Apply stitchery tape to the back of your flat finished square and remove the backing paper.
  • Position the flat finished square in the middle of the frame so that an even amount of the frame shows around all of the edges. Press firmly to apply the stitchery tape to the frame.
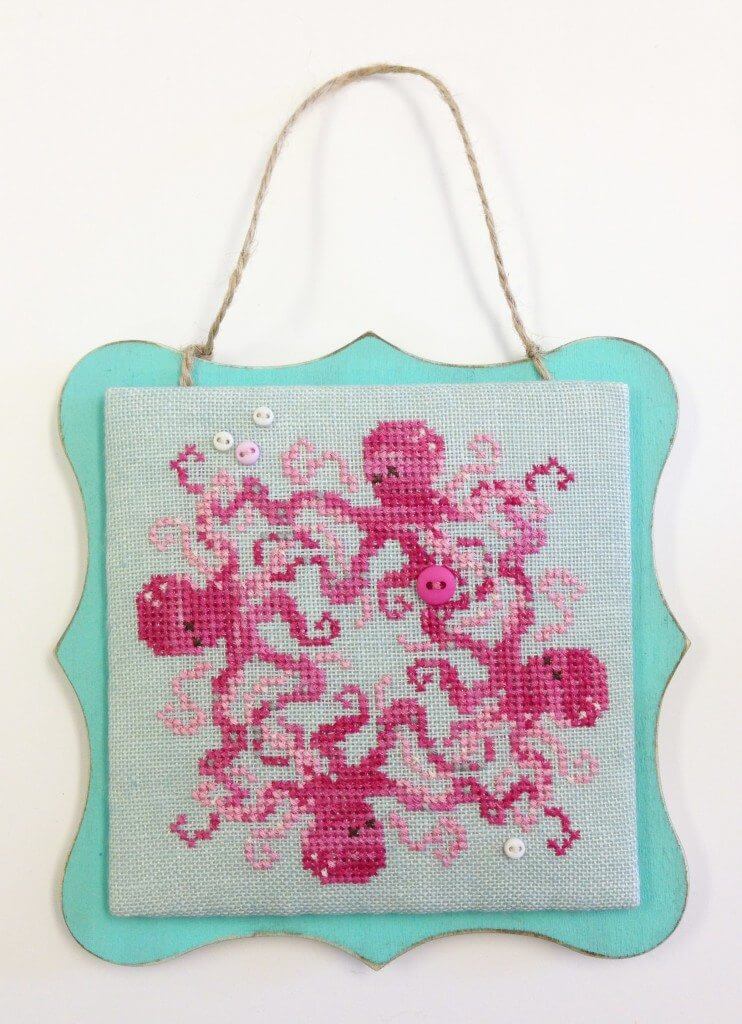
Ahoy Frame Tutorial_Finish Frame_Pic_2

Hang your finished frame in a prominent spot so you can look at it often and admire your handy-work!


©2015, Hands On Design, Just Another Button Company™    No permission is granted to reproduce these instructions or images for commercial purposes, although shops may distribute the instruction sheet as part of a class or tutorial featuring [square.ology] or other products by Hands On Design or Just Another Button Company.  Permission for other uses must be granted individually and in writing.  The instructions and images may not be published or shared electronically by shops or individuals. Instructions and images are property of Hands On Design and Just Another Button Company.


Filed Under: Tutorials

Like this Post? Subscribe to My Newsletter!

Flat Finish Tutorial
Whimsy Pennant Banner Tutorial

Leave a Reply Cancel reply

Your email address will not be published. Required fields are marked *

Shop By Category

Newsletter Subscription

Search

New in the Shop

  • A B SEA A B SEA $8.00
  • MADE IN THE SHADE MADE IN THE SHADE $8.00
  • HEY SAM HEY SAM $8.00
  • HOME SWEET HOME HOME SWEET HOME $14.00

Hands On Design Instagoodness …

hands.on.design

color, design, finish - #stitchsomehappy

The Quilted Gingers, stitched with care, Little s The Quilted Gingers, stitched with care,

Little sweet cottages everywhere.

With sugared roofs and patchwork flair,

They warm the season with homespun air.

Here’s your 1st Sneak Peek at the next Collection in the Hands On Design Ornament Club on Patreon - The Quilted Gingers!

Check out my link in profile for Patreon info. New Collection drops in July❤️

Designs built on my original art 🪡

#handsondesign #ornamentcollection #patreon #originaldesign #stitchsomehappy
Our final stop on the Tri-State Shop Hop did NOT d Our final stop on the Tri-State Shop Hop did NOT disappoint!! So many wonderful stitchers came. 

This morning was spent at Stitchery Nook in Osage, IA - I love when stitchers share their HOD finishes ❤️❤️

Off to Hayden’s house before we head for home!

Travel to each of the participating shops June 1-August 31 & collect all 3 parts of this sampler. 

Shanty Stitchers, Beresford SD
Welcome Stitchery, Blue Earth MN
Stitchery Nook, Osage IA

Yes, you will be able to ‘collect’ this chart even if you can’t travel there. (Starting Sept 1)

Designs built on my original art 🪡

#handsondesign #
What a blast at Welcome Stitchery! Justine and her What a blast at Welcome Stitchery! Justine and her whole crew were so welcoming…it’s just what they do!❤️

We head back to IA tonight to do it all over again tomorrow- btw, a very dedicated stitcher drive from SC to hit the hop!! 🤩 

Travel to each of the participating shops June 1-August 31 & collect all 3 parts of this sampler. 

Shanty Stitchers, Beresford SD
Welcome Stitchery, Blue Earth MN
Stitchery Nook, Osage IA

Yes, you will be able to ‘collect’ this chart even if you can’t travel there. (Starting Sept 1)

Designs built on my original art 🪡

#handsondesign #redwhiteblue #blueearth #shophop #stitchsomehappy
So much fun at Shanty Stitchers this morning. We h So much fun at Shanty Stitchers this morning. We had visitors come from ALL over! Even a few surprise visitors (never underestimate the power of a girl’s weekend)❤️

On to the next stop!

Travel to each of the participating shops June 1-August 31 & collect all 3 parts of this sampler. 

Shanty Stitchers, Beresford SD
Welcome Stitchery, Blue Earth MN
Stitchery Nook, Osage IA

Yes, you will be able to ‘collect’ this chart even if you can’t travel there. (Starting Sept 1)

Designs built on my original art 🪡

#handsondesign #shophop #redwhiteblue #stitchsomehappy
Singing to reach the folks in the back…we’re going Singing to reach the folks in the back…we’re going on the road!!

I’ll be posting and storying along the way😎❤️

See you soon?

Red. White. Blue. is the official pattern of this summer’s Tri-state Shop Hop.

Travel to each of the participating shops June 1-August 31 & collect all 3 parts of this sampler. 

Shanty Stitchers, Beresford SD
Welcome Stitchery, Blue Earth MN
Stitchery Nook, Osage IA

Yes, you will be able to ‘collect’ this chart even if you can’t travel there. (Starting Sept 1)

Designs built on my original art 🪡

#handsondesign #roadtrip #shophop #redwhiteblue #stitchsomehappy
Red. White. Blue. is the official pattern of this Red. White. Blue. is the official pattern of this summer’s Tri-state Shop Hop.

Travel to each of the participating shops June 1-August 31 & collect all 3 parts of this sampler. 

Shanty Stitchers, Beresford SD
Welcome Stitchery, Blue Earth MN
Stitchery Nook, Osage IA

Yes, you will be able to ‘collect’ this chart even if you can’t travel there. (Starting Sept 1)

Designs built on my original art 🪡

#handsondesign ##redwhiteblue #shophop #stitchsomehappy
Follow on Instagram

Helpful Links

  • My Account
  • Lost Password
  • About
  • Wholesale
  • Store Locator
  • Classes
  • Events
  • OOPSIE

FOLLOW US ON:

Facebook-Logo_For-Website Instagram-Logo_For-Website

Get My Newsletter

And be the first to know about new products, events, tutorials and more!

  • Email
  • Facebook
  • Instagram

Copyright © 2026 · Hands On Design

A Habermann Company · cathy@handsondesign.biz