Welcome to the 12 Days of Christmas finishing tutorial
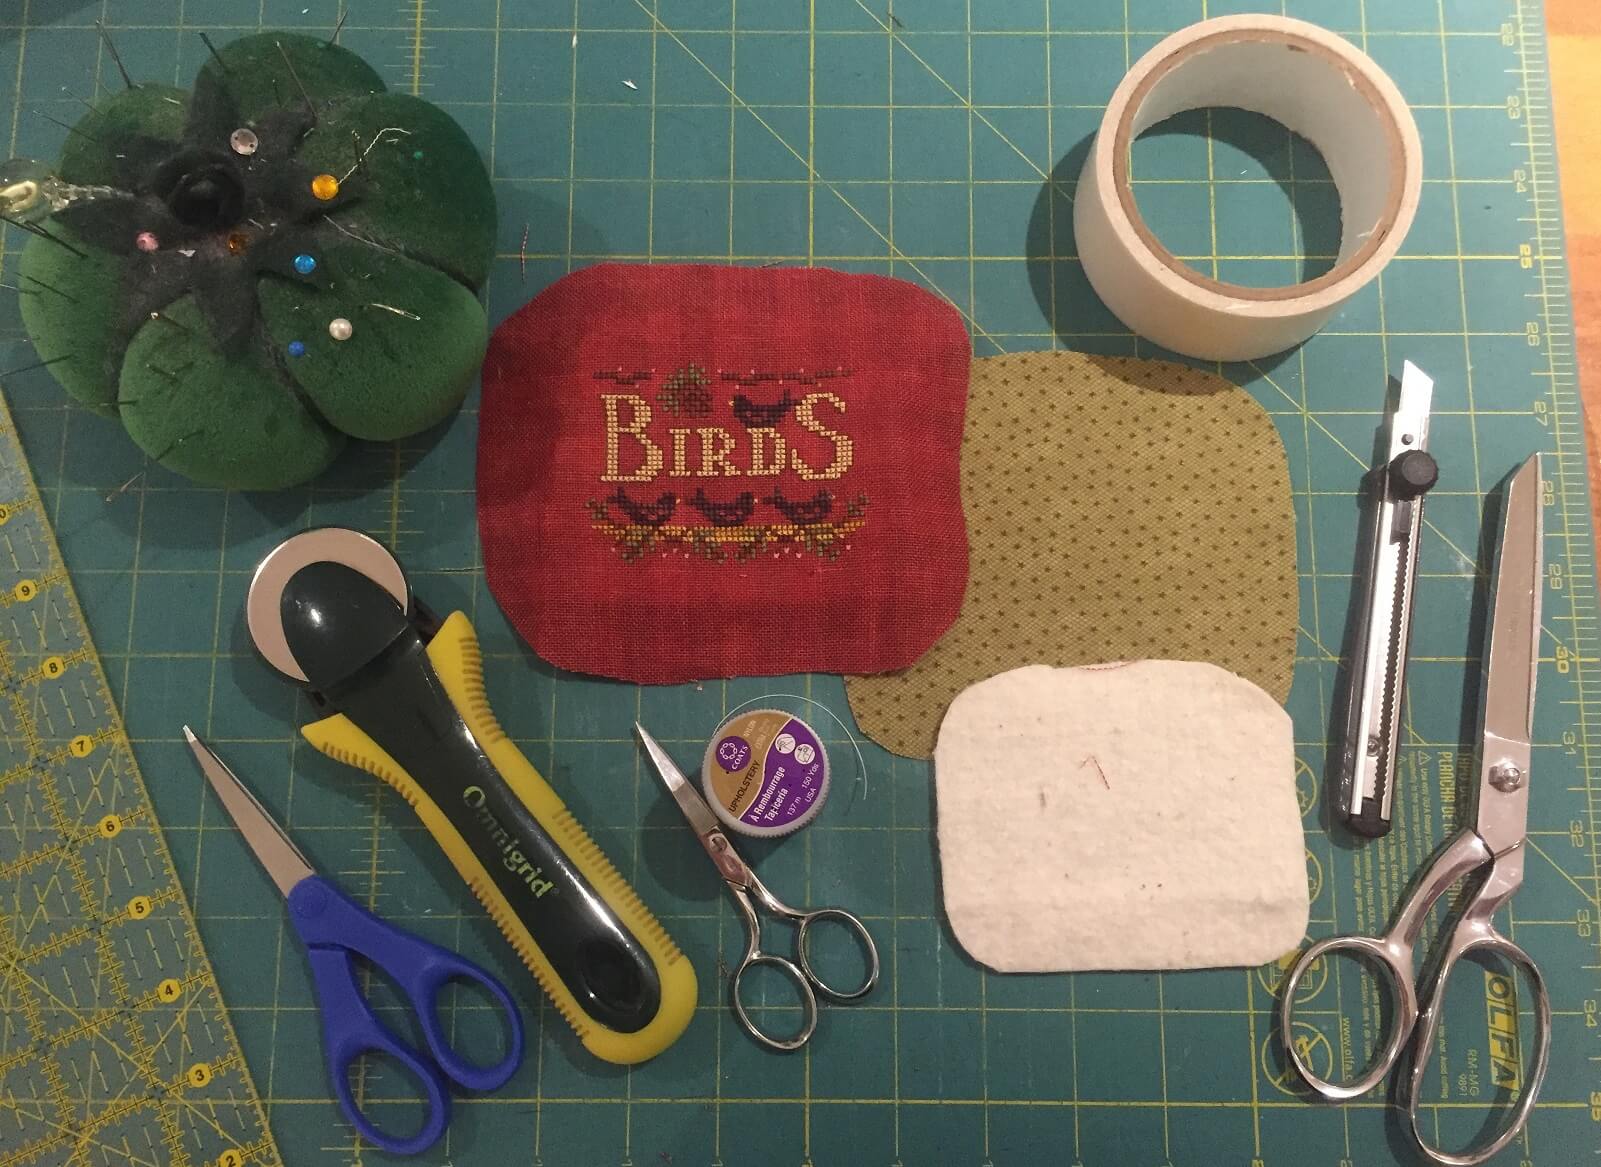
You will need the following supplies:
- 12 stitched pieces (pressed)
- 12 Days embellishment packs from JABC
- Matboard, cardboard & thin cotton batting
- stitchery tape (double sided acid free), clear craft glue
- Cotton fabric for back of ornaments, DMC floss for twisted cord
- lacing thread (upholstery or craft thread) & sharp needle
- Swirly ornament hangers & mini boxwood trim
- Cutting mat, ruler, rotary cutter & exacto knife
The tutorial is as follows but can also be downloaded here & the shape templates can be downloaded here.
Have fun with your finishing! Cathy, Hands On Design
- Print out the 12 Days templates. (note: shapes differ from those in the photo)
- Measurements have been written on the templates as files & printers may alter the size. Reduce or enlarge to the appropriate size.
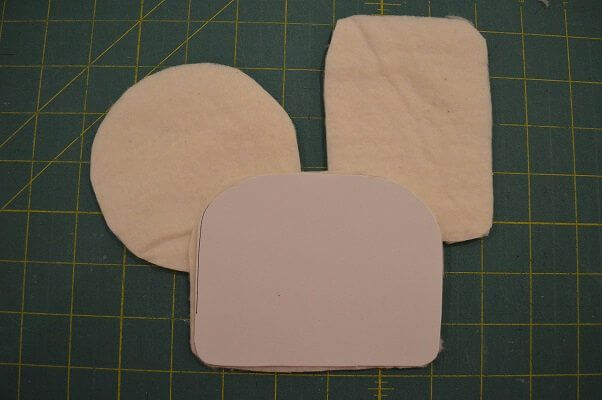
- Cut out the template shape, trace onto matboard. Cut out the shapes an with exacto and/or scissors.
- Hold the cut shape under the stitched piece up to a light to make sure you like the fit & adjust as necessary.
- Once matboard is cut to the desired shape, trace around it onto a piece of cardboard for your ornament back. Cut out cardboard shape.
- Line the matboard piece with 2 layers of thin cotton batting (front of ornament) & 1 layer on the matching cardboard (back of ornament). Use double sided tape to keep bottom layer in place.

- Lacing your shaped ornaments.
- Note: the next few photos will show lacing with a cotton fabric. This procedure will be done with both the stitched linen & the cotton backing.
- Prepare both your stitched pieces & backing pieces by trimming the linen and cotton to approximately 3/4” away from the edge of your matboard. Trim the corners slightly to reduce bulk as you lace.
- Thread a sharp needle with a long length of lacing thread. Knot the end.
- I use upholstery thread or crafting thread for lacing. It can be purchased at craft stores. Linen thread is also a good lacing thread.
- Lacing
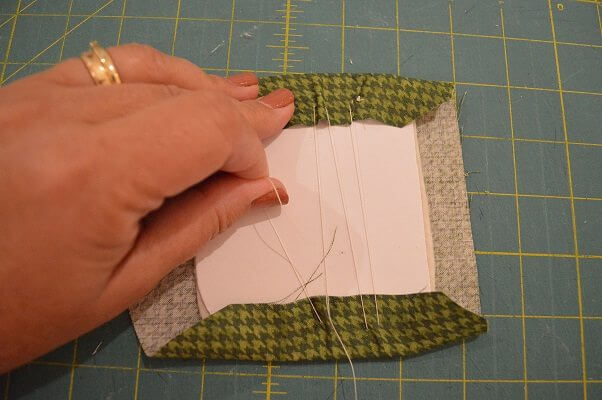
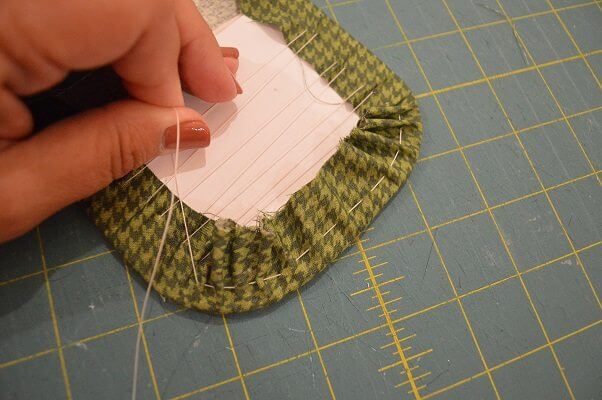
- Start by lacing across the widest portion of the ornament.
- Fold opposite sides of linen over the matboard. Anchor your thread on the top right corner of the linen, Scoop stitch across the 2 sides (scoop=needle runs in & out of the linen parallel to the side of the linen)
- Pull evenly as you lace. As you come close to the curved corner, check the stitching on the front side & move the linen around as necessary to keep design centered.
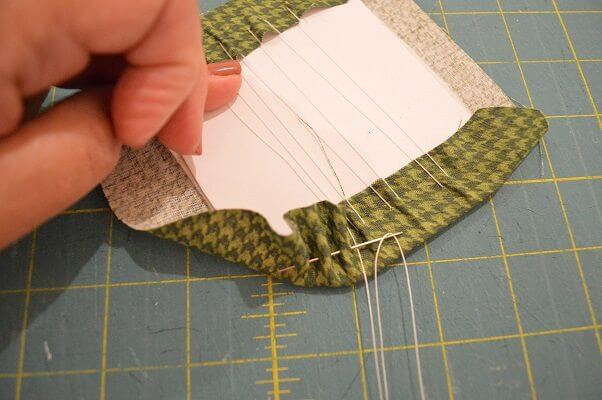
- As you come to a curved corner, run the needle in & out of the fabric in a gathering/basting motion.
- Hint: sometimes it is helpful to tie an anchor knot just before gathering the corner—it keeps your previous lacing tight.
- Continue with a gathering stitch across the top side of the linen to gently curve the stitched piece to the matboard.
- gather the corner on the opposite side as you did the first corner.
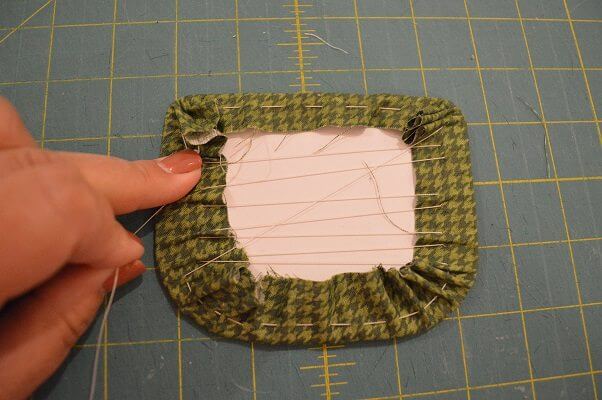
- Bring needle & thread across to the opposite corner (I find going to the diagonal corner helpful)
- gather this corner as you did the previous corners.
- Continue with a gathering stitch across this side as well & gather the remaining corner.

- Cinch up all of your gathering stitches tightly.
- Be sure to occasionally check the front of your stitching to make sure it is still centered.
- Now lace the top & bottom sides that you previously gathered. Use the same scooping motion you used on the first side.
- Knot to end.
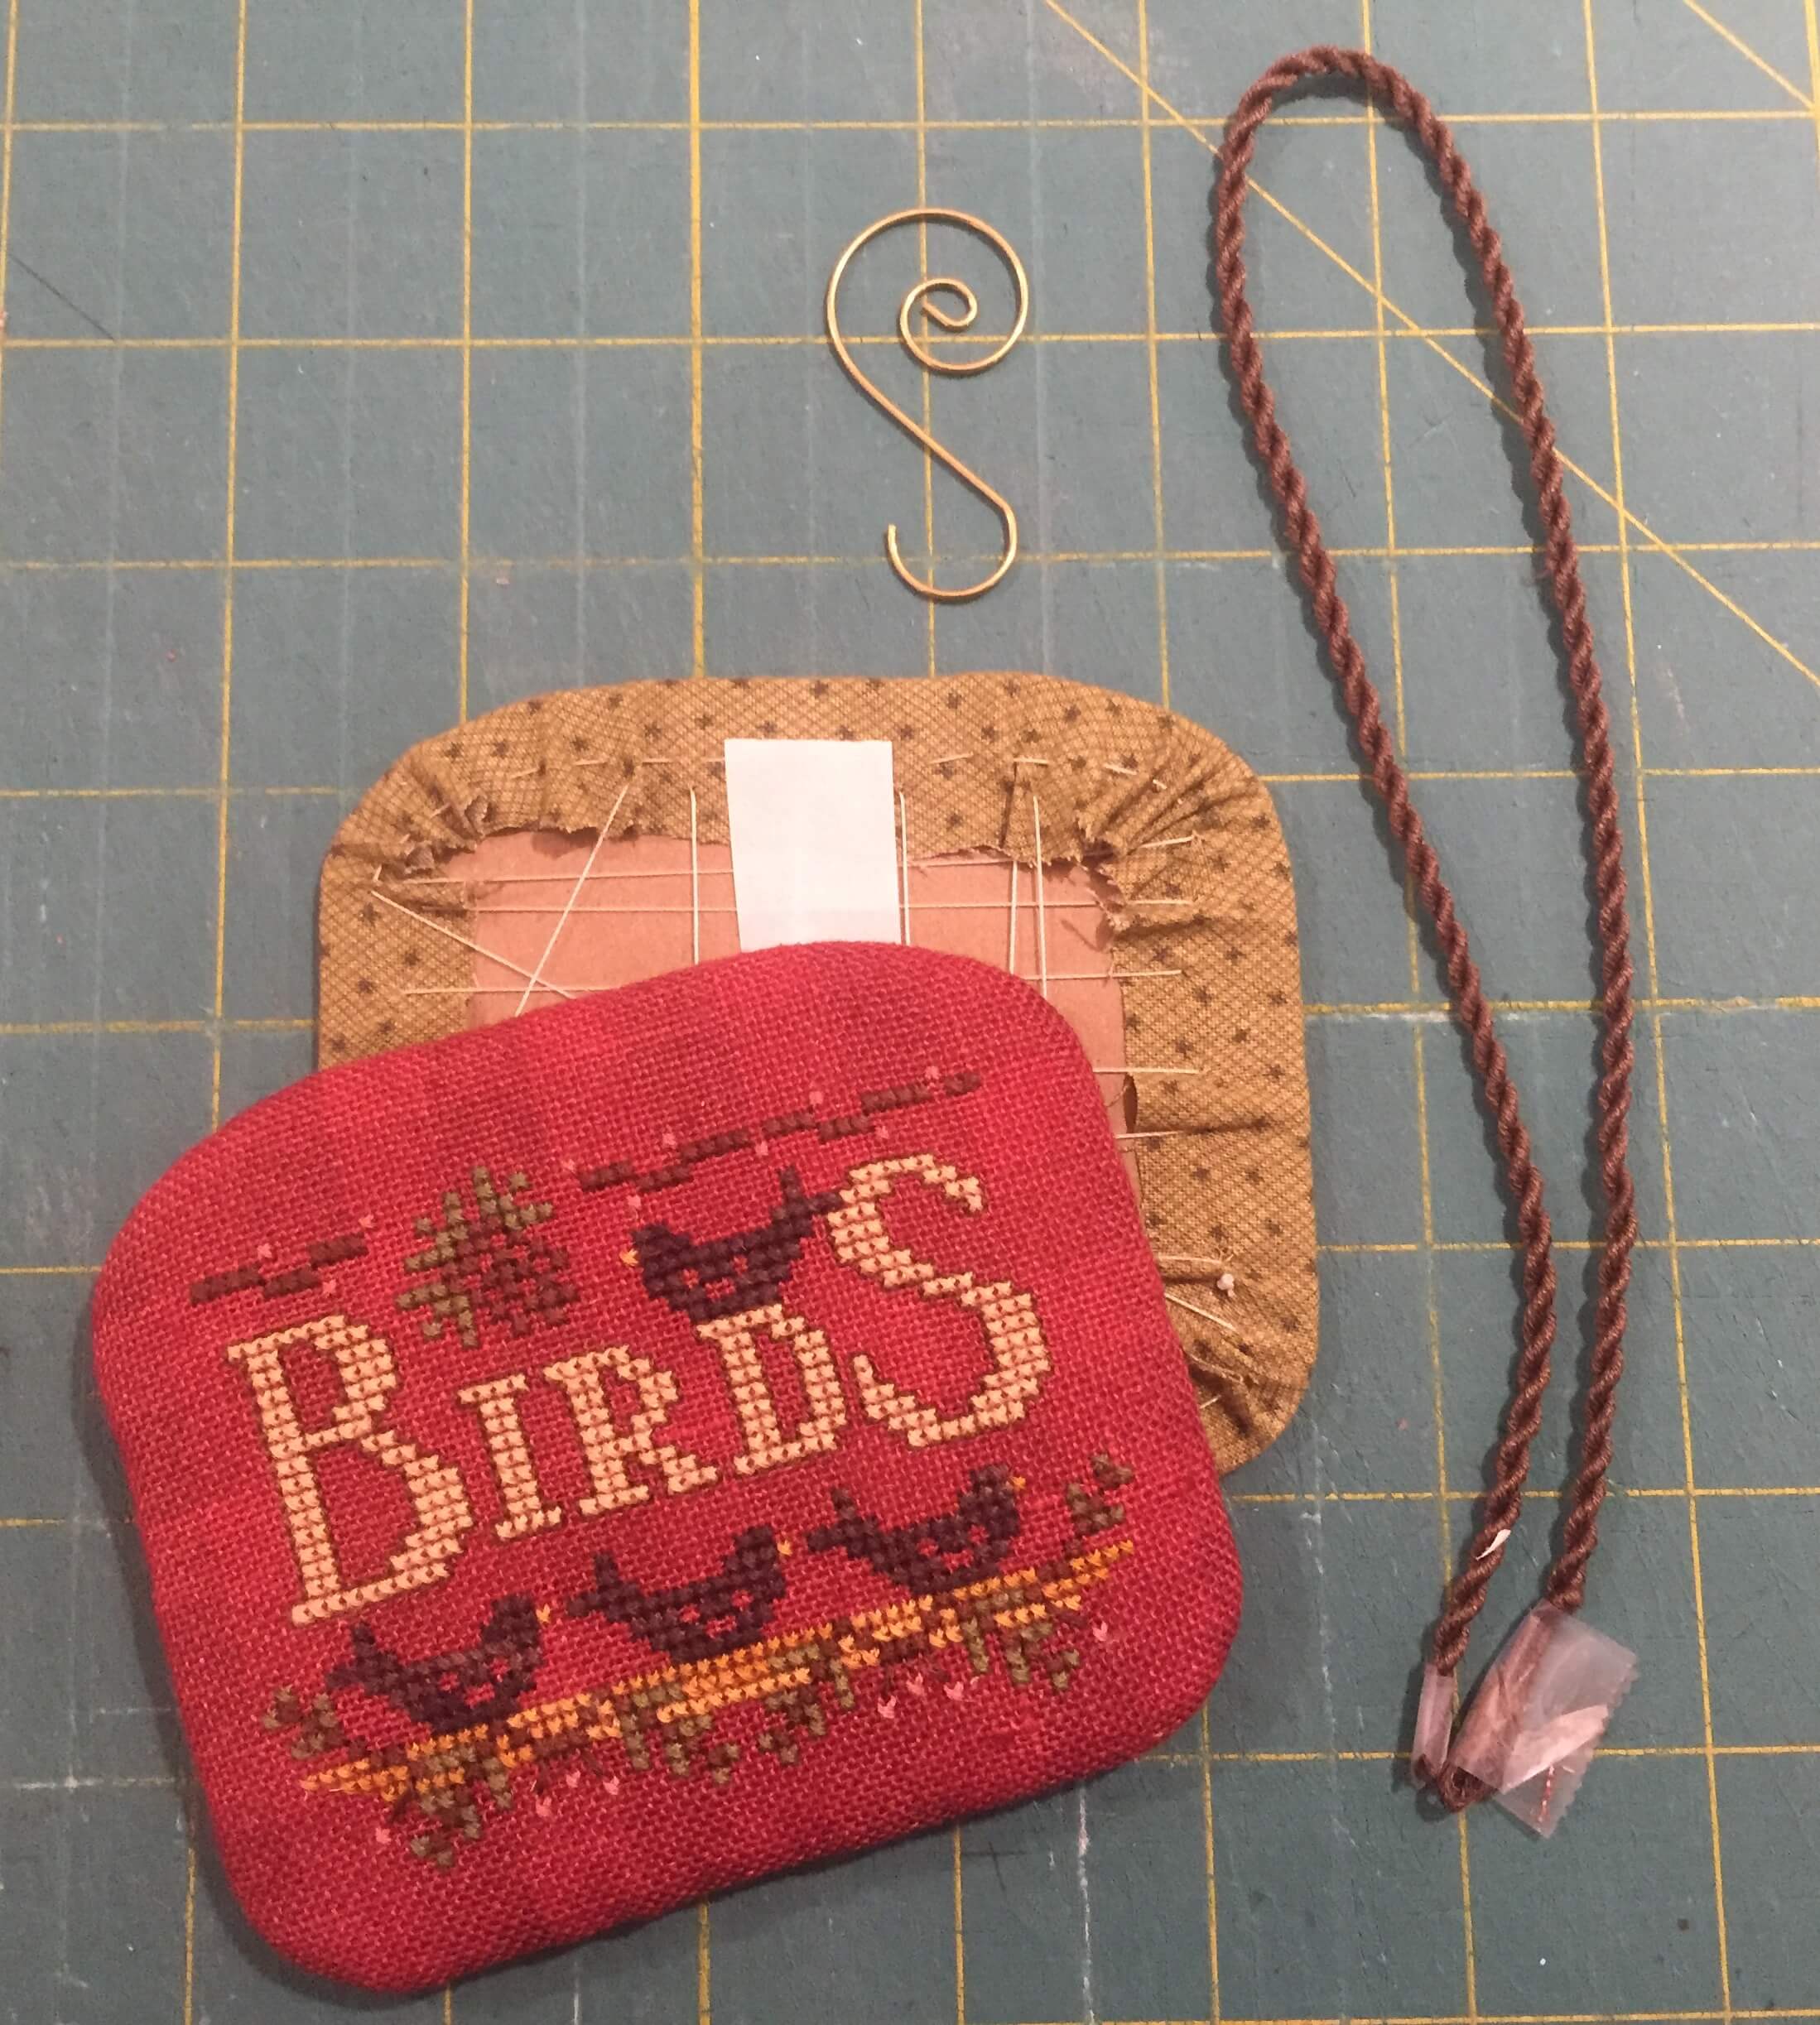
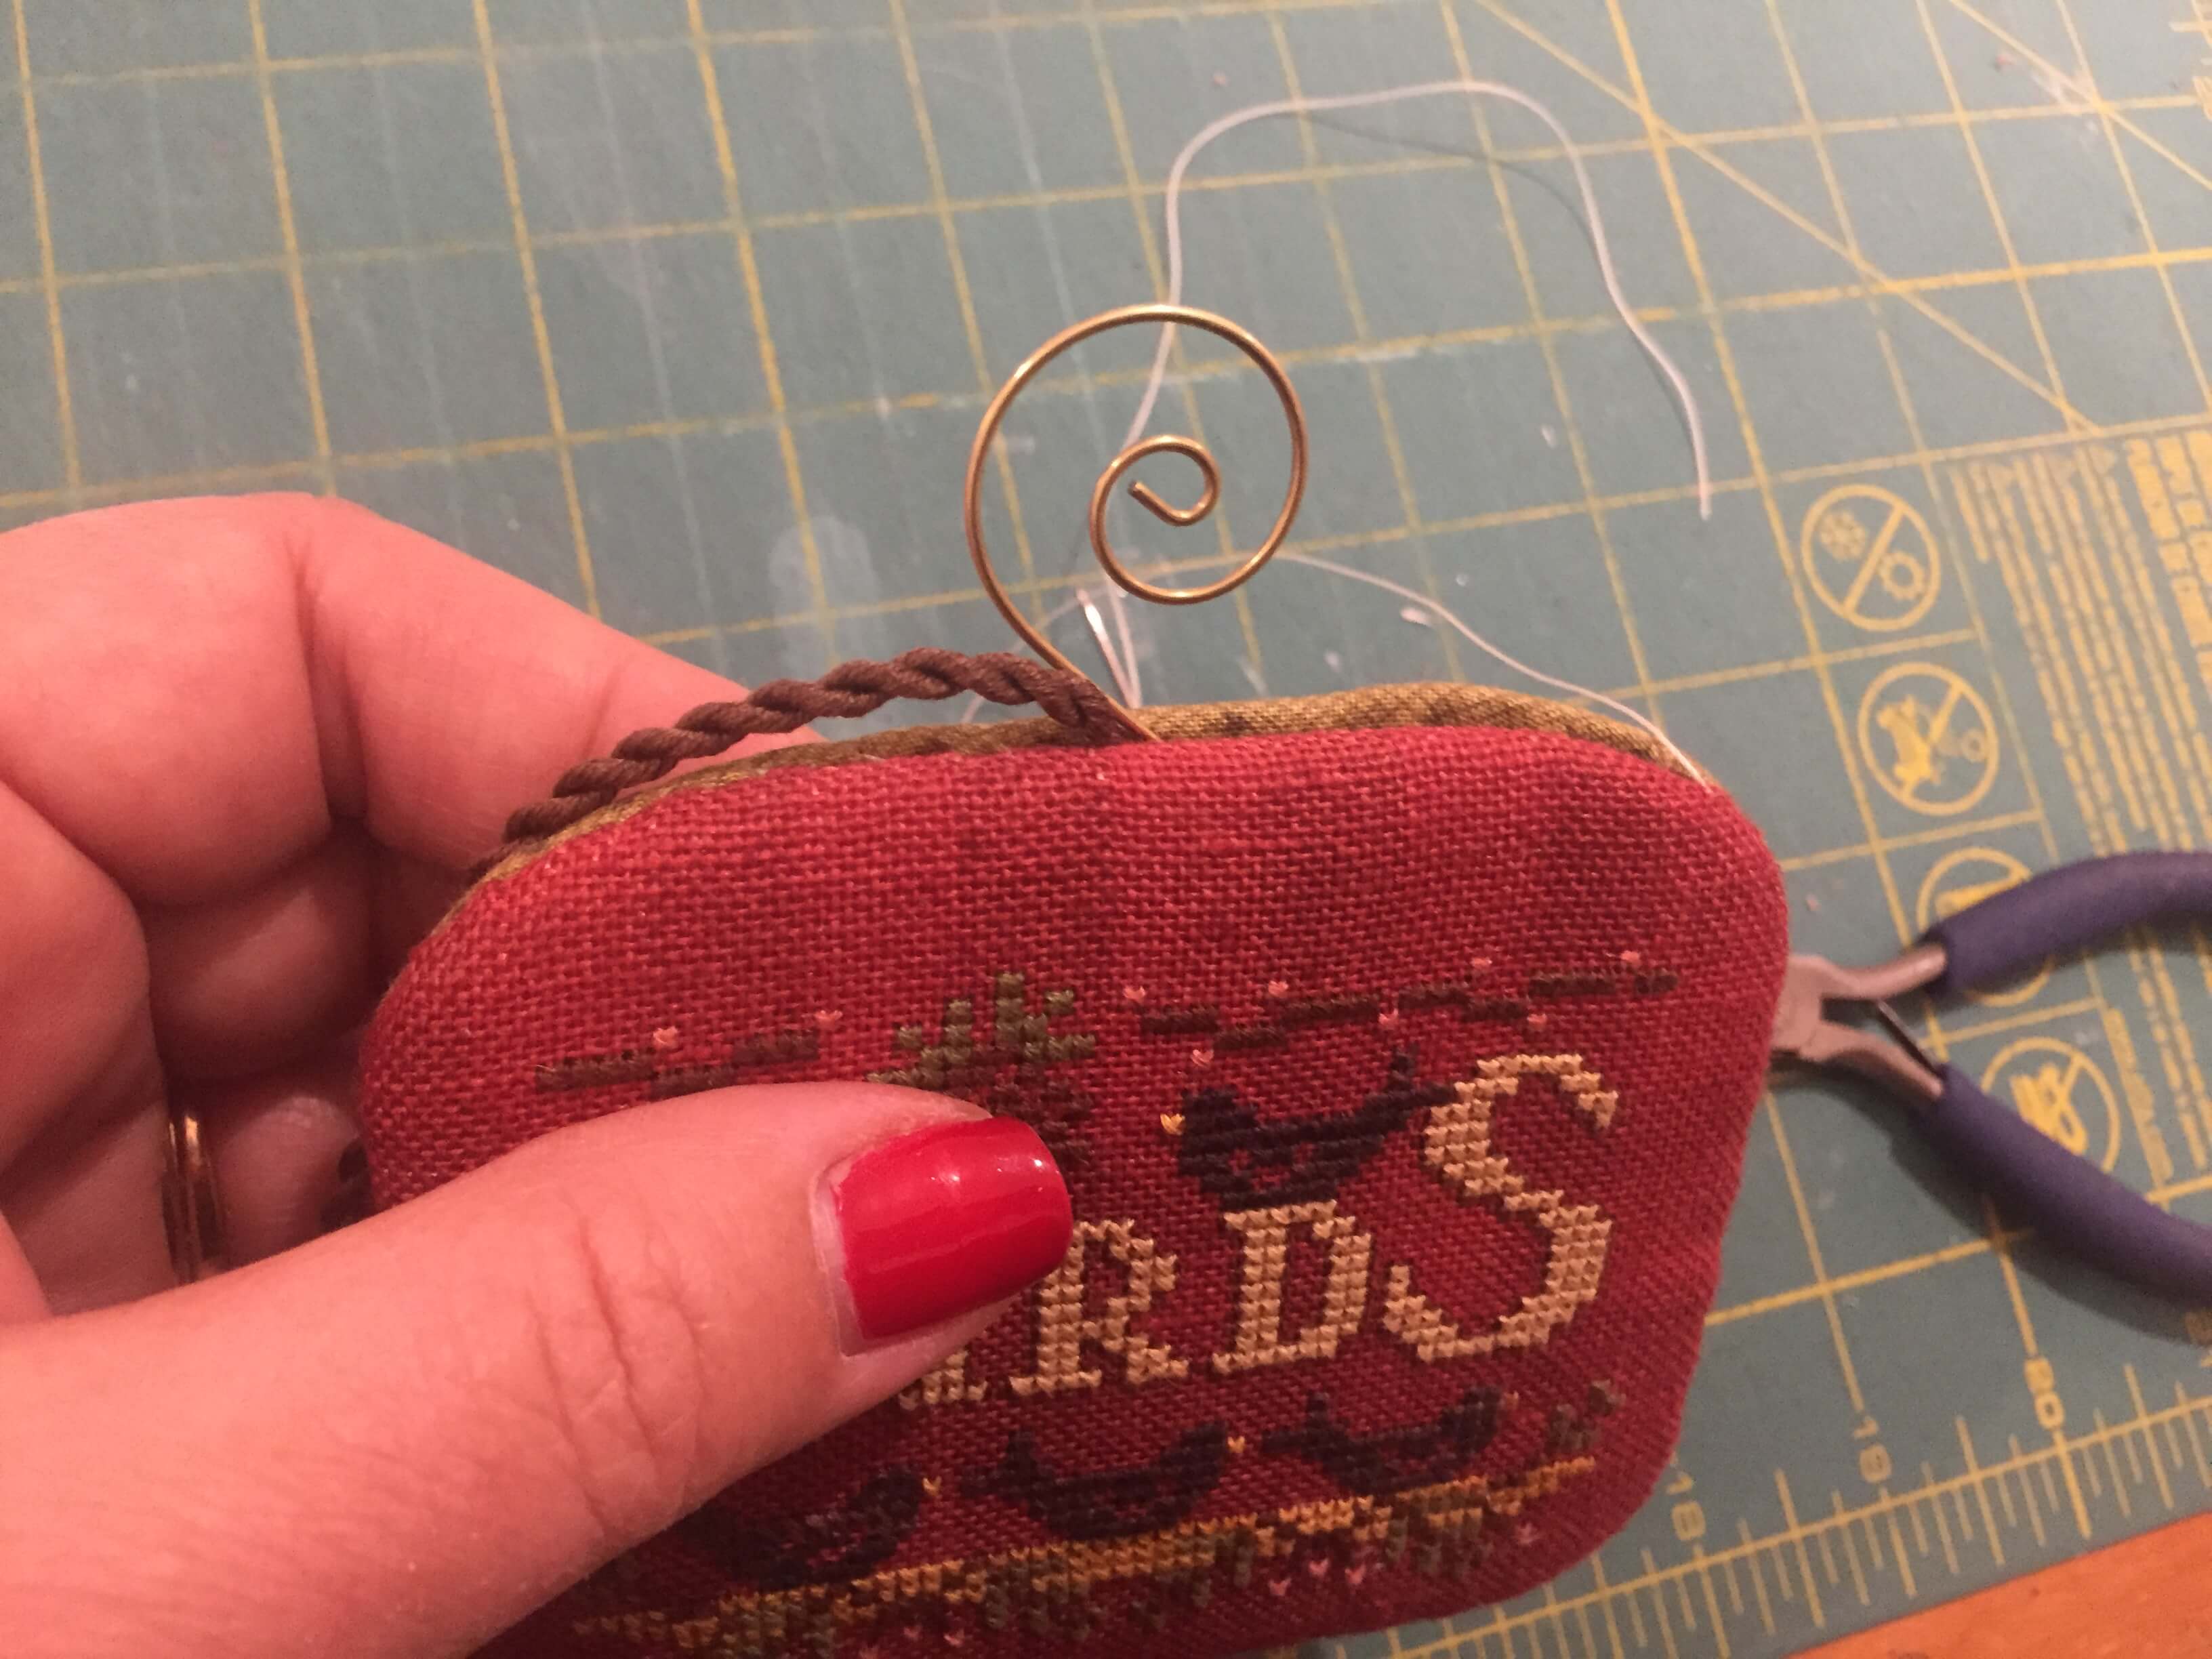
- Gather your laced front & back a piece of twisted cord & ornament hanger.
- I placed a small piece of double sided tape at the center top of the ornament back. Peel & stick your swirly ornament hanger. (This helps to hold it into place & is one less item to hold onto!)
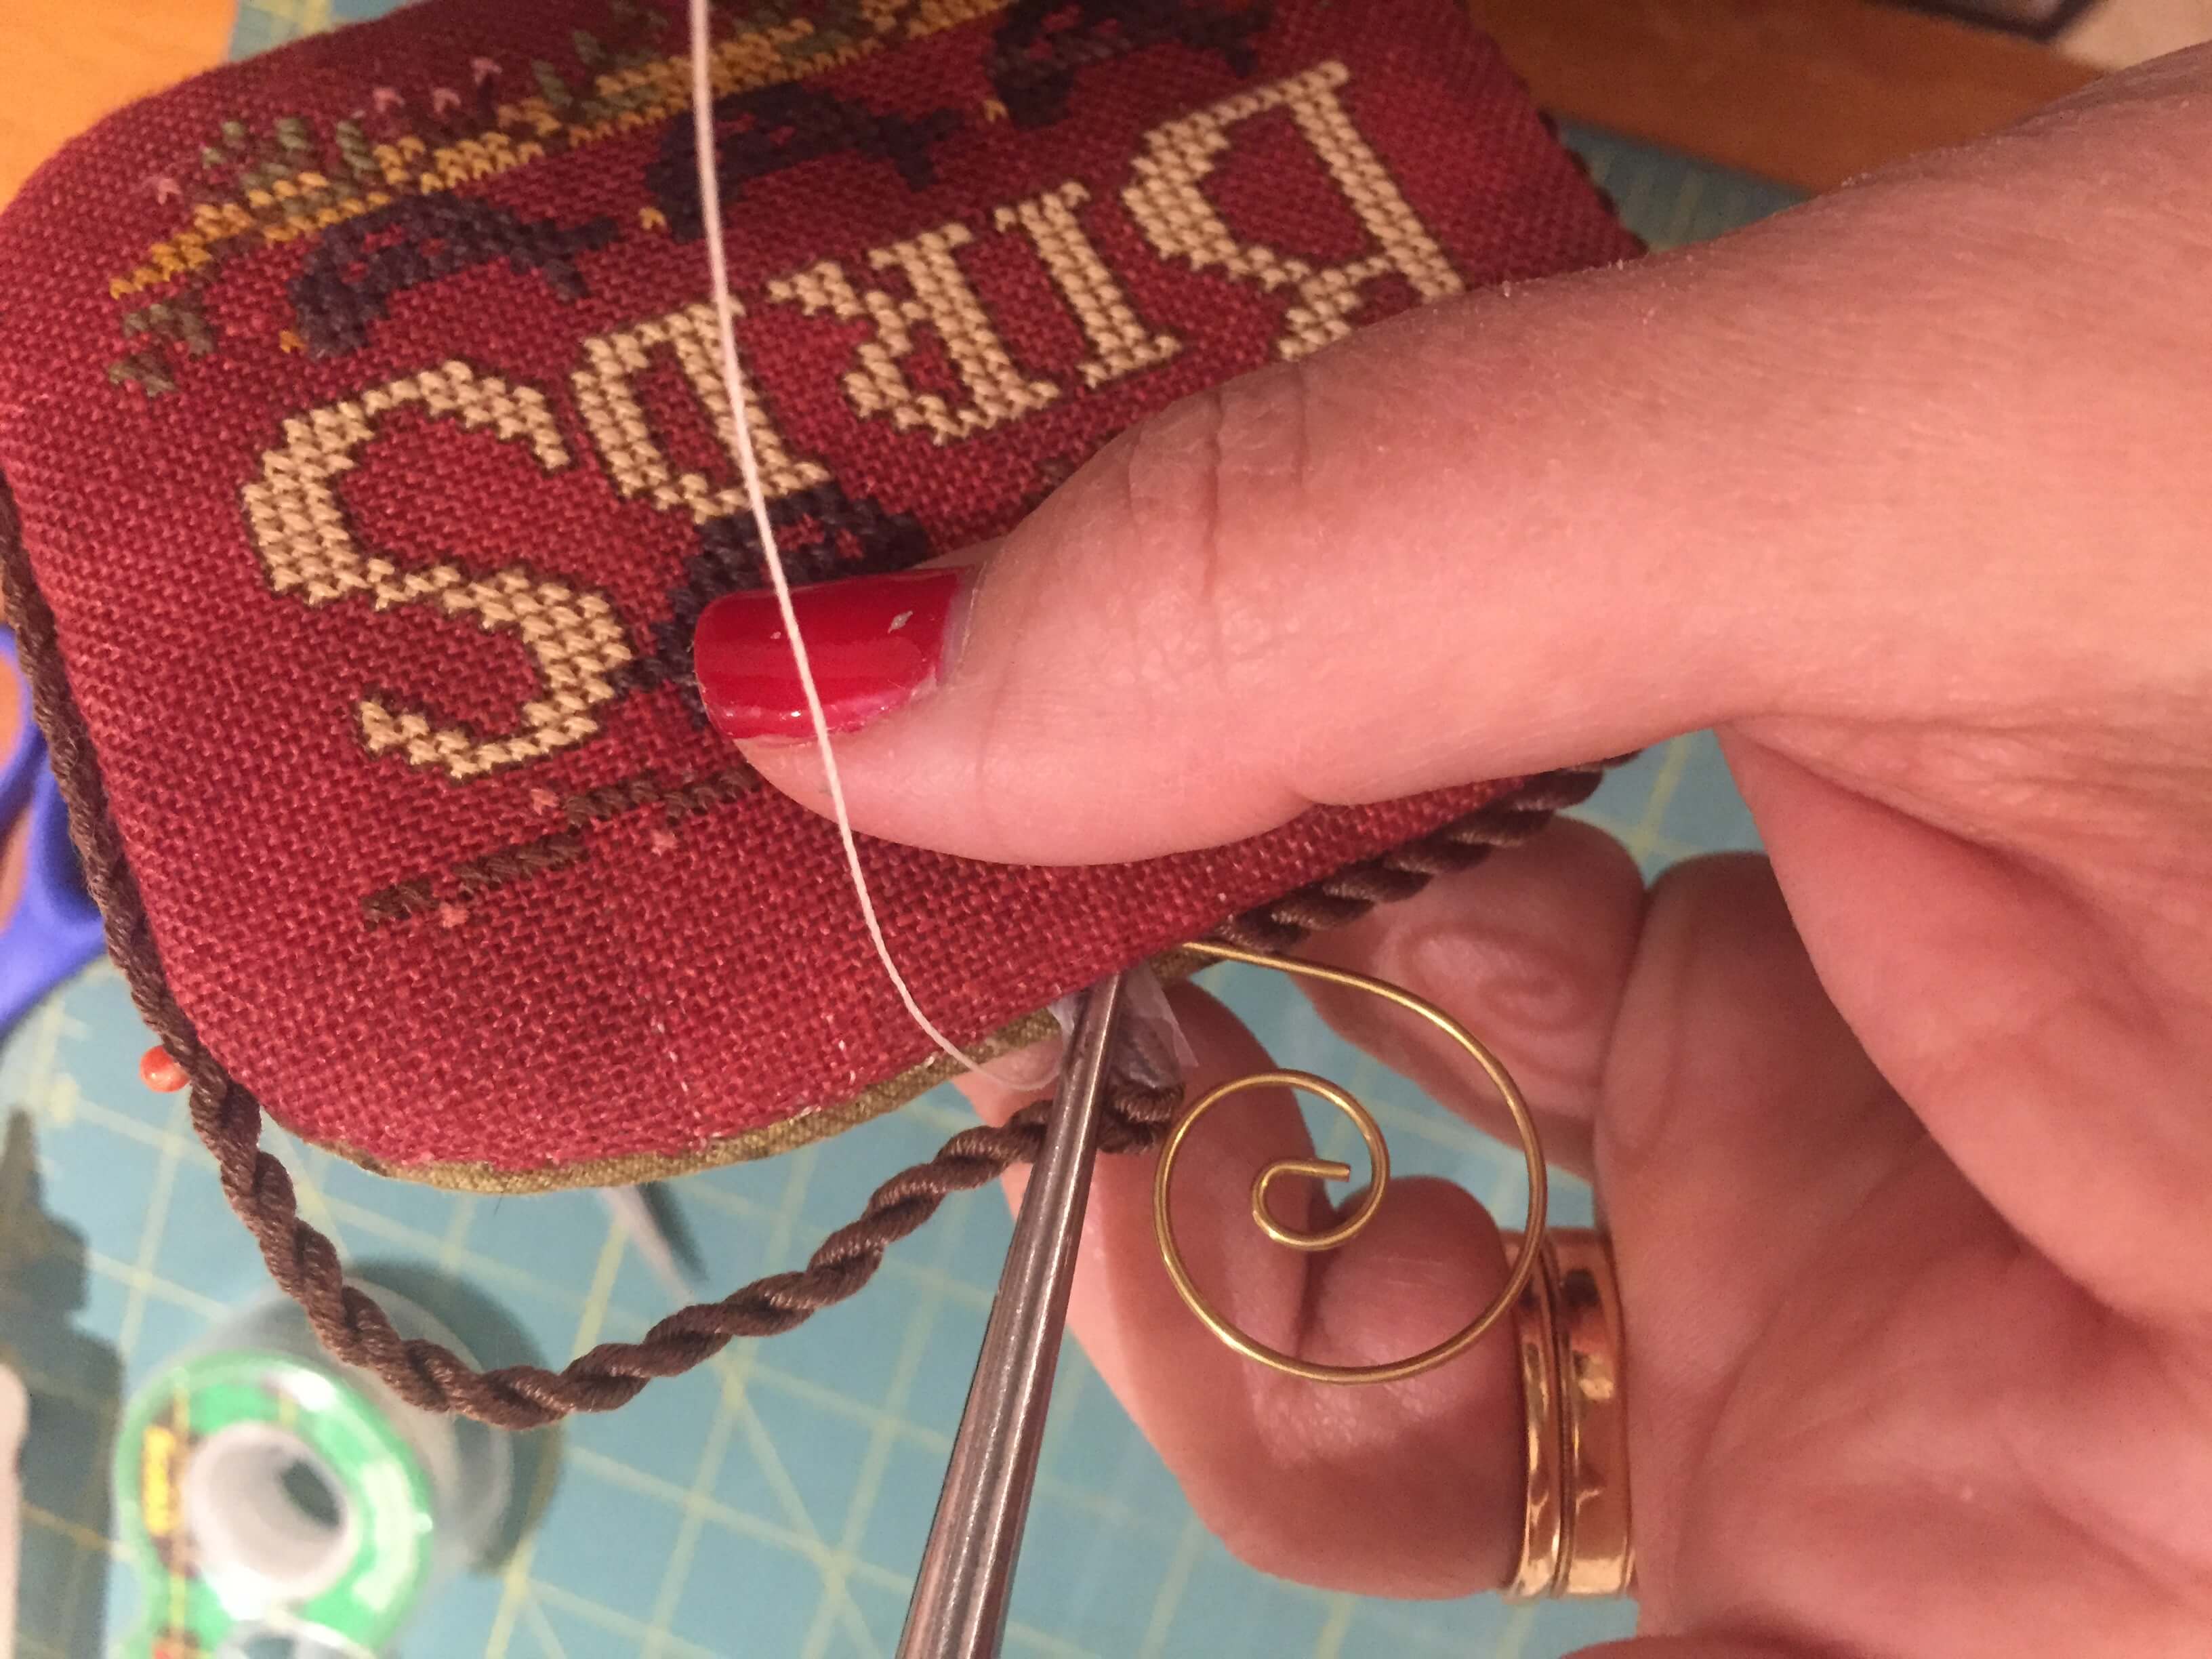
- Thread up with another piece of lacing thread & a sharp needle.
- If you are afraid that your stitches will show, try using a thread that matches the color of the linen.
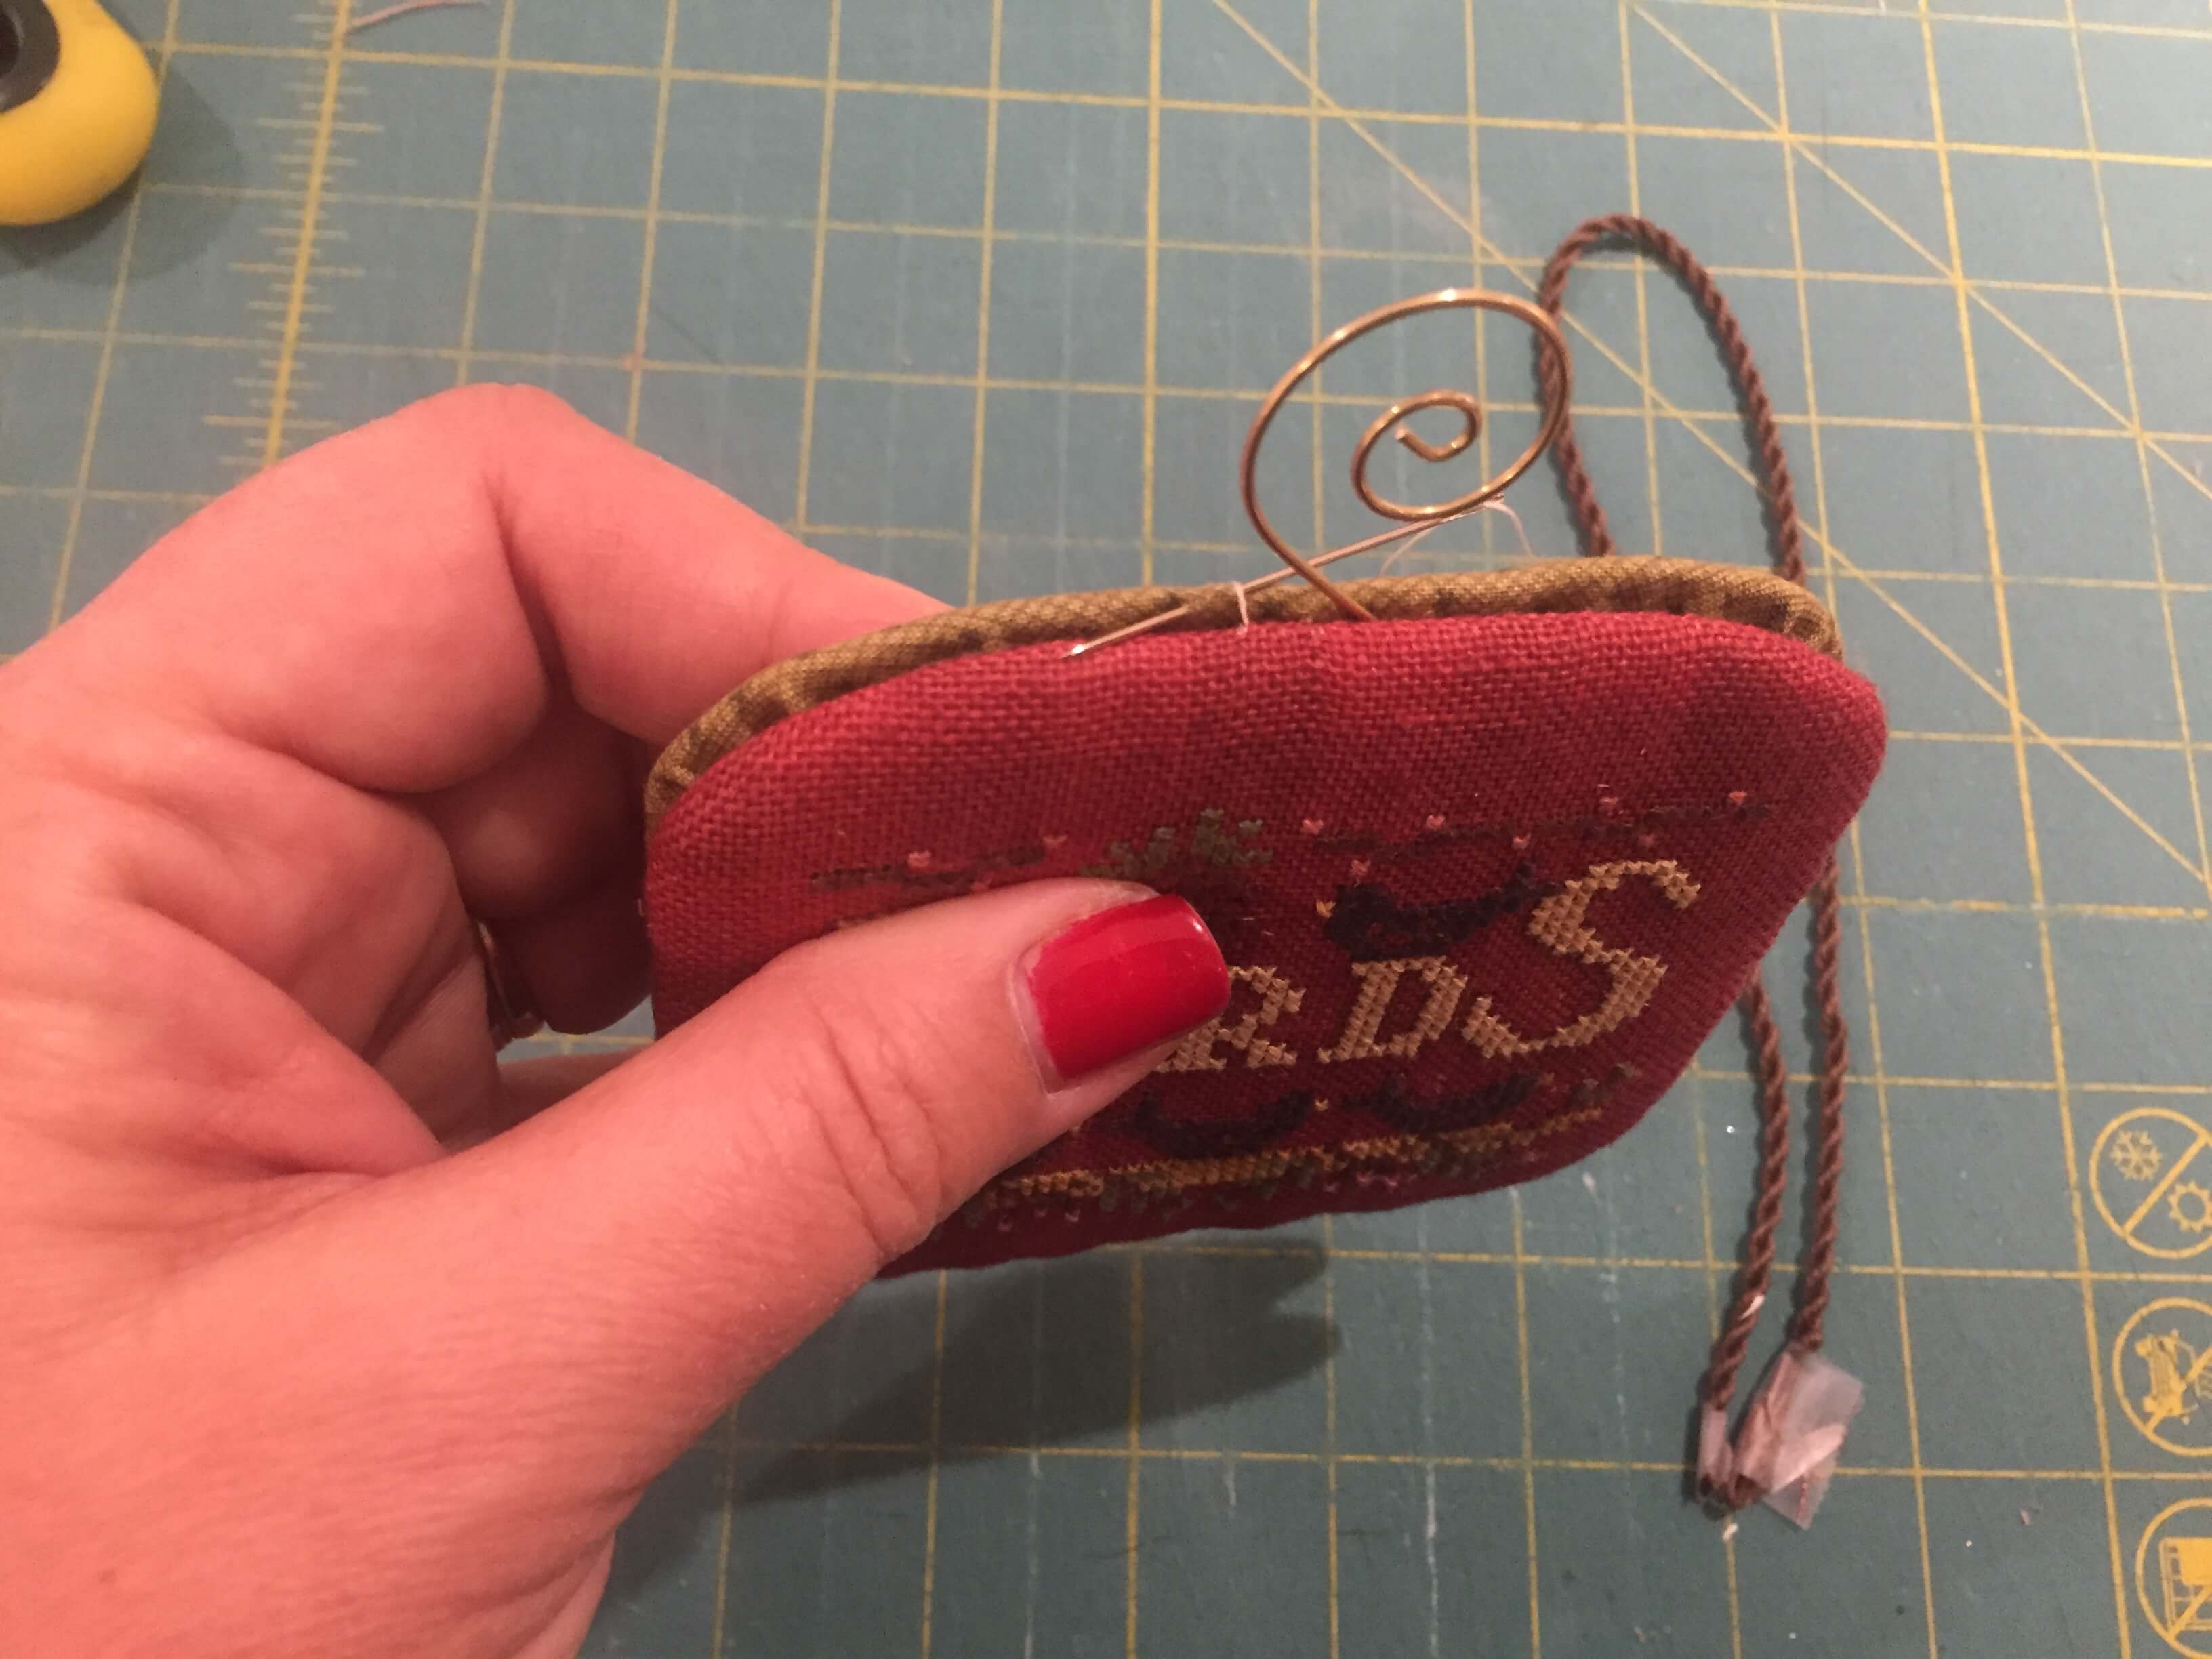
- Anchor your thread inside the ornament on the backing fabric with a knot.
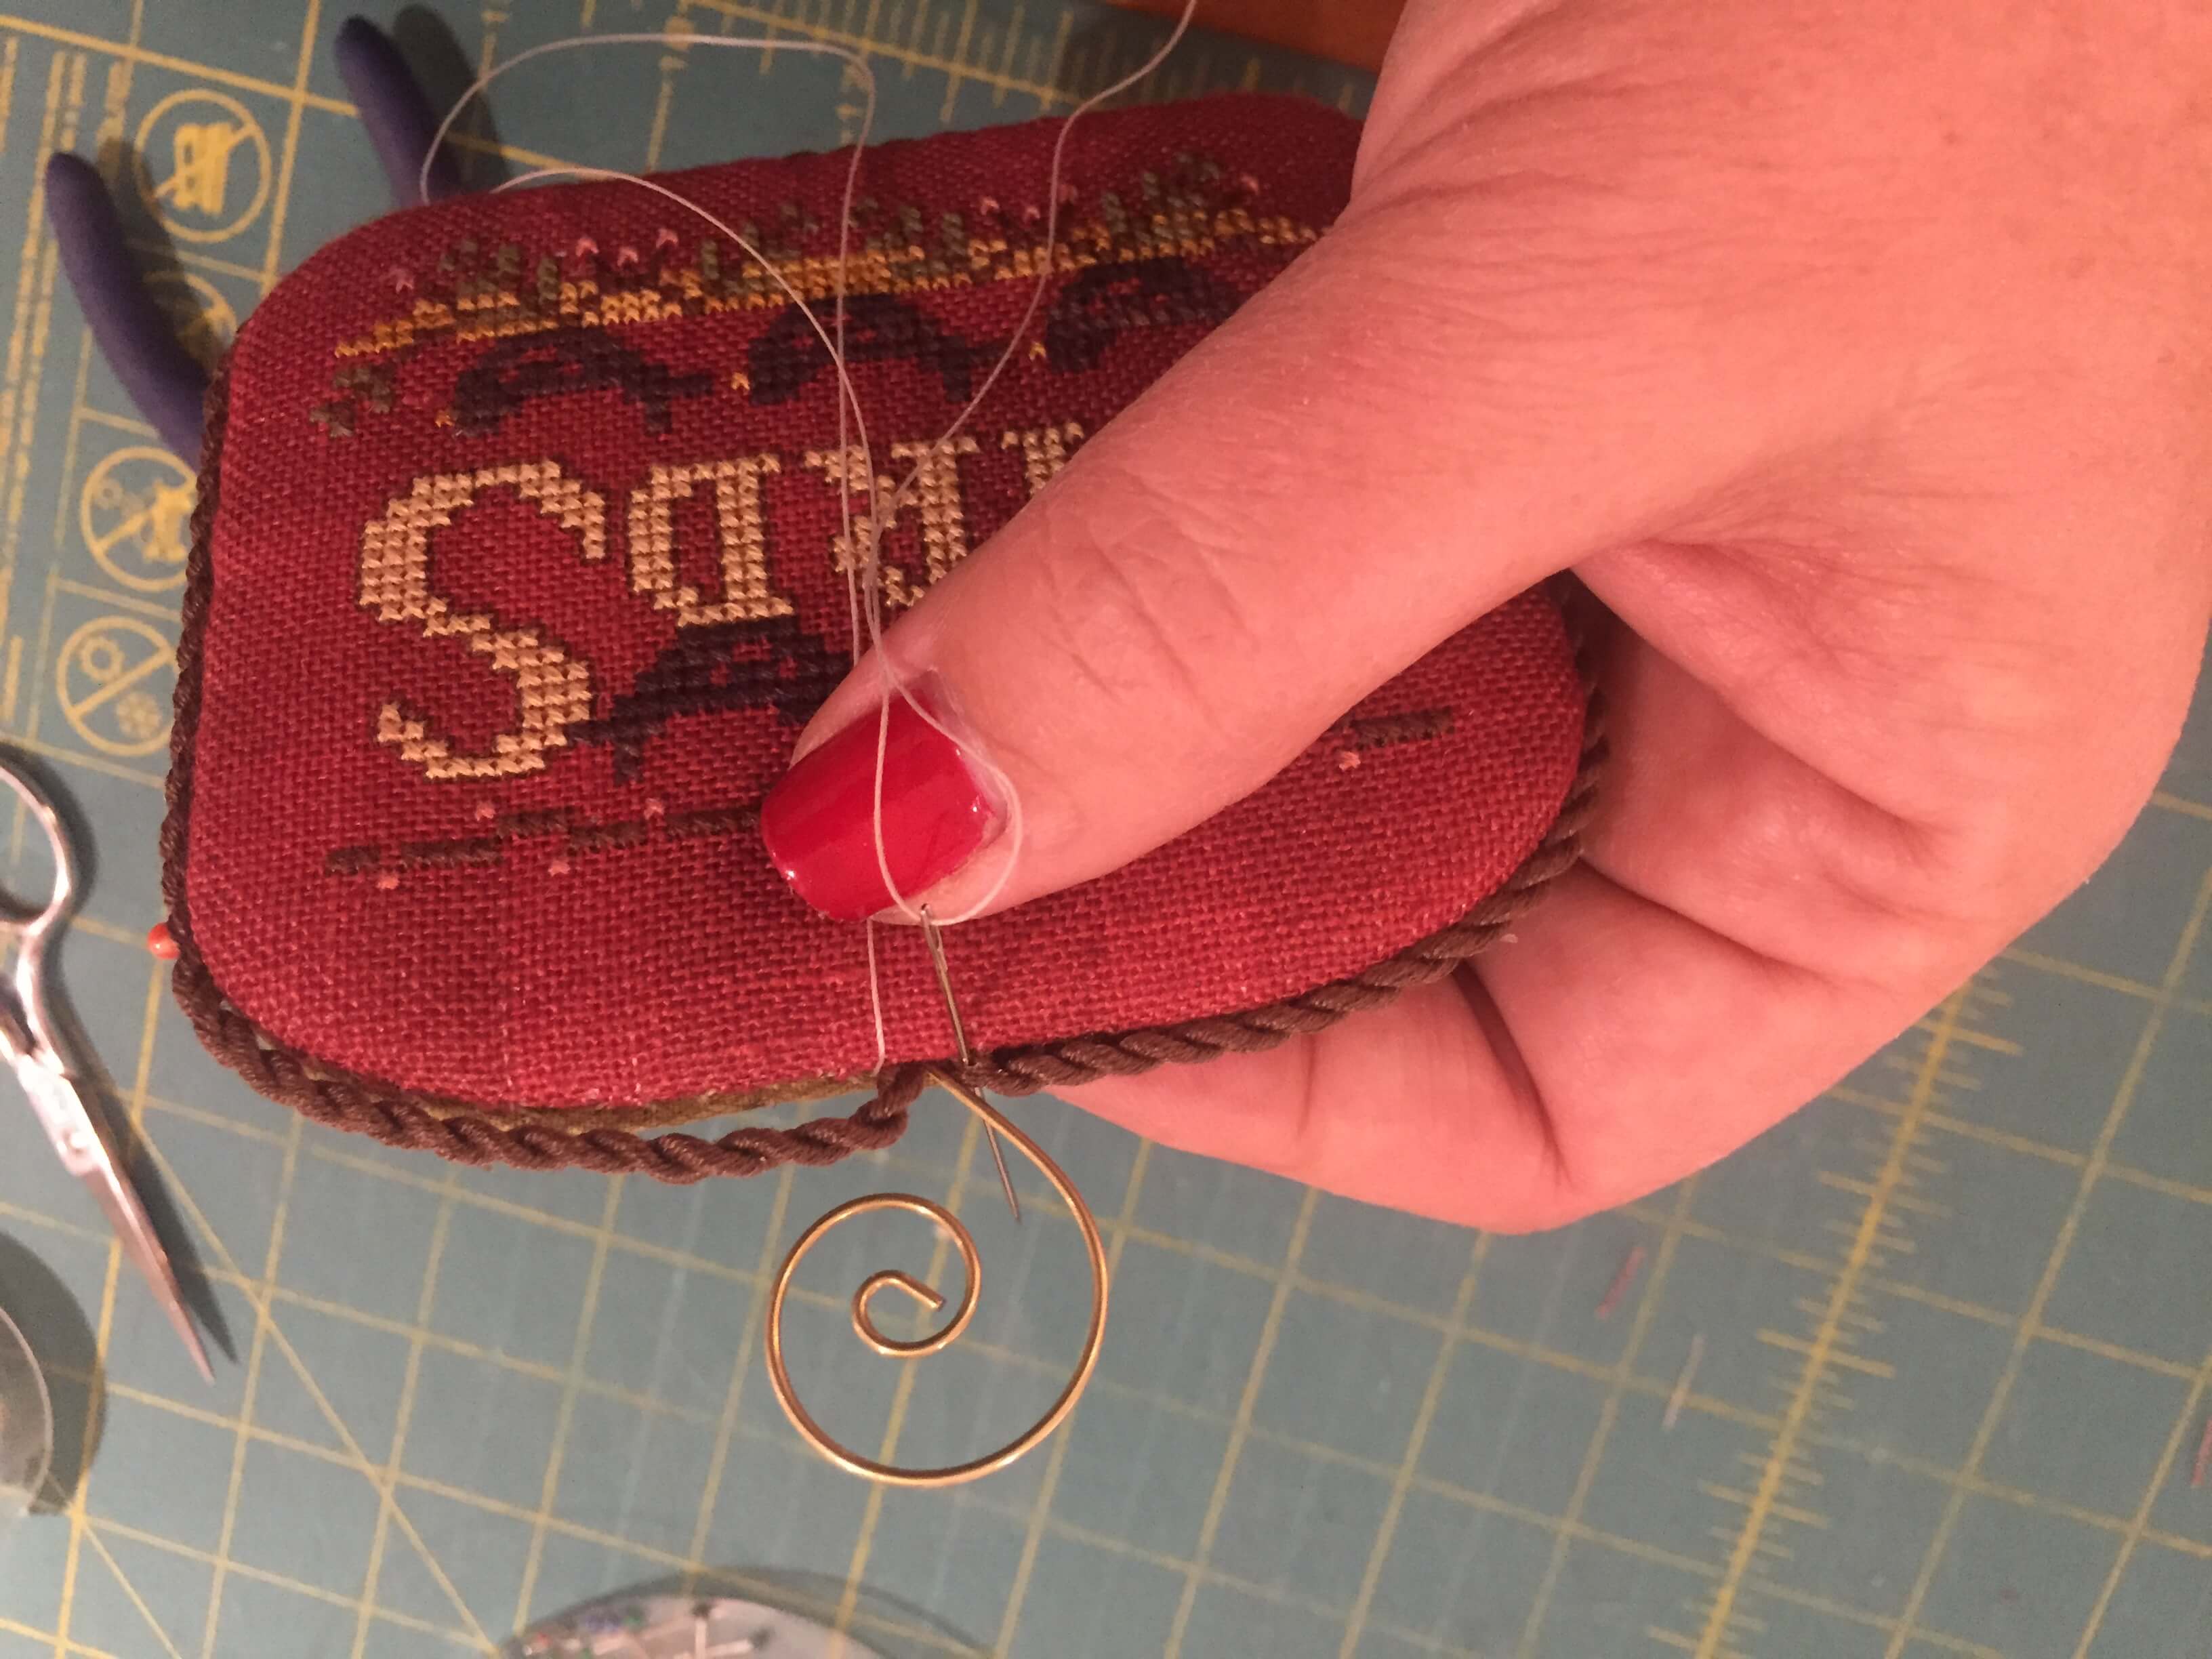
- Slip stitch the front to the back starting at the top center. Keep your stitches close to the edge so they won’t be seen (we will be covering this with cording.
- Continue to slip stitch the front to the back, stopping at the 4th corner.
- Slip the end of the cording between the layer at the top center
- Note: I have taped the ends of the cording as it is less bulky than a knot.

- Run a thin bead of glue around the edge of you ornament to attach cording.
- Attach to just before you stopped the slip stitch
- It is helpful to put pins in the corners through the cording until the glue dries.
- Hold glued cording in place with a pin where you stopped attaching with glue.
- slip stitch to approximately 1” before the swirly hanger
- Insert taped end of twisted cord (a needle nose pliers is helpful at this point)
- Carefully slip stitch the remaining portion—take care to run needle under the twisted cord
- I find it helpful to run the needle & thread around and through the two ends of the twisted cord. This brings them together to give a crisp finish.
- Carefully run a dab of glue under that last section of twisted cord.
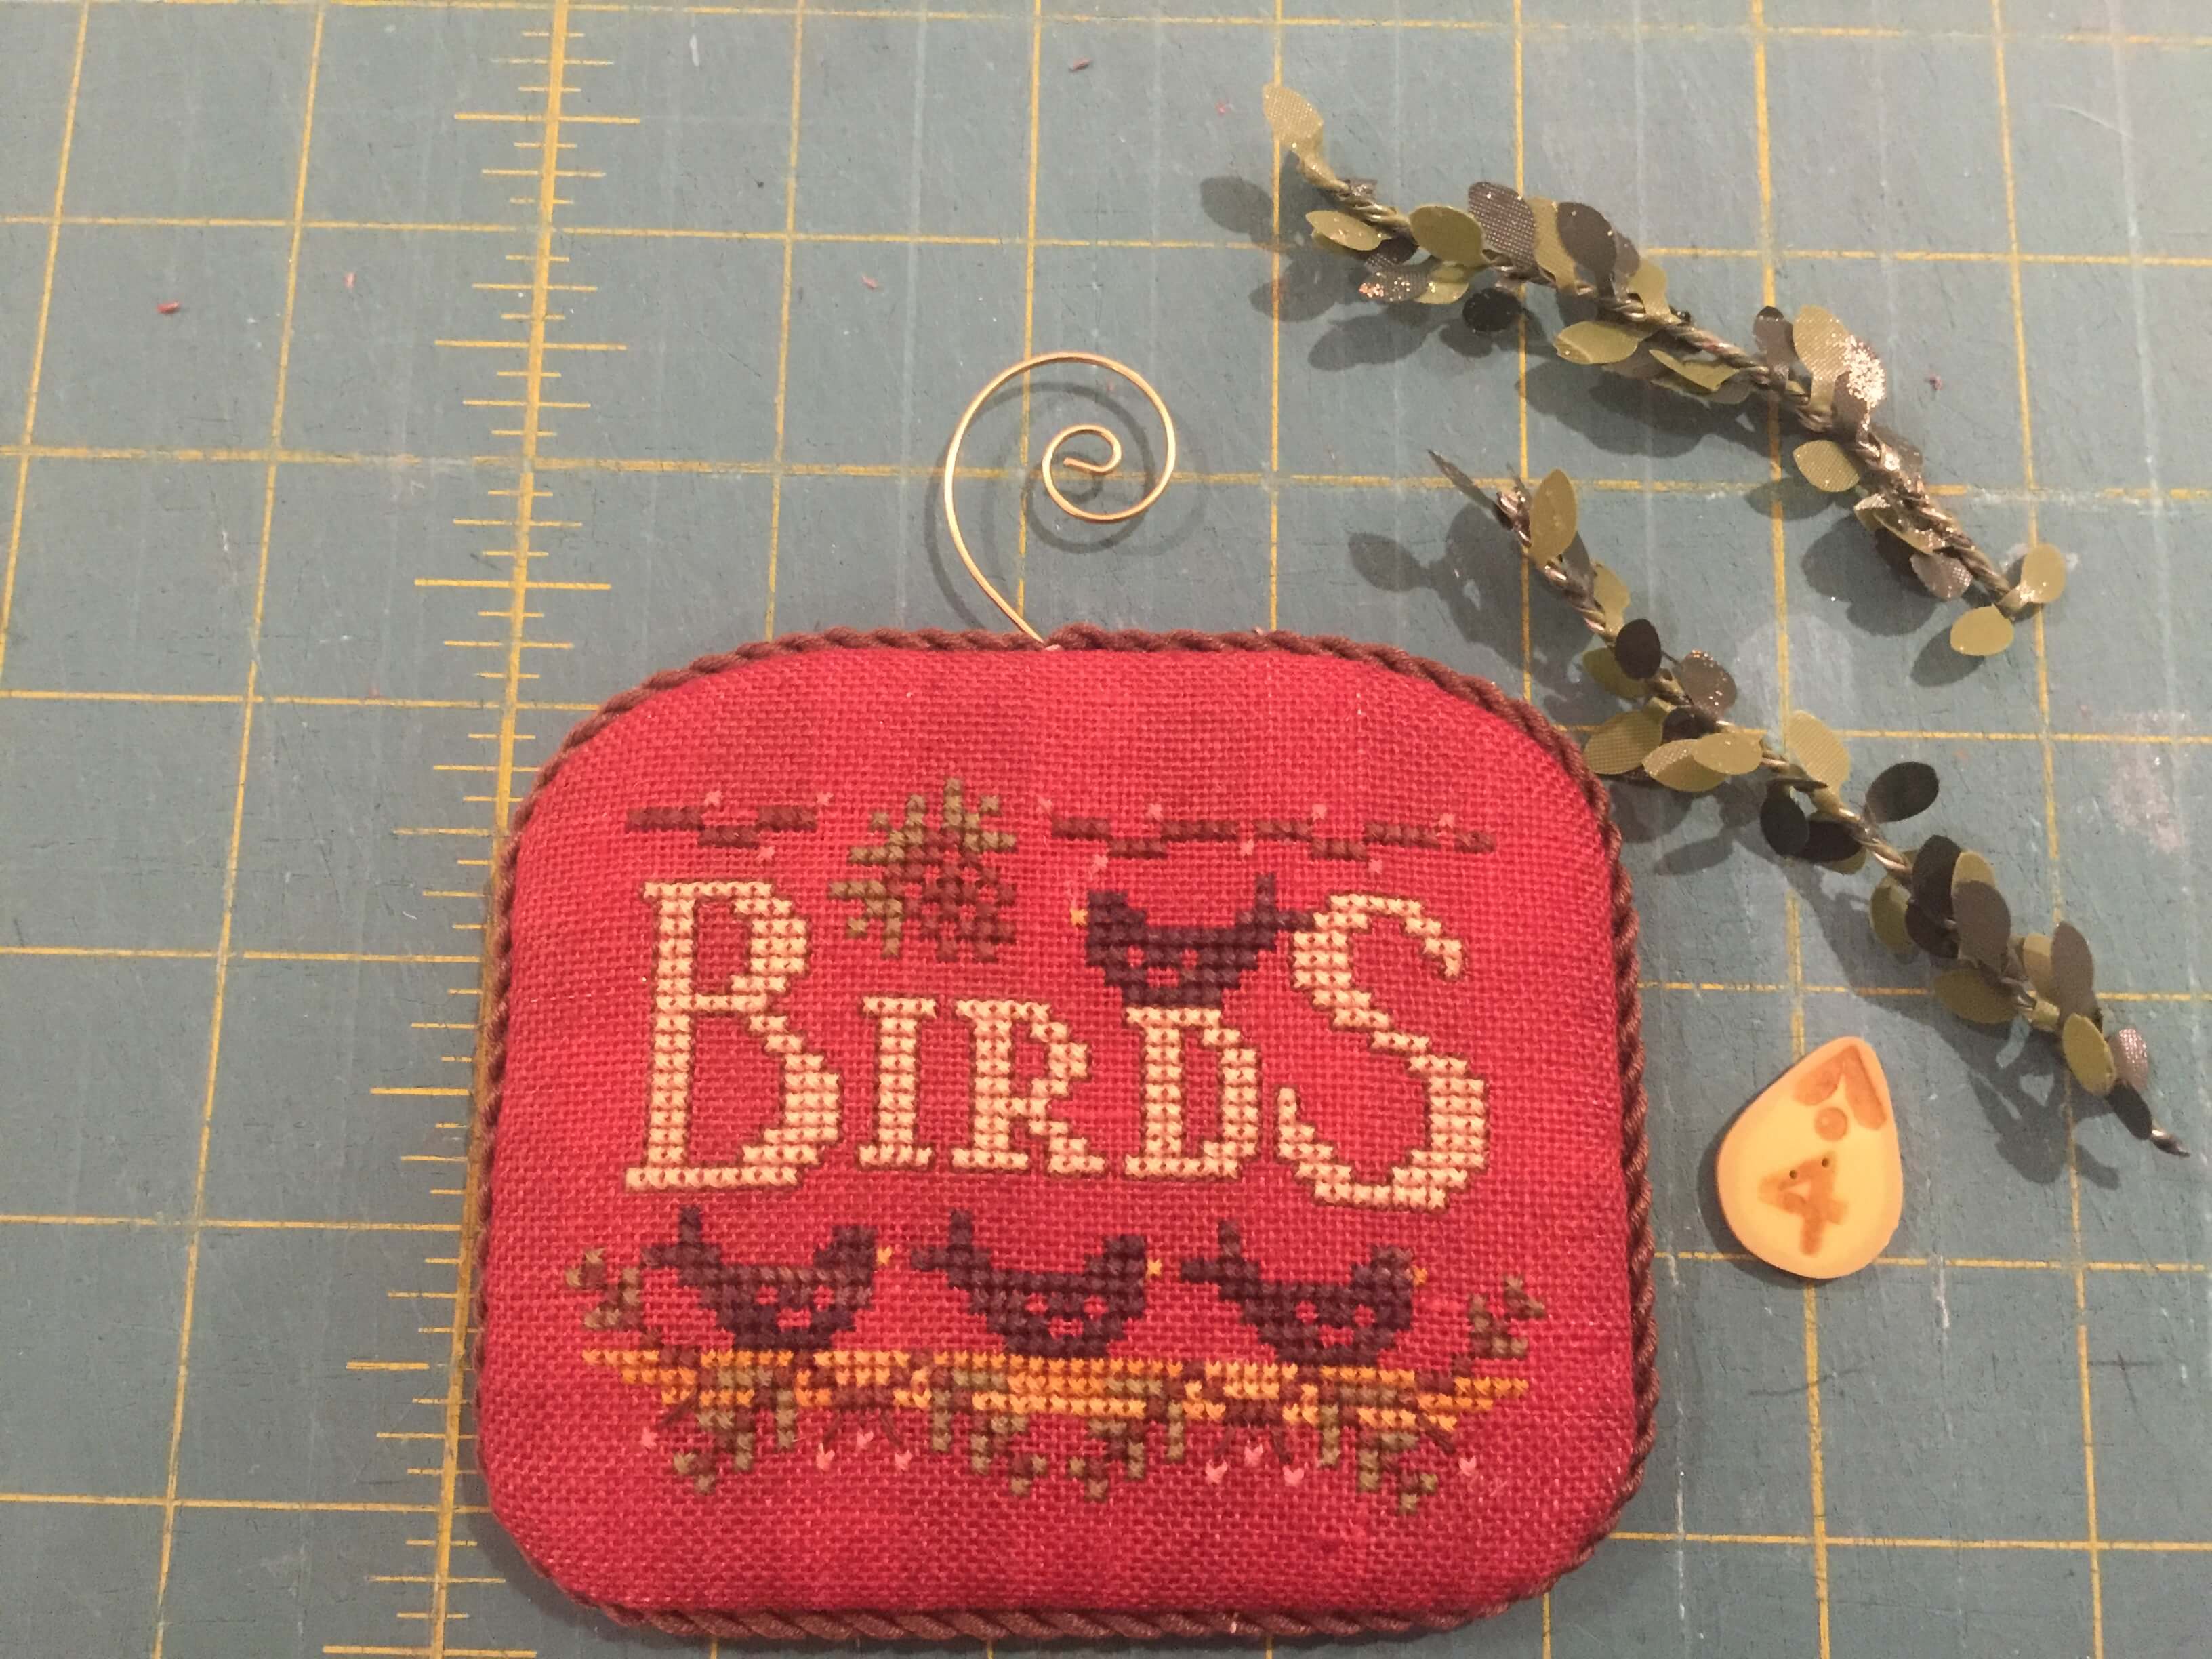
- Grab your JABC buttons, some mini-boxwood trim & finished ornament!
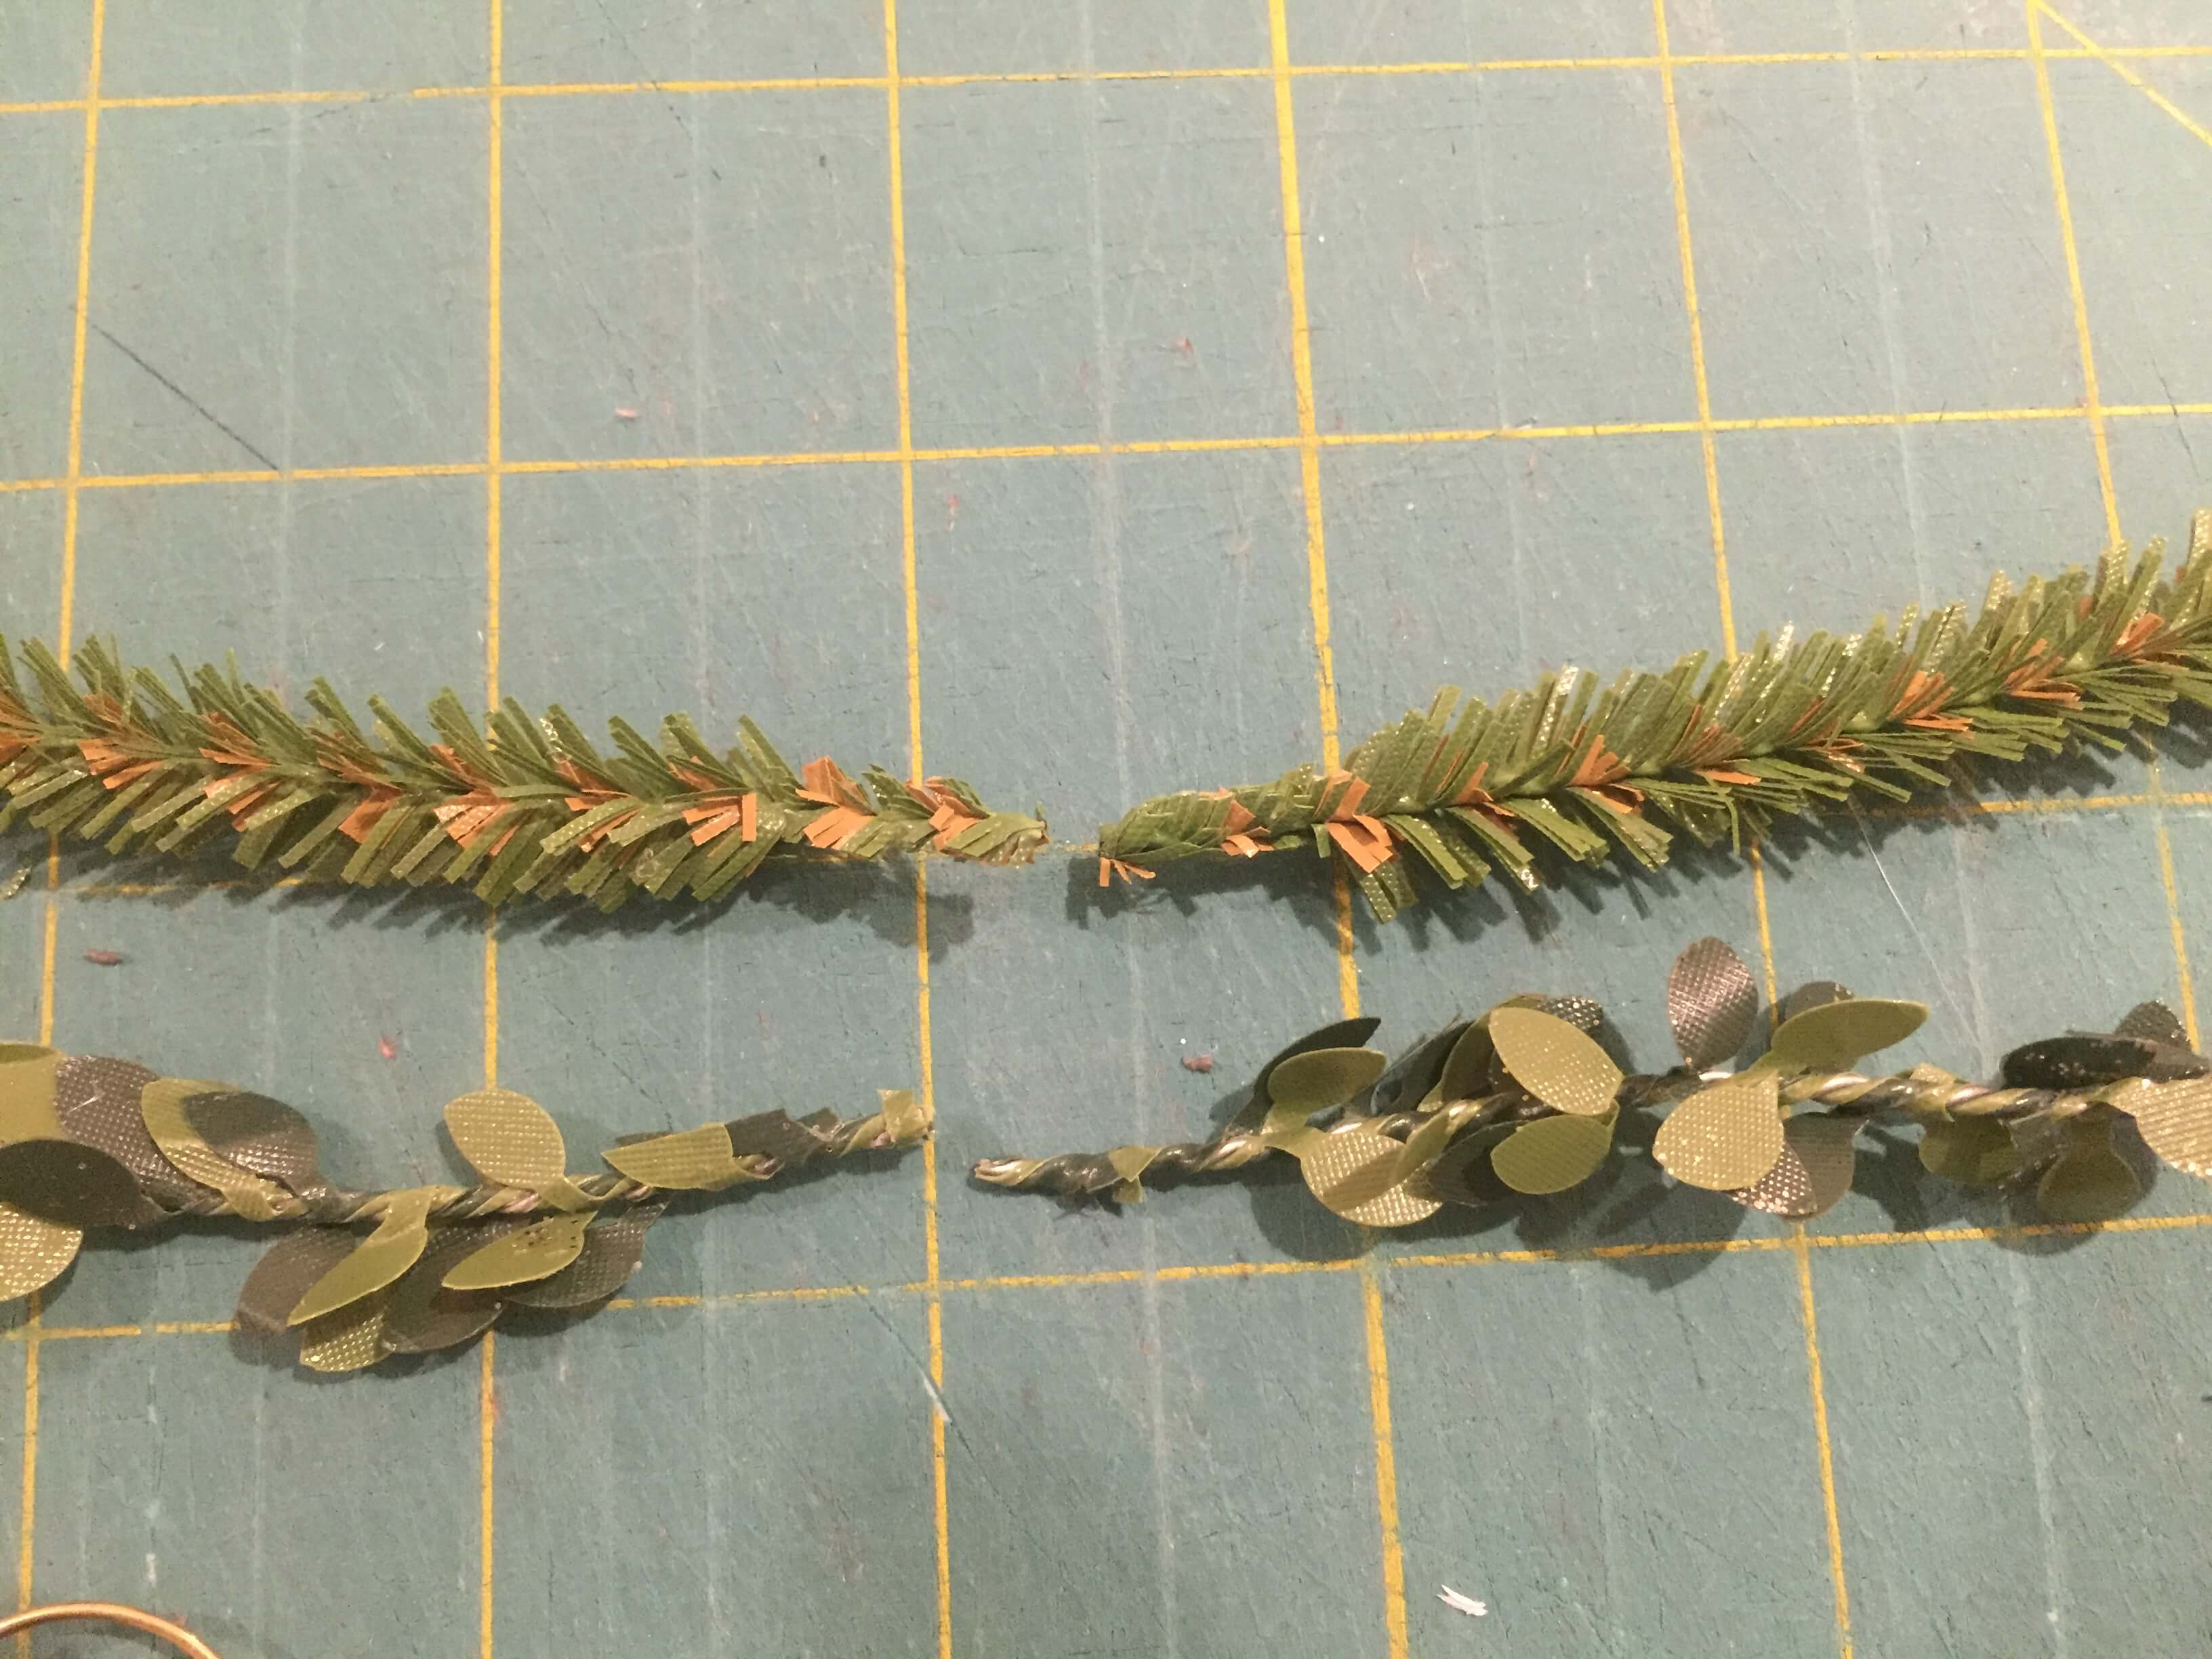
- Cut several 3” pieces of trim. Place them so leaves fall in the opposite direction. Prune leaves from the end (about 1/2”)
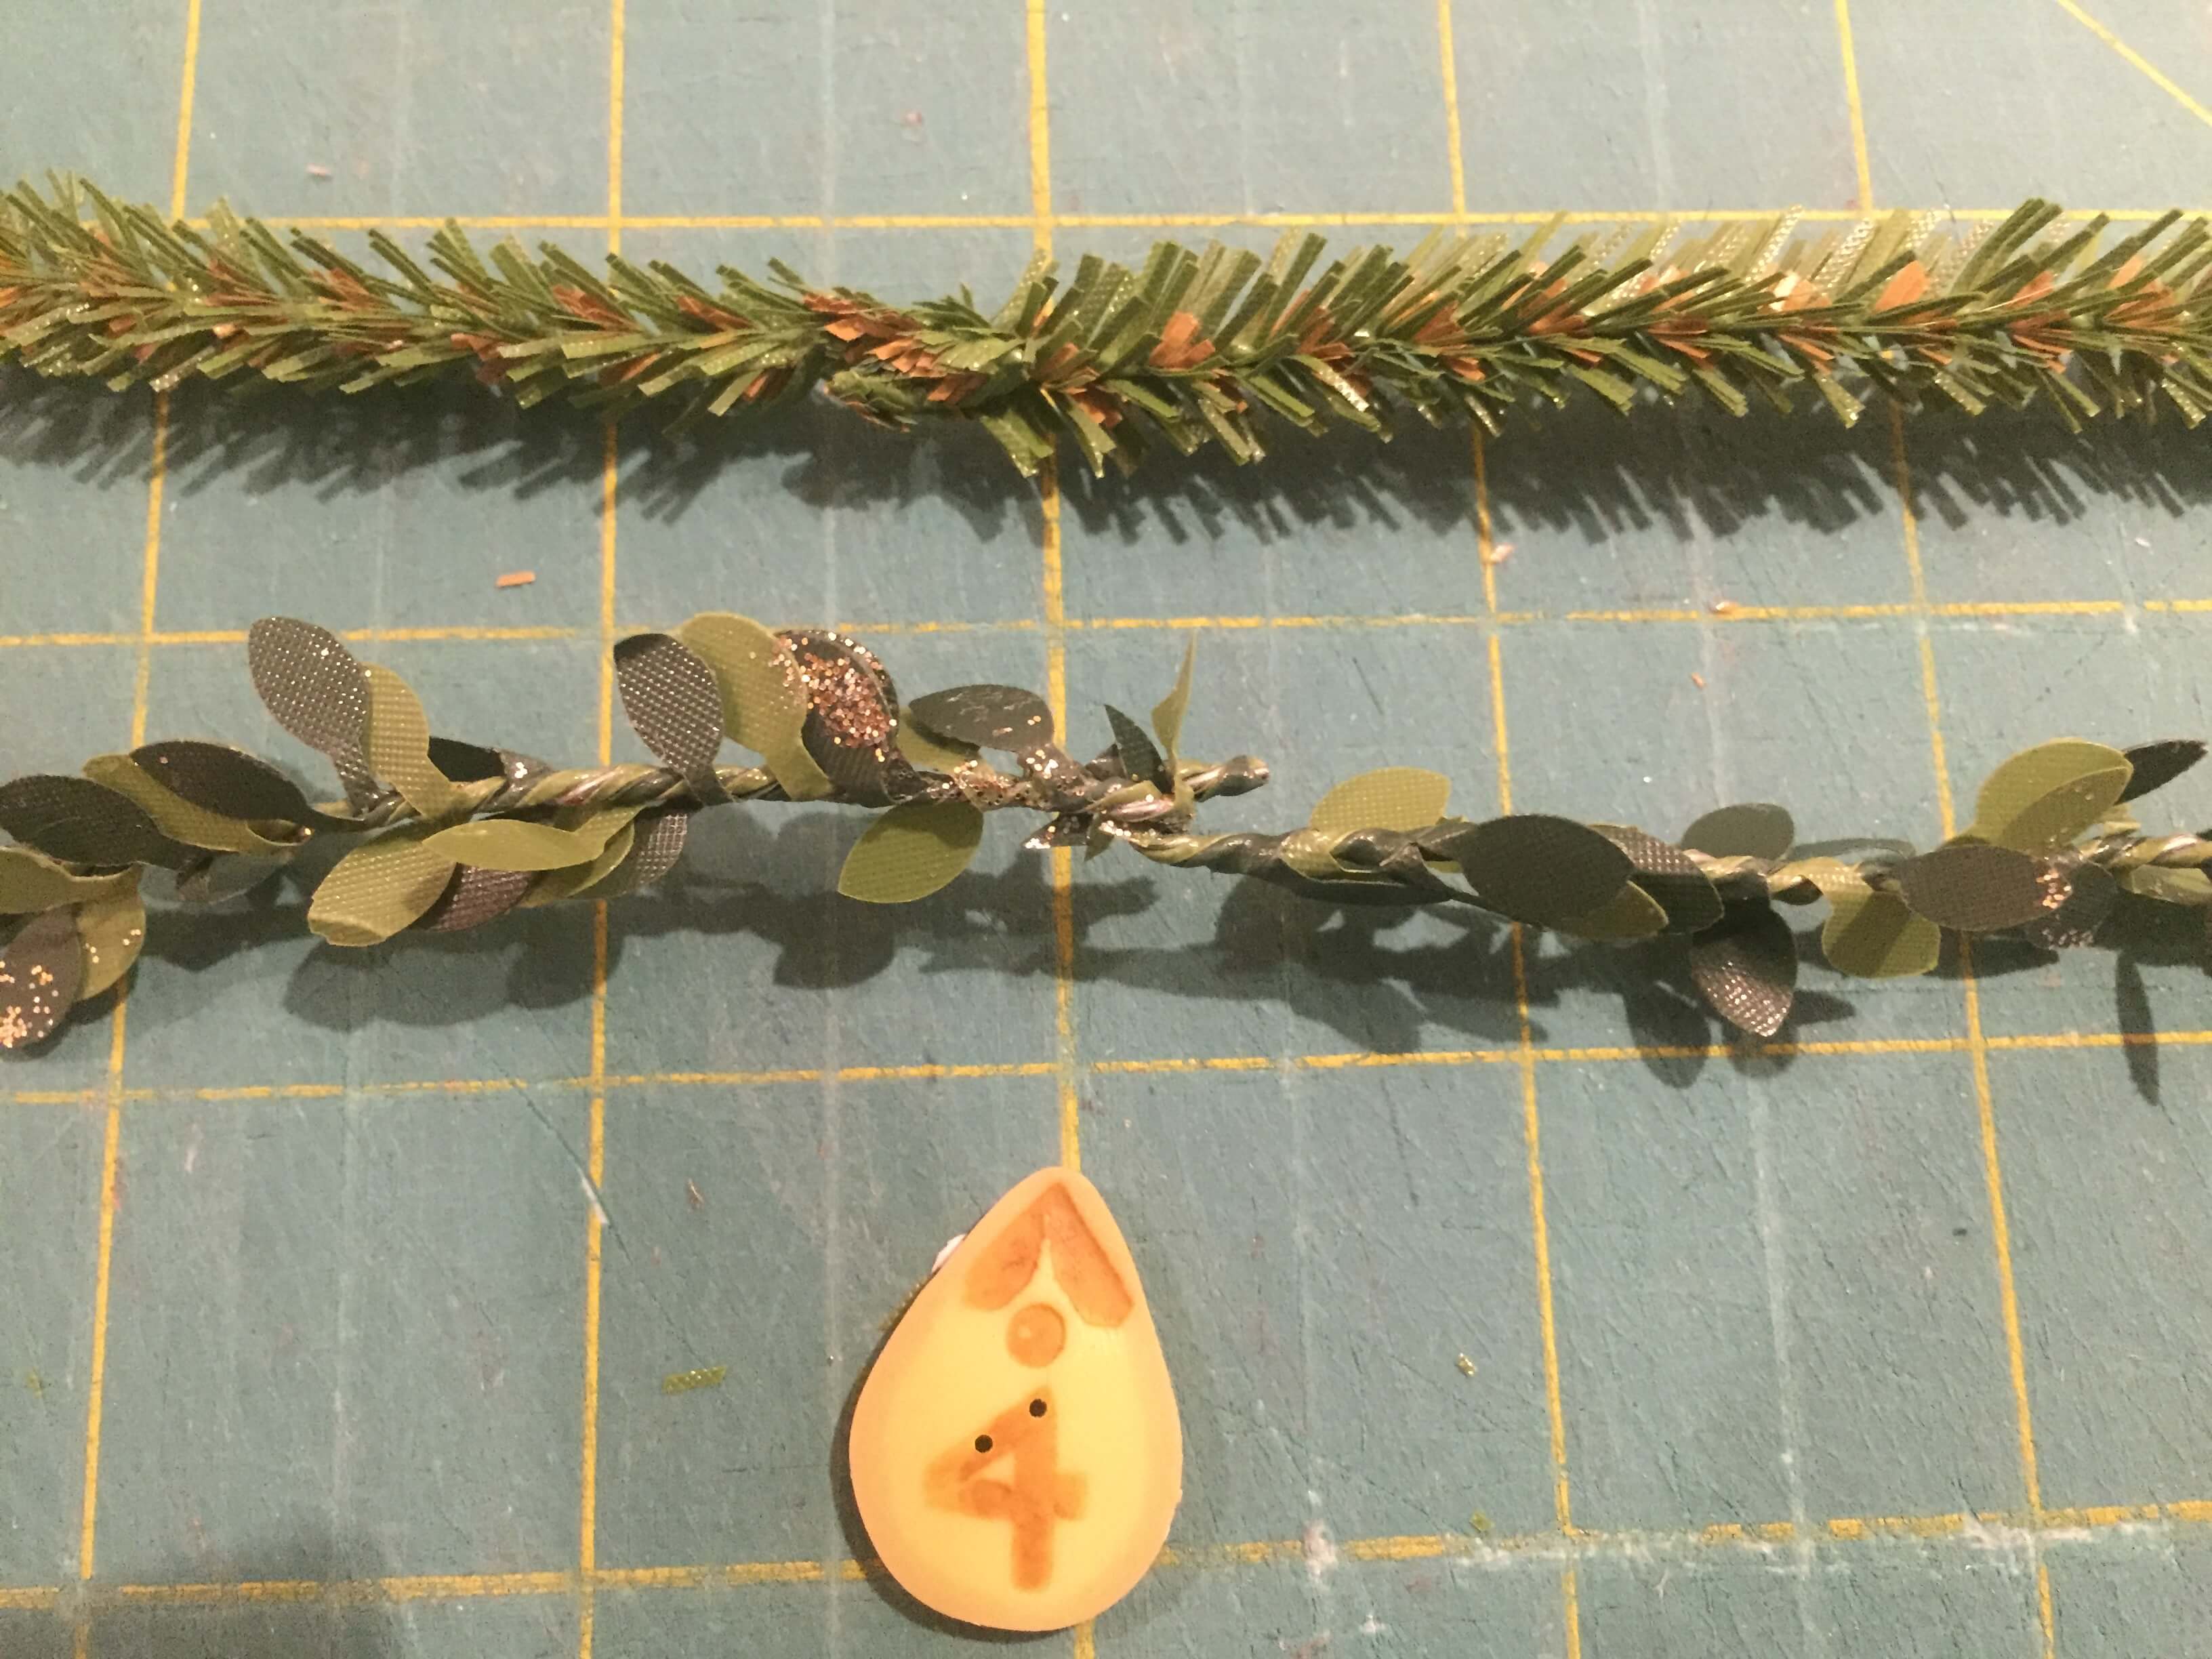
- Use needle nose pliers to fold the pruned end back on itself to create a hook. Hook the 2 ends & crimp closed with the pliers.
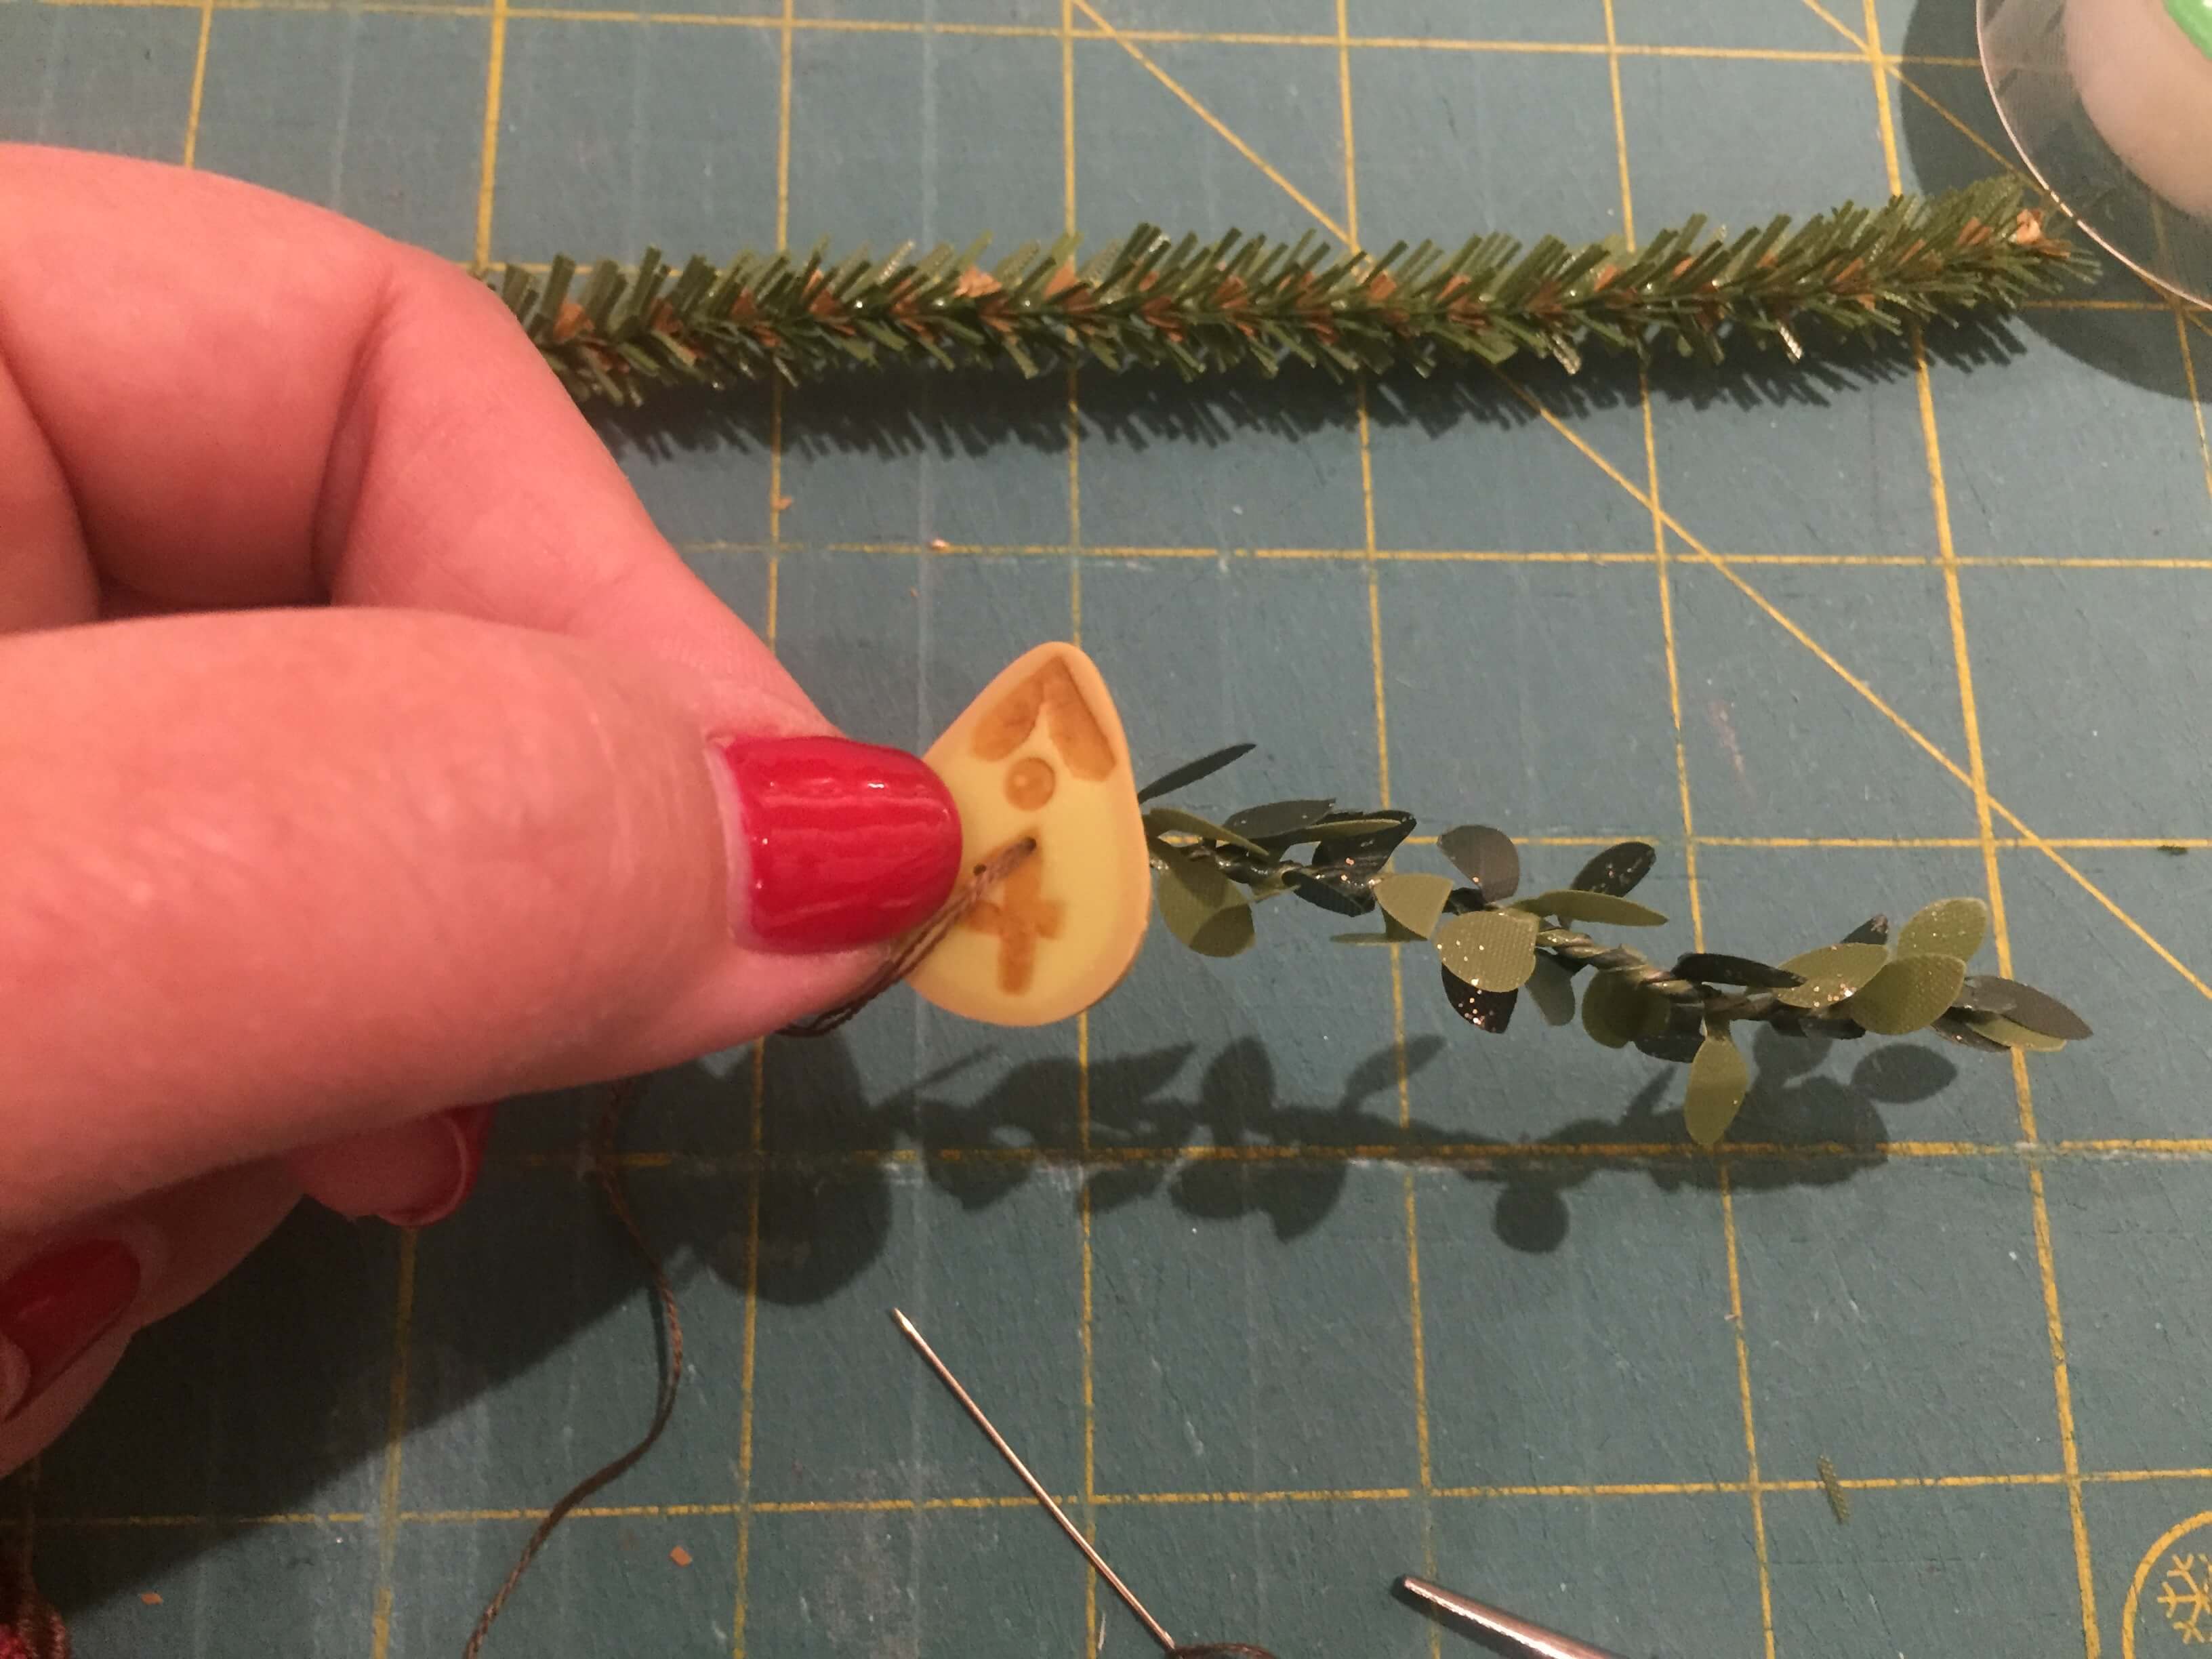
- Attach the JABC button: run brown thread through button holes and around the trim several time & secure on the back of trim.
- Before you cut the brown thread, anchor trim & button to the top of your ornament—it is easiest to run your sharp needle through the cording. Knot to end!
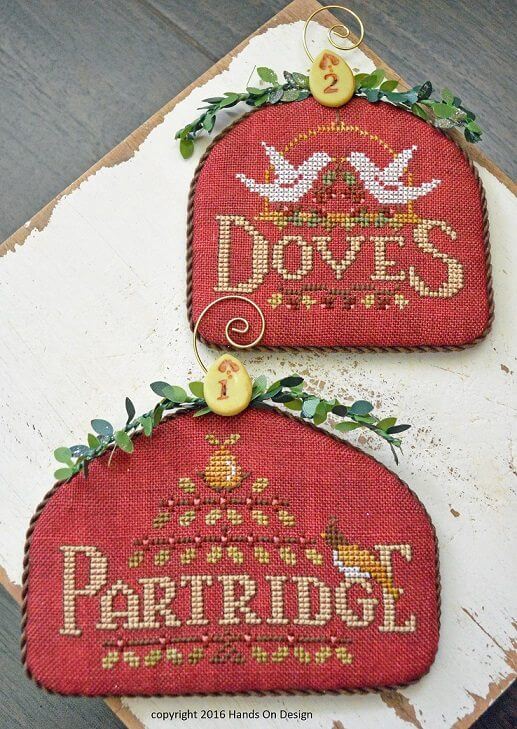
12 Days of Christmas Finishing Tutorial ©2017 Hands On Design & Cathy Habermann. Permission is granted for Shops & Stitchers to print & distribute for classes & personal use. Reposting is permitted with proper reference to http://www.handsondesign.biz These instructions are complimentary & not for resale. Images are the property of Hands On Design & Cathy Habermann.


Where did you find the sWIrly ornament hangers?
Do you have a source you can share?
Hi Mary – I purchased mine last fall at my local Walmart (25 for $1.99) – you can also purchase them at the big box craft stores. All to soon, they will start having their holiday items out for sale – I would say by July & August you will be able to find them there!